My Firestorm Armada Terrans of Task Force 22 have been at it again! Last weekend, I played MBS community member CDR-G’s Dindrenzi force in another 1,000 point game of FSA. If you recall, the last time I played the Dindrenzi with my Terrans, it didn’t go so well. However, I went back to the drawing board and re-tooled my list. So, this game was a chance for me to put some of my hard-earned lessons to the test, as well as my new build. Read on to see how I fared!
Forces
For this game, I used one of my revised Adepticon lists, which I posted here previously. Here it is again as a reminder:

CDR-G’s force consisted of:
- Claymore Class Carrier, with 2 cruiser accompaniment
- RSN Battleship with 2 escorts
- RSN Spook Class cruiser squadron
- 2 Squadrons of Frigates
Mission
We chose Mission 2, Escalating Engagement from the rulebook. This is an interesting mission, as it requires that players put at least 33% of their force, including all Tier 1 ships, into reserve. Scenario rules also prevent players from shunting in their forces. Since CDR-G and I were both running a carrier and a battleship in our list, this effectively meant half our fleets would miss at least one turn! The Escalating Engagement scenario also uses interesting corner-based deployment.
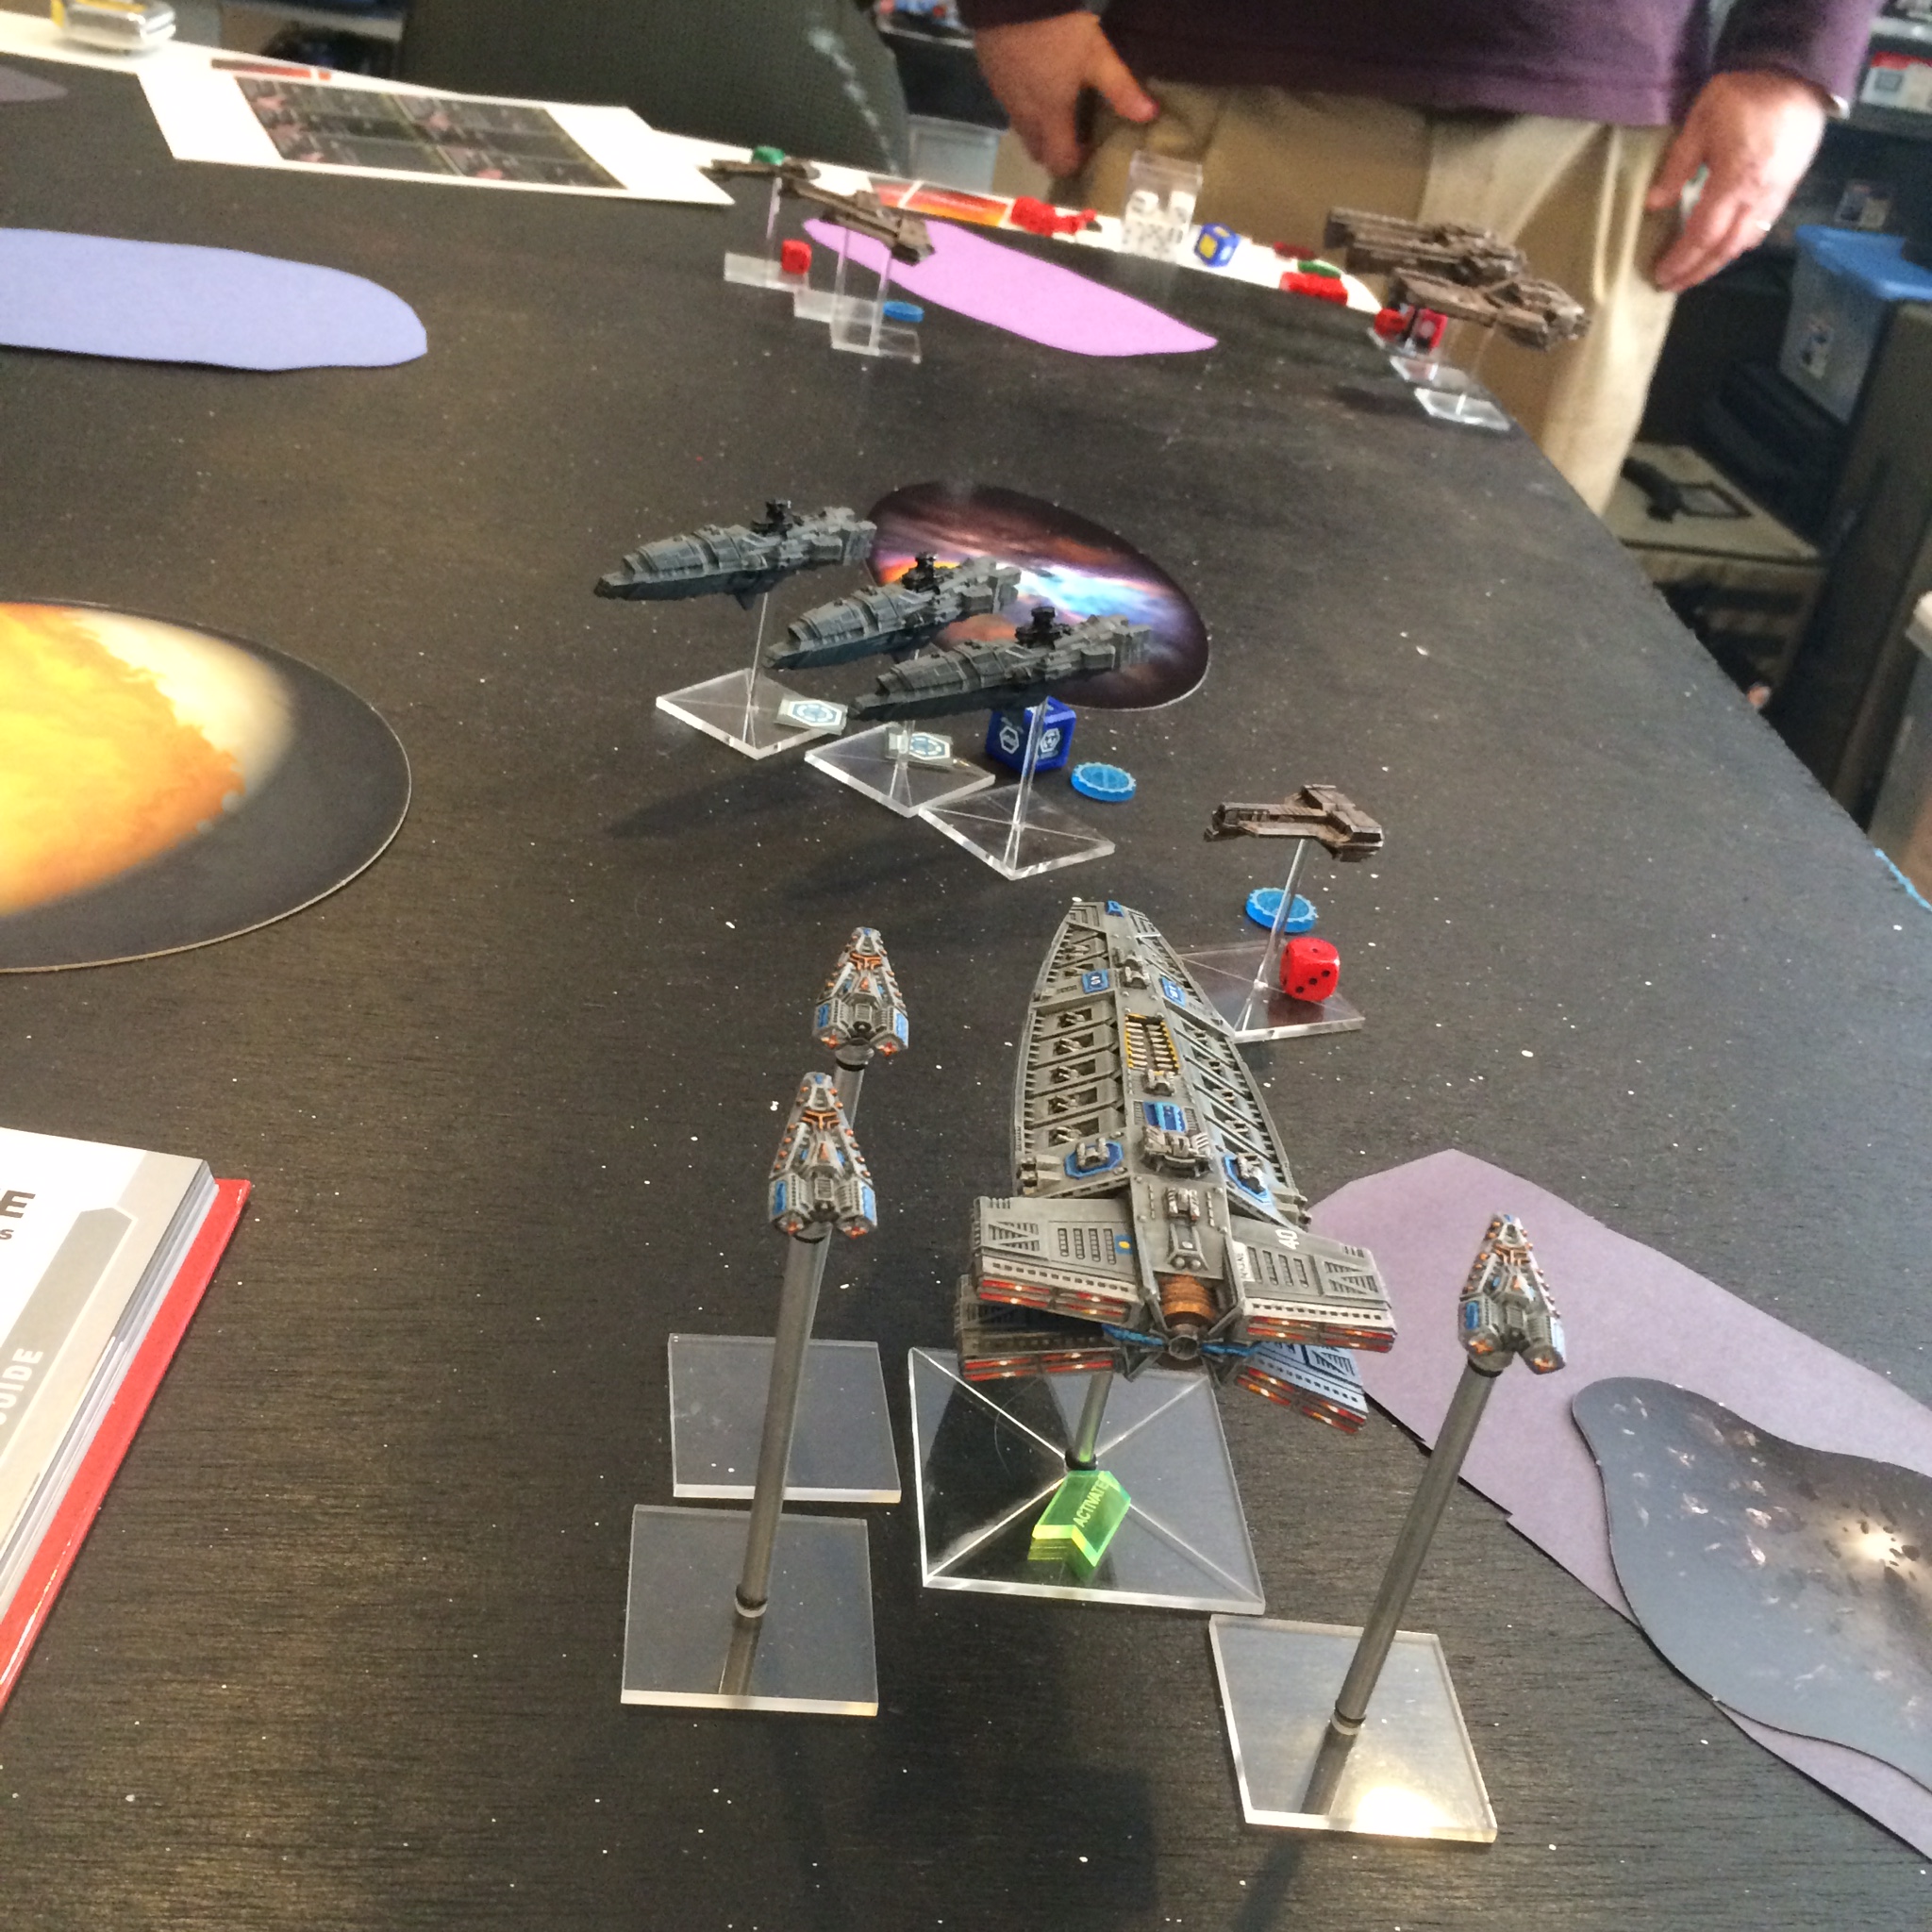
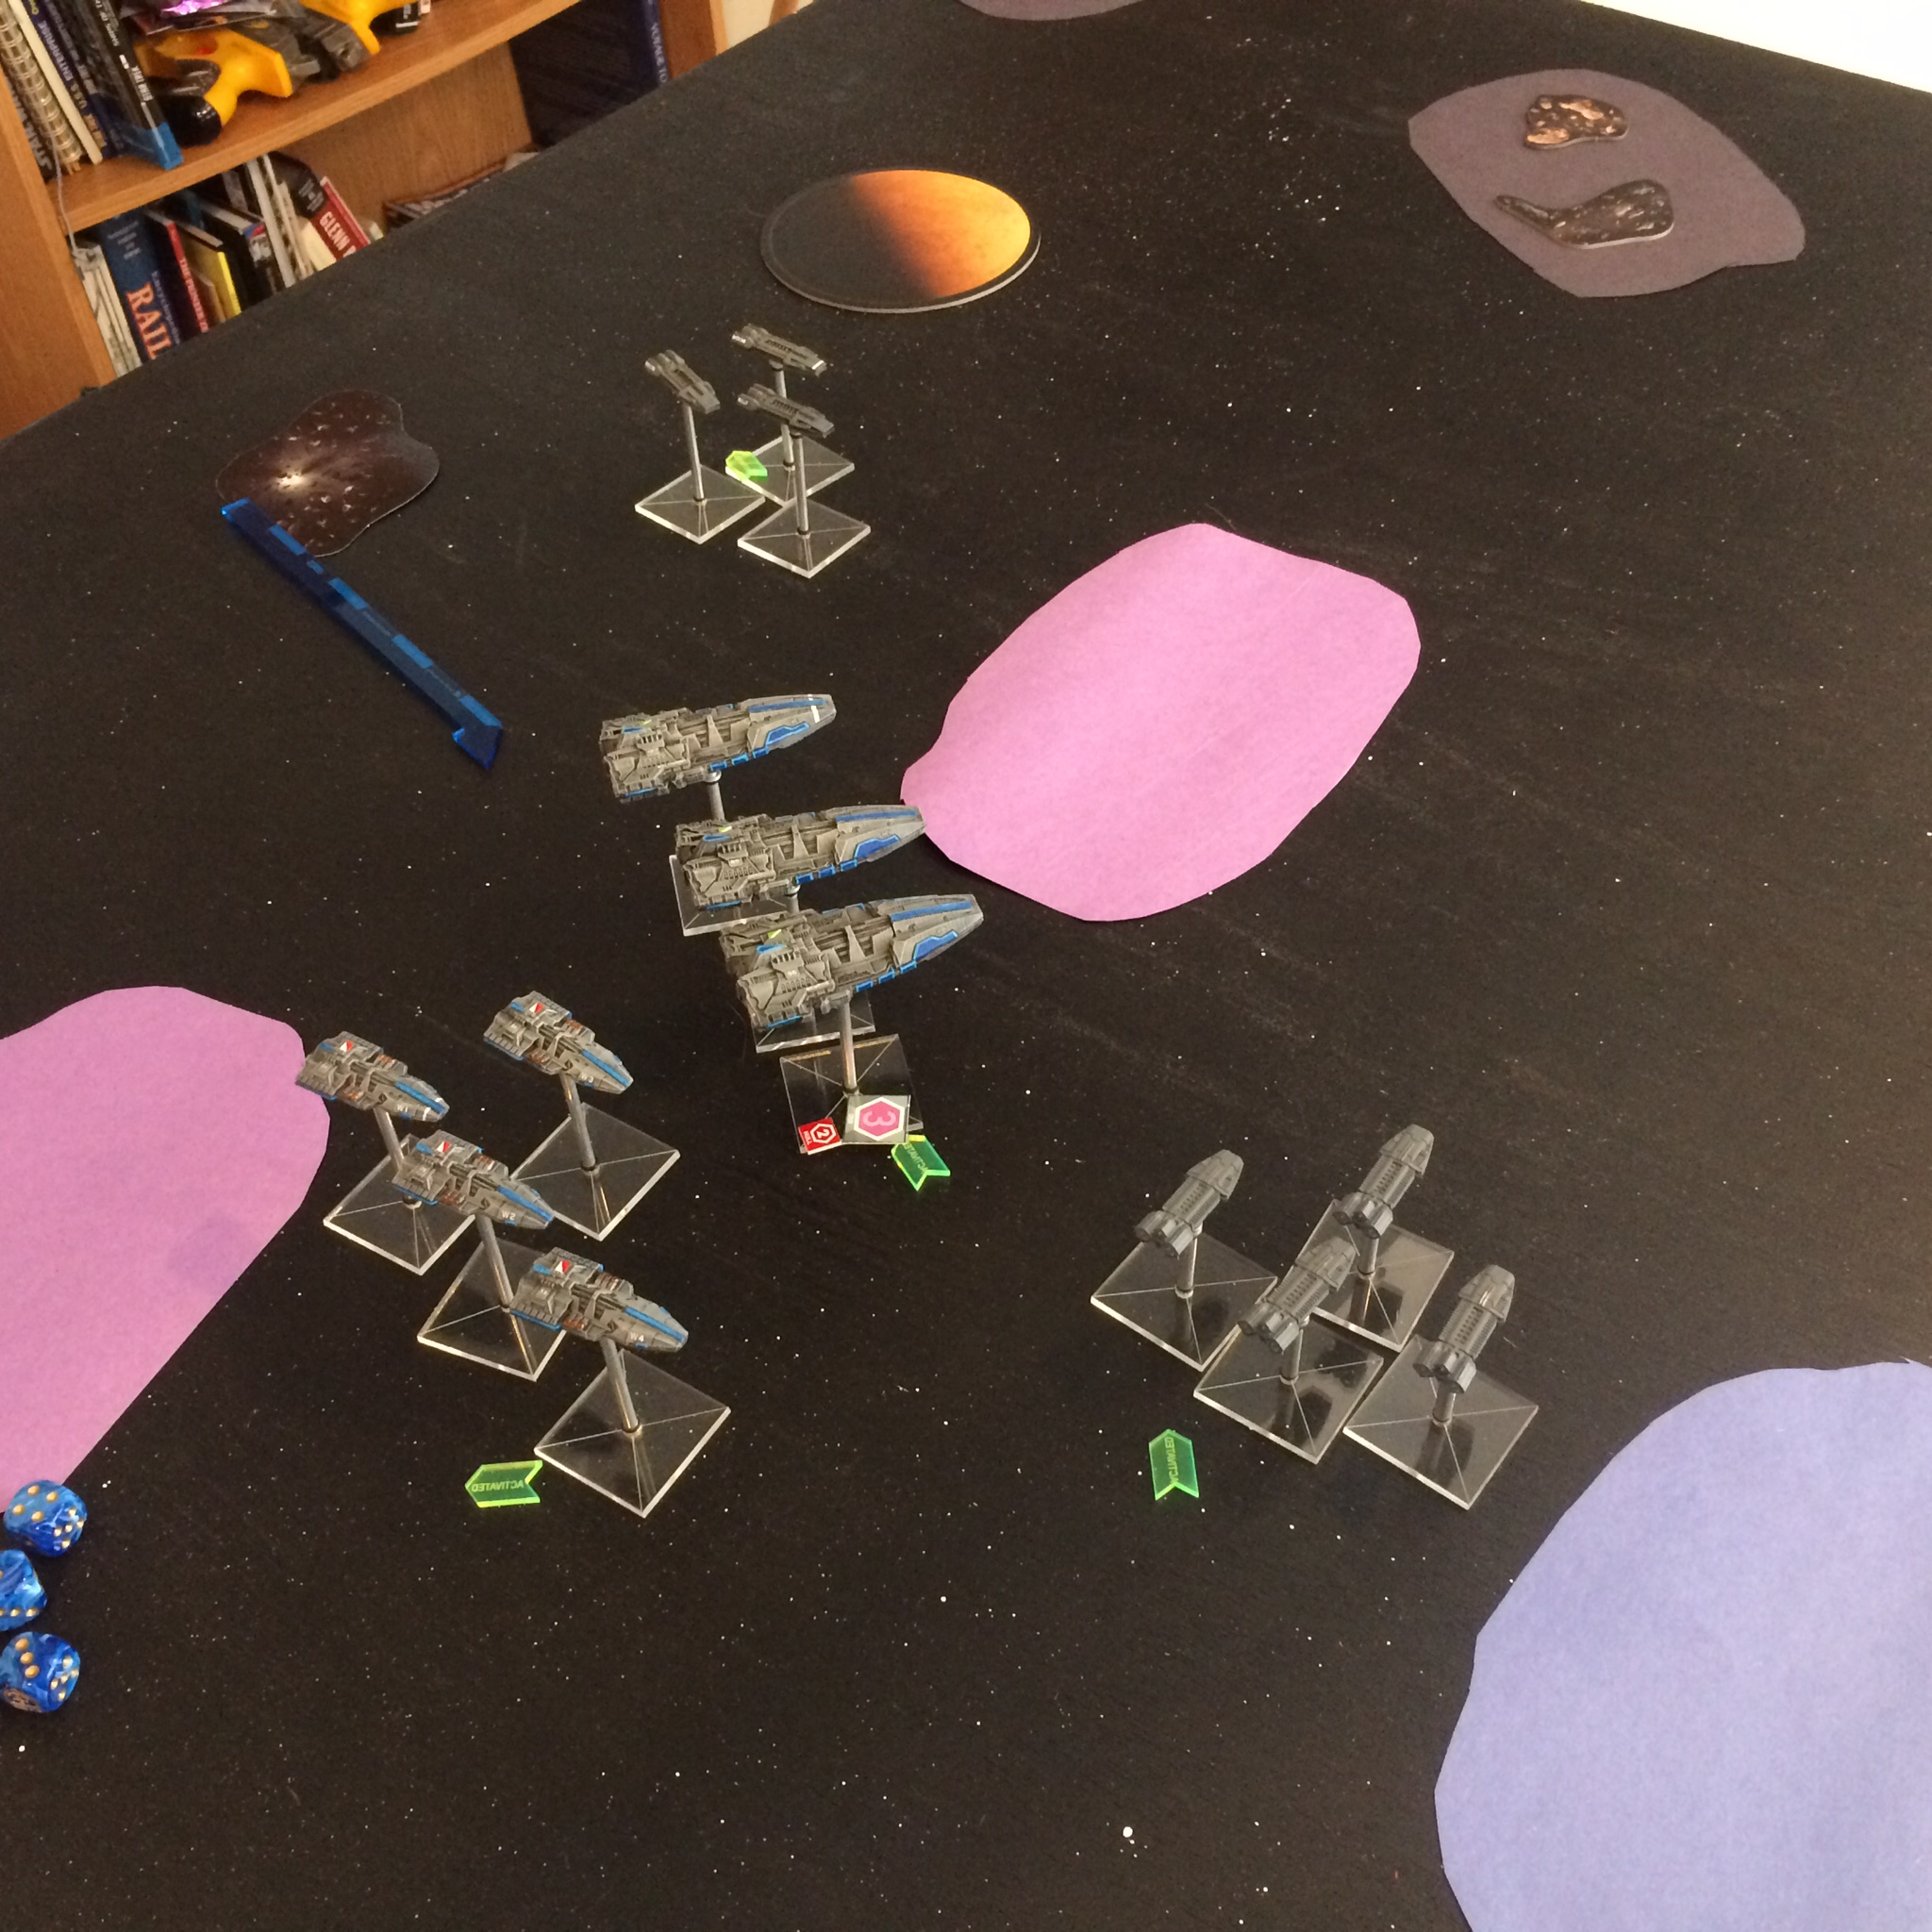
Here is the table after deployment. We are using construction paper as hastily made stand-ins for area terrain. Purple=Gas Clouds, Blue=Debris Fields, and Grey=Asteroid Fields.
Turn 1
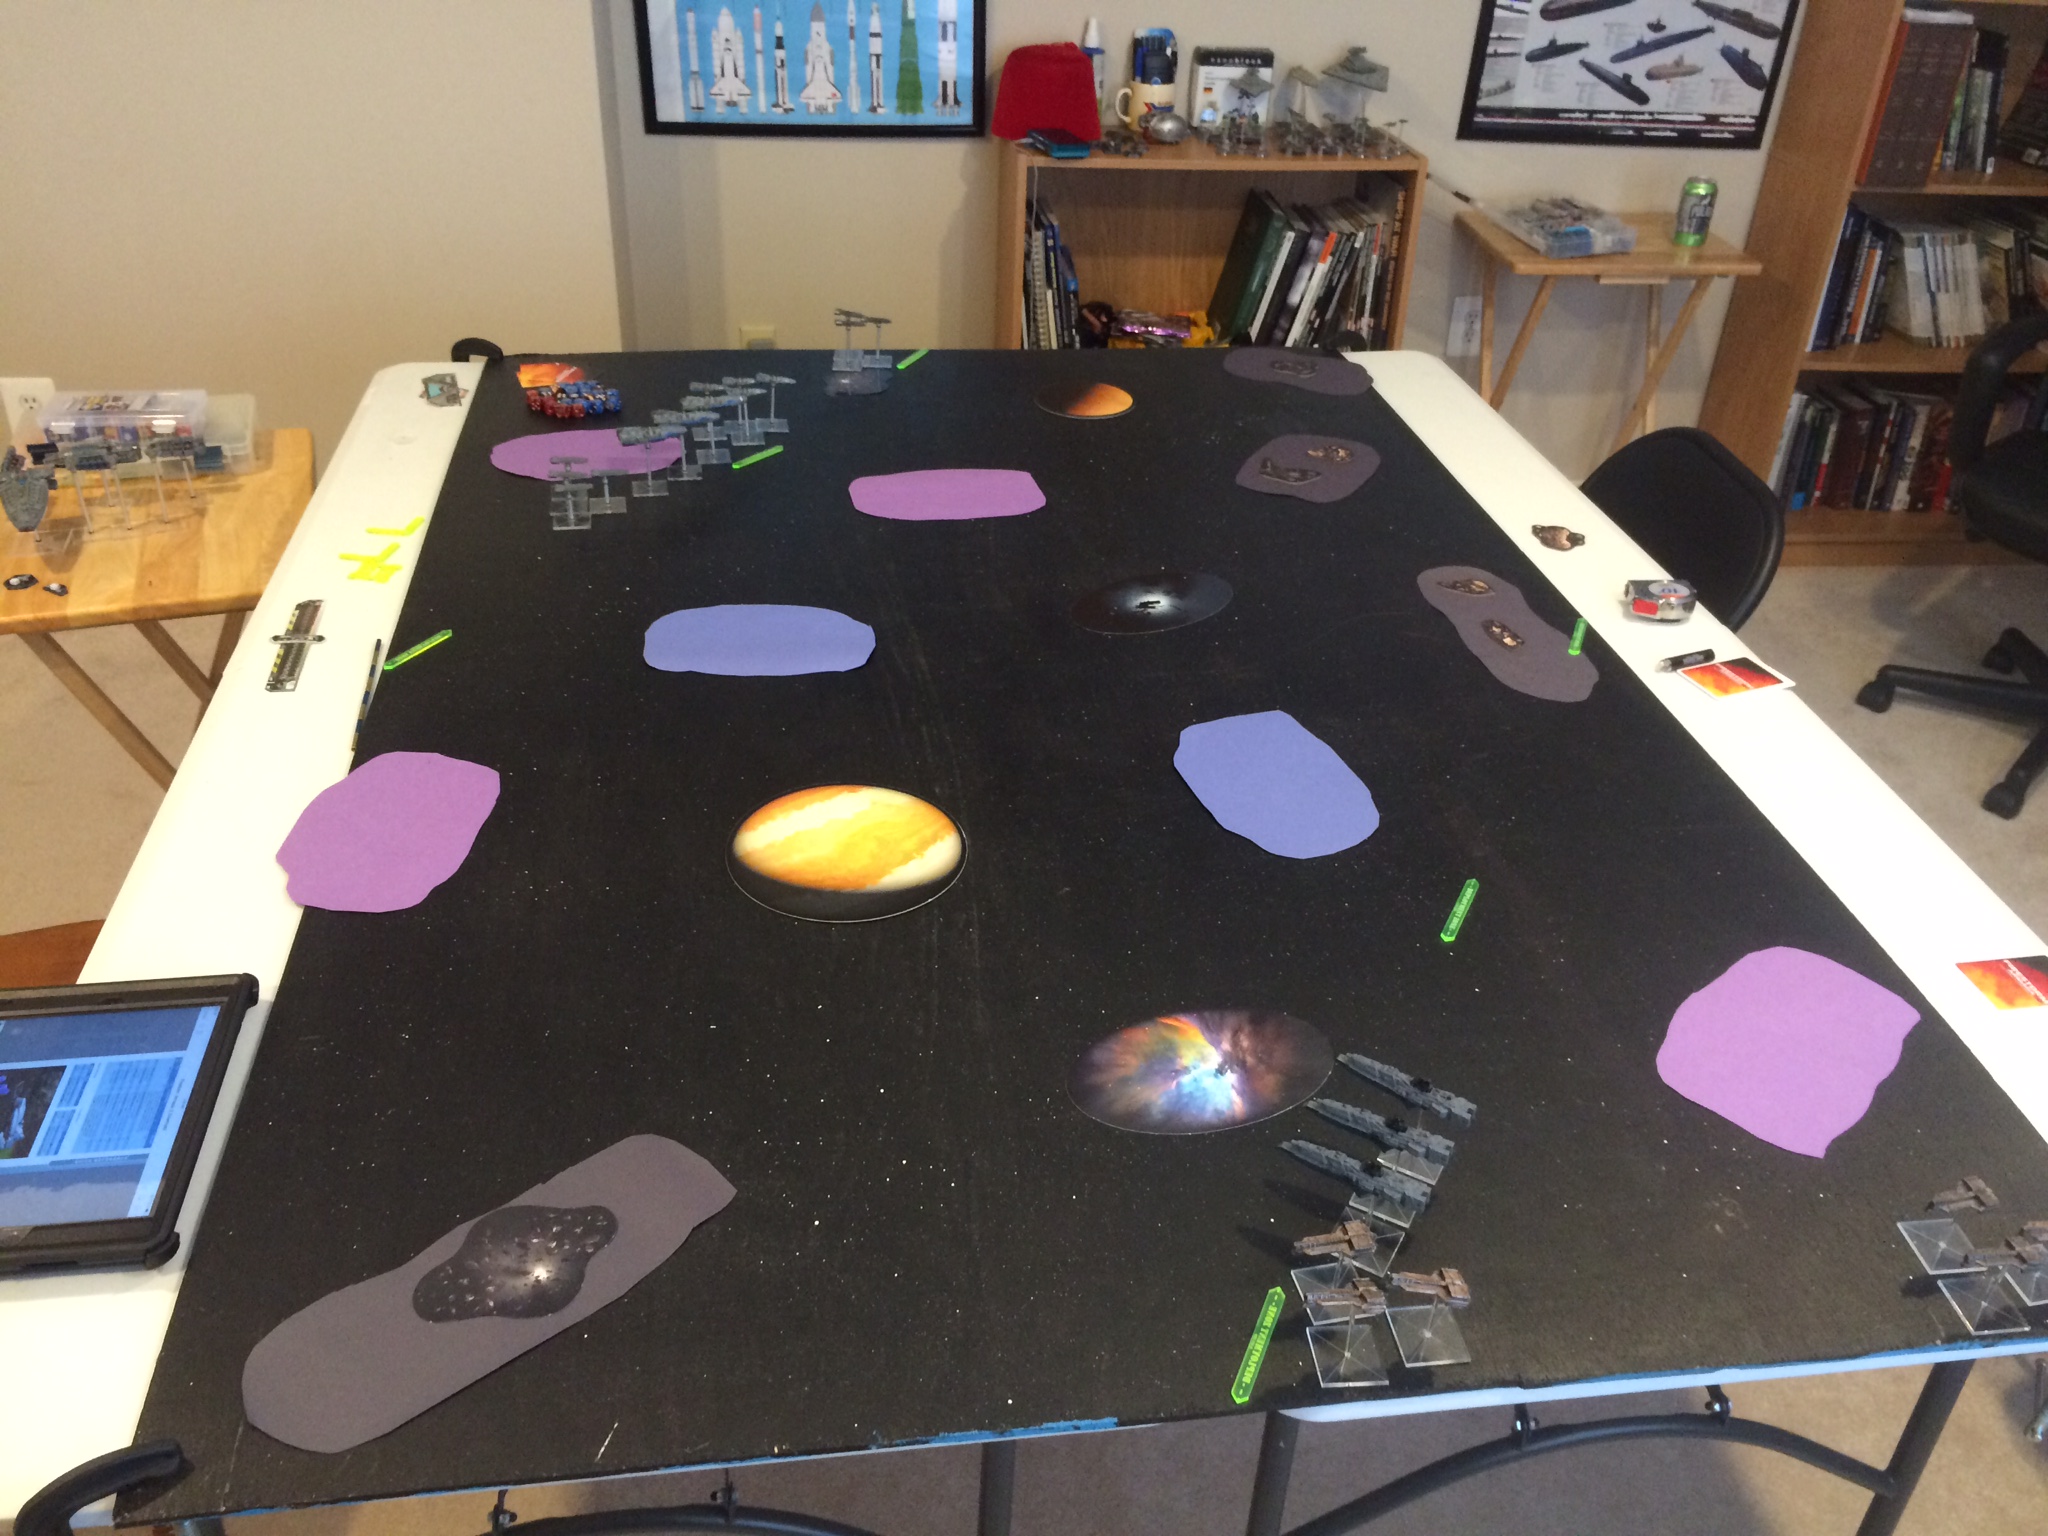
The first turn, it was just our cruisers and frigates on the board. We traded long-range torpedo shots, with mine missing but CDR-G getting a critical hit on one of my cruisers! Here is how things looked at the end of the turn:
Turn 2
On turn 2, I managed to bring in my carrier, with its two supporting shield cruisers. I failed my command check, however, resulting in them getting shifted further away from CDR-G’s forces. However, the carrier and the shield cruisers greatly bolstered the defenses of my fleet, with the interceptors providing a PD bubble and the cruisers improving my shield efficiency. Shooting was slightly more effective; CDR-G destroyed one of my frigates, and damaged another, while I manged to destroy one of his and damage two others.

Turn 3
At the start of Turn 3, I spent a Battle Log point to bring my Battleship in, while CDR-G rolled low enough to bring his carrier and its accompanying cruisers on. We both failed our command checks, which resulted in us shifting position. However, CDR-G only rolled 7″, while I rolled 11.” This effectively moved his carrier and cruisers out of effective firing range for another turn, while my battleship and its escorts were only slightly affected. This turn was rather bloody; I lost another frigate, and suffered another critical hit to one of my cruisers. CDR-G lost two frigates, one of his Spook cruisers, and suffered a hit on one of his Dindrenzi cruisers as well.
Turn 4
At the start of Turn 4, CDR-G rolled low enough to bring on his battleship (finally!), and also managed to pass the command check. His BB came on right near mine; it would be a Battleship Fight! As it turned out, I lost all 3 of my escorts and another frigate, while my battleship took two points of damage. In return, I manged to put a point of damage on the RSN battleship and kill another one of the Spooks. This turned out to be the last turn, due to time constraints. This made the game a draw, 3 to 0.
Hotwash
This was still very much a learning game for both of us. That being said, it was very helpful to be able to take our time and look up rules at our own pace as needed. I definitely feel like it was another important step in my preps for Adepticon. Looking back, we might have been better off with a different scenario; not being able to play with shunt entry, and not having our Admirals on the table for multiple turns forced some interesting tactical choices that prevented us from fully executing our battle plans. Even so, I feel like I learned some important things about my list, which will need another round of adjustments. However, that will have to wait for another post. Until next time!
Actually, Escalating Engagement and Hold the Waypoints are excellent scenarios for testing your fleet’s adaptability, which it will need at Adepticon (and hopefully NOVA). I guess I know which Scenario we’ll be playing.
Also, did the Dindrenzi player forget to bring the mandatory Dindrenzi Tier 2, or did it just never hit the table and you forgot to mention it?
Yeah, this game was definitely a test of adaptability! In that way, it was a Good Thing, as it made me think about new tactical approaches.
And, yeah, as I mentioned on the forums, CDR-G and I completely forgot the force org rules for alliance fleets. Not a big deal, though; this was very much a learning game for both of us!
Pingback: Adepticon Prep: Firestorm Armada Fleet Lists Round 3 | Man Battlestations Blog