 I have played my first game of Dystopian Wars in Connecticut! Yesterday, I took a trip up to The Battle Standard, which is located in Manchester, CT. I was impressed with the store; it has a lot of very nice tables, including some water boards perfect for some DW action. Even though it wasn’t the store’s usual DW night, there were still a couple of guys there working on their fleets, and one of them, a fine gentleman by the name of Ryan, was nice enough to give me a game.
 Read on to see how the battle turned out!
Fleets
Ryan is an EotBS player who is just getting into the game, so we decided to limit our forces to the contents of a starter box. Here were the details:
Me (Prussians)
- Battleship w/ Shield
- 1 Squadron of 3 Cruisers w/Lethal Strike
- 3 Squadrons of 3 Frigates each
- 1 Squadron of 2 Bombers
- 2 Squadrons of 5 Dive Bombers each
Ryan (Blazing Sun)
- Battleship w/ Shield
- 1 Squadron of 3 Cruisers
- 3 Squadrons of 3 Frigates each
- 1 Squadron of 2 Bombers
- 2 Squadrons of 5 Torpedo Bombers each
Mission
We decided not to roll for battle orders and just kill the opposing fleet, since we had time and it would give both of us much needed practice with the rules. We did use STAR cards in our game, though.
Setup
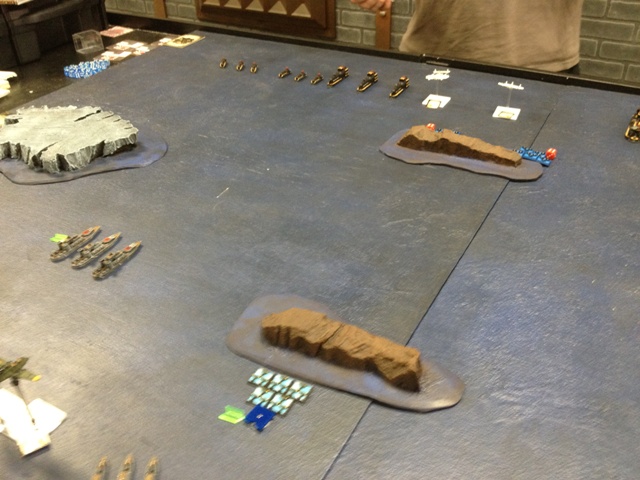
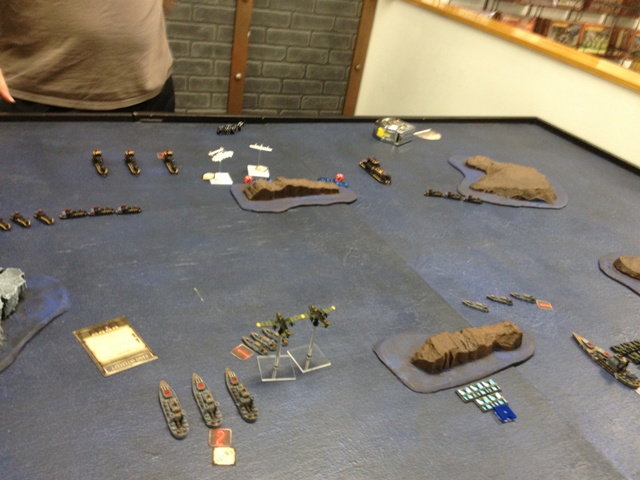
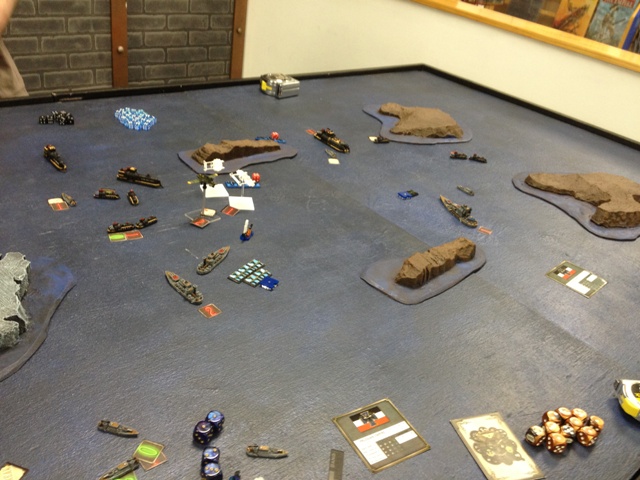
Ryan won the role to set up first, and we each alternated deployment using an 8″ deployment zone along the long edge of the table. Here is our final deployment:
Turn 1
Ryan attempts to play a T card, but I decide to cancel it. Ryan then goes on to win the initiative, and we each start by moving a frigate squadron.
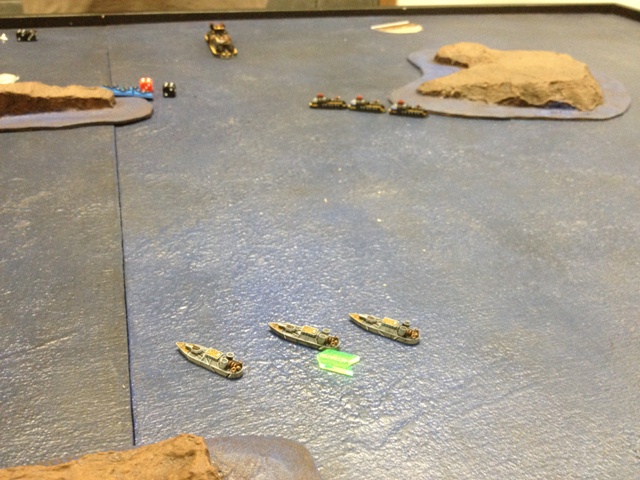
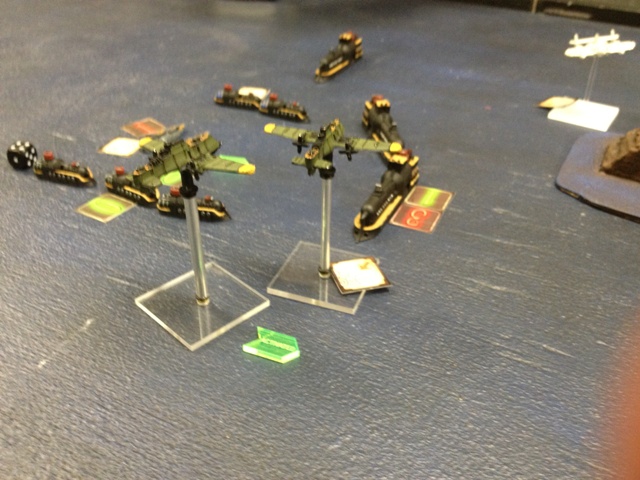
As we traded activations back and forth and moved our fleets up, it was becoming apparent that, as so often happens in Turn 1, there wasn’t going to be a whole lot of action this turn. We did trade a few pot-shots back and forth, though. I managed to damage one of the Blazing Sun frigates, while one of Ryan’s other frigate squadrons managed to cause a critical hit to the engines of one of my cruisers, reducing it to half speed. We both activated our battleships last, though the ranges were too great for this iron behemoths to accomplish much. Ryan’s battleship did succeed in damaging another one of my frigates, though. The only action in the end phase was that my lamed cruiser failed to repair her engines, which meant that she would have trouble keeping up with her squadron mates. Here is how the board looked at the end of Turn 1:
Turn 2
I played the “Radio Intercept” card, which gave me enough of an edge to seize the initiative for Turn 2. I Immediately activated the squadron of frigates on my right side, and charged them forwards to take on Ryan’s battleship. They did not succeed in hitting the large ship (the gunners must have failed their qualifications!), but the marines they carried did succeed in derelicting a nearby Blazing Sun frigate.
In response, Ryan began moving up his bombers to try and thin my ranks with rocket attacks, but my AA proved up to the challenge. On my left flank, my opening gambit was to push forward with a squadron of frigates and have them hit an opposing squadron of Blazing Sun frigates. They succeeded in sinking one and derelicting another. However, the Blazing Sun quickly responded, surrounding my frigates and punishing them heavily!
My bombers were the next into the fray. They closed up on Ryan’s cruisers, and managed to cause a critical hit on one using their fore Tesla weapons. The Hard Pounding they gave that ship left it with only 1 hull point and 1 assault point!
However, their victory was to be short lived as, in an amazing show of anti-air aptitude, Ryan’s remaining squadron of frigates managed to get enough hits with their AA to shoot down one of my bombers! Alas, this would not be Ryan’s last incredible AA roll.
As this action was developing on my left flank, things were heating up on the right. Ryan’s frigates managed to sink one of my own that had been damaged last turn. I moved up a dive bomber wing in order to position them for a strike on Ryan’s battleship, but I miscalculated the range, for when Ryan moved his battleship he not only sank two of my frigates by colliding with them, he also got close enough to attack my dive bombers. He managed to shoot down 4 of the dive bombers in another virtuoso display of AA!
Back on the right side, my cruisers moved up and managed to finish off Ryan’s heavily damaged cruiser, as well as damaging a frigate. However, Ryan’s torpedo bombers then pounced on my lead cruiser, blowing it out of the water with a volley of the Blazing Sun’s deadly fast torpedoes!
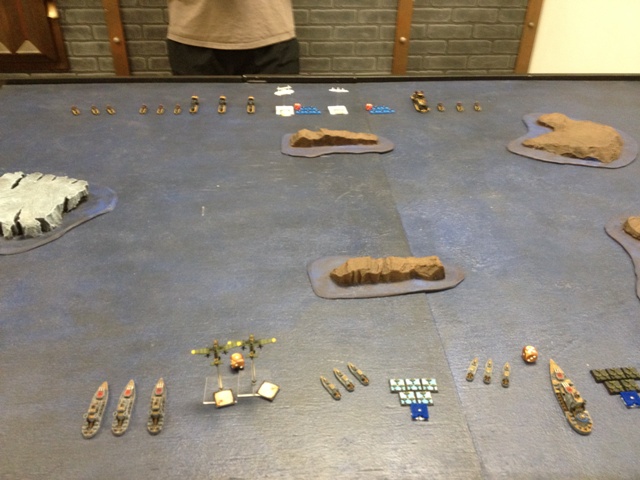
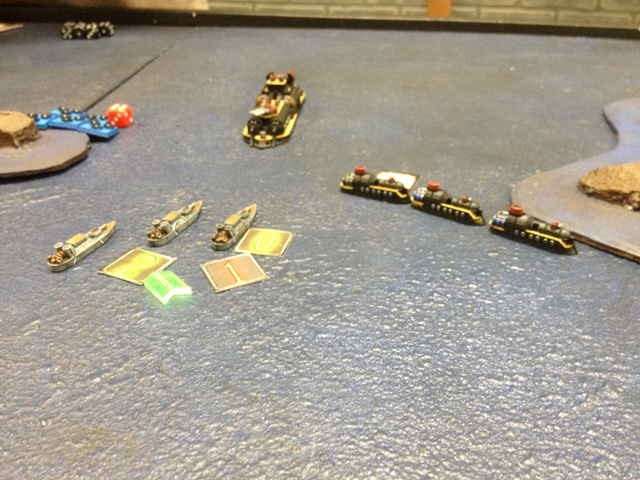
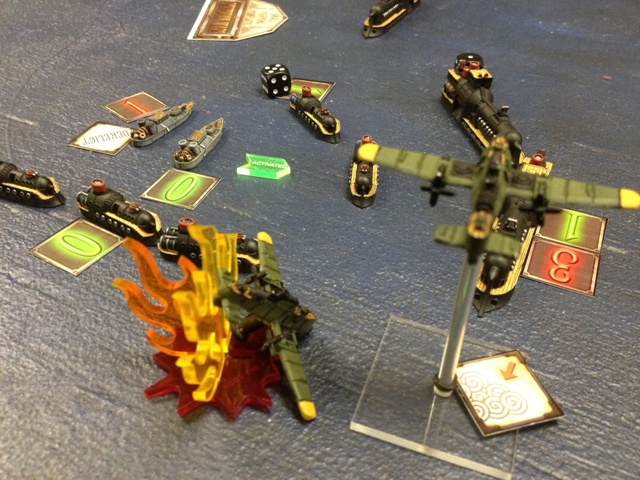
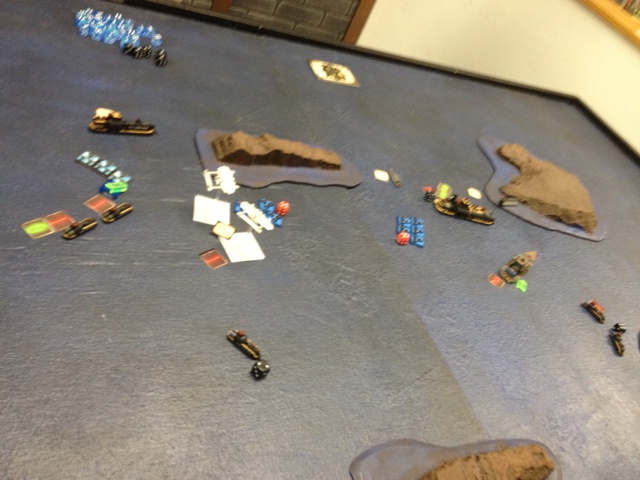
In the end phase, I finally managed to repair my cruiser’s engines. Likewise, there were several derelict ships on the table that drifted forward their obligatory 2 inches. At this point, the scales of battle were definitely tipping in Ryan’s favor; he was able to reduce my forces to the point where I would only rate 4 cards in the next turn. However, I still had enough forces on the table that victory was not yet beyond my grasp. Clearly, turn 3 would be the deciding turn! Here is how the table looked at the end of Turn 2:
Turn 3
In turn 3, the massive furball on the right flank came to its dramatic conclusion. I won initiative, and immediately sent my dive bombers in to hit one of Ryan’s cruisers (I wasn’t taking any chances after what happened with my other tiny flyer squadron!). For once, Ryan’s AA was poor and all 5 of the dive bombers managed to get through to the cruiser. They managed to put two critical hits on that ship, sinking it instantly! Ryan decided to open the action on the left flank by moving his battleship forward and putting a point of damage onto mine. His battleship also managed to down my remaining bomber with its rockets, before it had a chance to activate it!
My remaining frigates continued to duel with Ryan’s, though they caused no damage to the Blazing Sun. Ryan’s bombers made an attack run on my battleship, but aimed so poorly that my AA gunners didn’t even need to fire a shot. My remaining two cruisers then made their presence felt; steaming bravely into the heart of the Blazing Sun formation, they managed to sink one frigate, damage another, and then board and derelict both of the Blazing Sun bombers! Unfortunately, Ryan’s vengeance was swift, and my cruisers were sent to the bottom in short order.
Back on the right flank, my battleship have as good as it got, giving a Hard Pounding to the Blazing Sun battleship and sinking a frigate with its broadsides. Ryan’s other squadron of torpedo bombers then moved into position to hit my battleship, but thanks to my AA, CC, and shields I was able to limit the damage to one hull point.
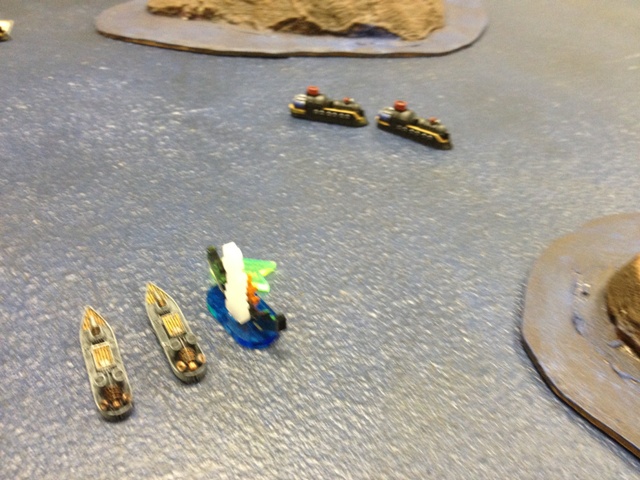
So, at the end of Turn 3, I was down to my battleship and a under-strength squadron of tiny fliers that needed to rearm. I figured that Turn 3 would be the decisive turn, and I was right. Unfortunately, the decision was decidedly against the Prussians! Note that I had yet to wipe out any of Ryan’s frigate squadrons, so he was still pulling 5 STAR cards while I was down to 1. We decided to continue the game, though, because both our battleships were still in the fight. Here is the table at the end of Turn 3:
Turn 4
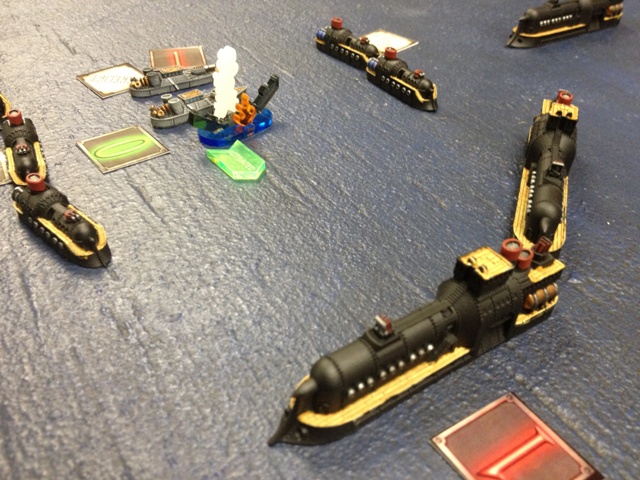
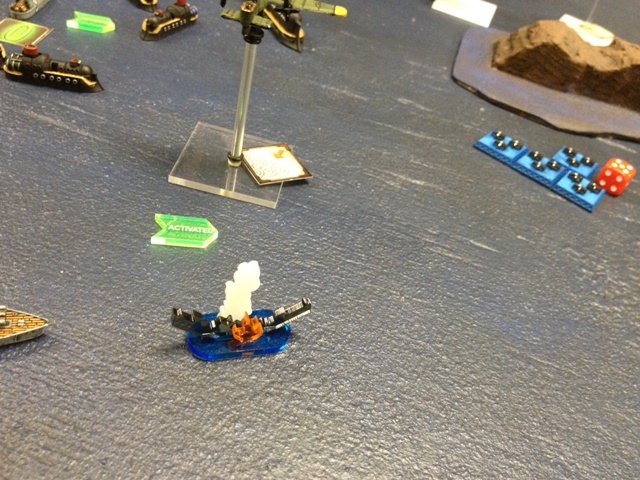
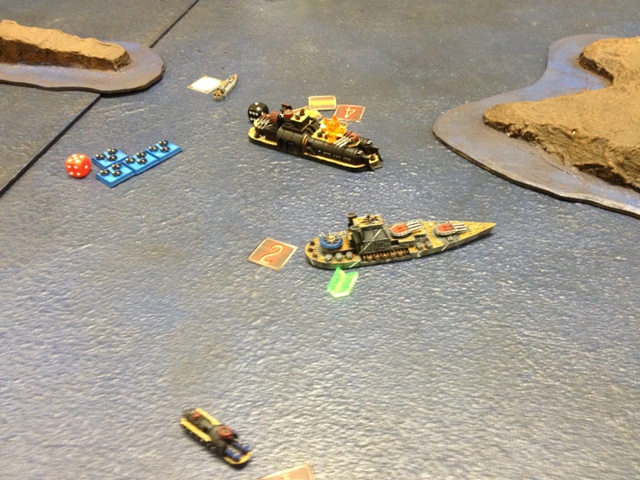
This turn was pretty quick, since there wasn’t much to move. I won initiative, and used my battleship to put another point of damage on Ryan’s battleship and sink a frigate. Ryan’s battleship damaged me in return, but his frigates and remaining cruiser were either too far away to hit me or else caused no damage. Our battleships both went All Stop before we plowed into the island! Here is the scene at the end of Turn 4:
Turn 5
Ryan played the “Pass the Tools” card to repair his battleship back to normal health, but I managed to win initiative. I then played “Running Repairs” to fix my battleship as well! Suddenly, it looks like we might have a real fight on our hands. I was hoping to get in a last-ditch boarding attempt on Ryan’s battleship, but now that it was back to full health I didn’t want to face the full fury of the Blazing Sun AA. So, I decided to shoot instead. This seemed to pay off, as I managed a Hard Pounding critical hit!
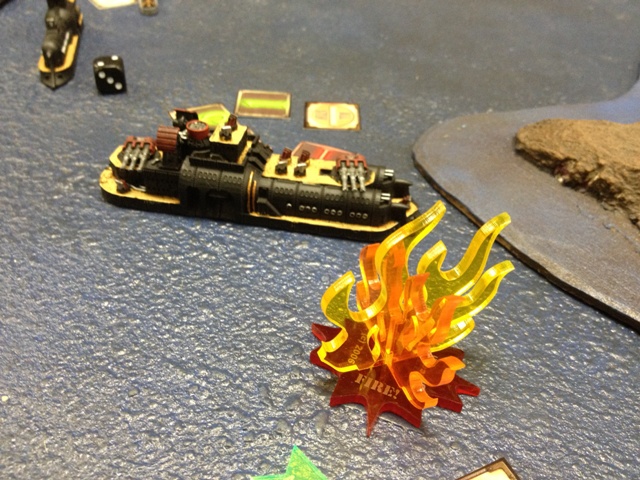
Unfortunately, just as it seemed the Prussians might have a chance, the Blazing Sun slammed the door shut; Ryan’s battleship took aim at mine, and managed to get no less than 26 hits with her main guns! My shields were like nothing in the face of such a furious onslaught, and suffered two critical hits. The first one took down my systems, which I could live with. The second one, though, was the dreaded Magazine Explosion. BOOM!
This was definitely the end. Victory to the Blazing Sun!
After Action
Whew! What a game. First of all, I had a great time playing with Ryan. Even though he is a fairly new player, his understanding of both the rules and his fleet was excellent. I would gladly play him again.
So, I made a few mistakes obliviously. I was probably a bit over-agressive with my frigates, and I definitely over-extended my one wing of tiny flyers. At the end, I also probably should have boarded Ryan’s battleship earlier, and taken my chances with the AA. That one is a bit of a tough call, though, because the chances of Ryan getting to the Magazine Explosion were fairly small. I’ve definitely gained respect for the Blazing Sun frigates; with a max of 7 AD each and a CR of 6, they can be quite tough if handled properly!
As usual, the dice were a major determining factor; while both of us had some really great rolls, Ryan managed to get one or two more at critical moments in the game. Finally, I’m glad we played with the STAR cards. They did not seem to completely control the course of the game, but they did add a nice extra layer to the proceedings.
Well, until next time, good luck and good hunting!

Great battle report.
The pictures are great, and it was really easy to follow what was going on. Both fleets were really nicely painted.
I’ve just got into Dystopian Wars, and good battle reports like these are really helpful.
Rathstar
Pingback: Battlestandard Games Tournament Report |