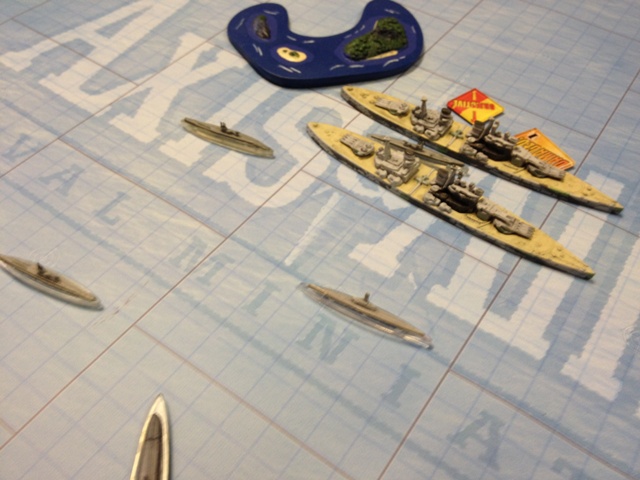
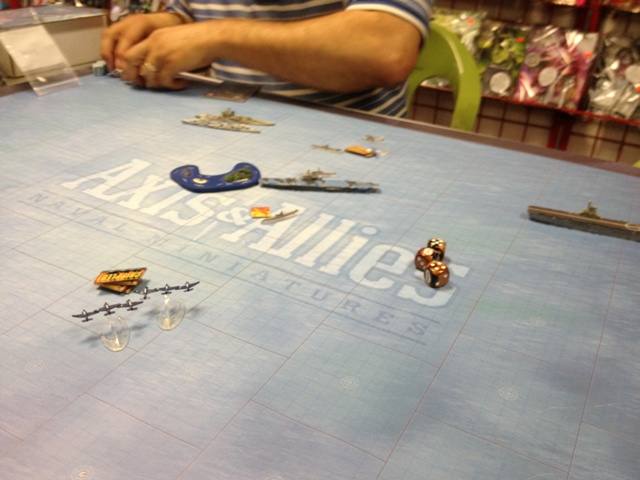
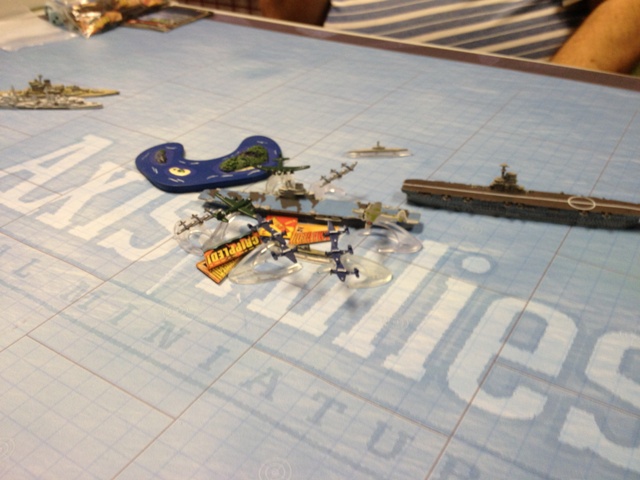
 Weclome to the first Axis & Allies Naval Minatures battle report here at Man Battlestations! Seth (wargammer55 on the forums) and I met last night to play a couple of 200 point games. What each of us did was make a 200 point German list and a 200 point British list. We then diced off to see who would play which side in the first game. Naturally, we traded sides for the second game! So, in this post I will actually be presenting two game reports. Be warned, both are fairly pic-heavy!
Game 1
I won the dice roll, so I decided to pick Germany first. My list was a fairly run of the mill German sub swarm, and went as follows:
- Tirpitz
- Graf Zepplin
- U-66 x5
- U-2511
- Bf-109 x2
- FW-190 x2
- Kondor x2
Seth’s British fleet was a very interesting battleship-heavy force:
- King George V
- Prince of Whales x2
- Truculent
- Martlet x3
- Sunderland
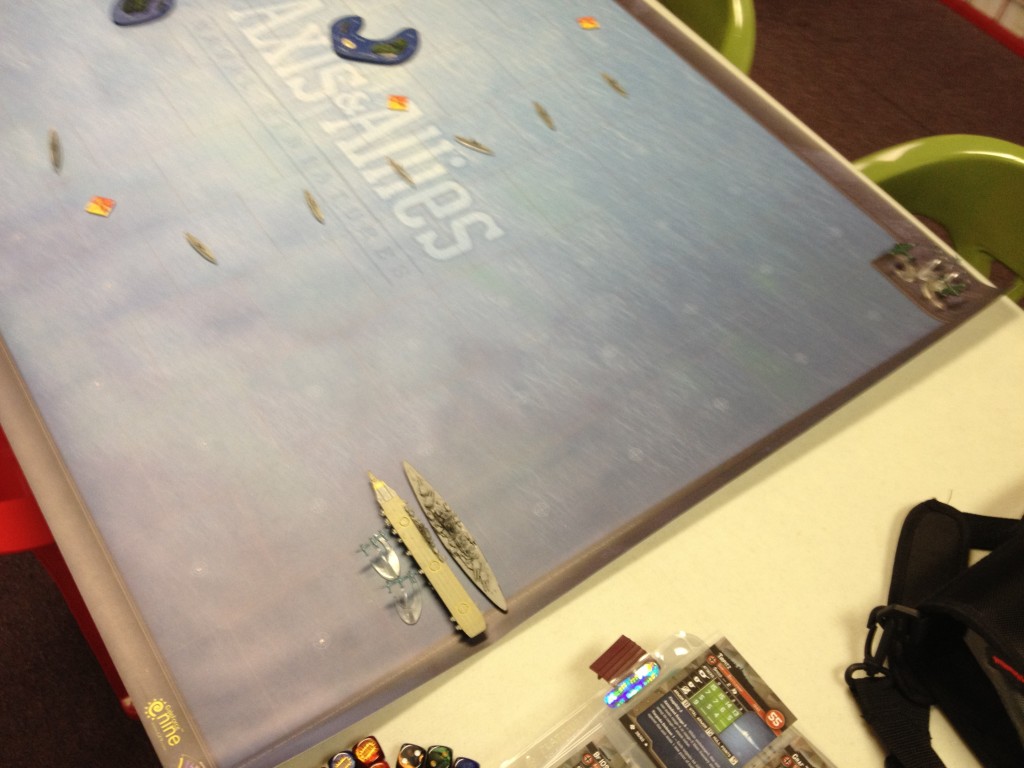
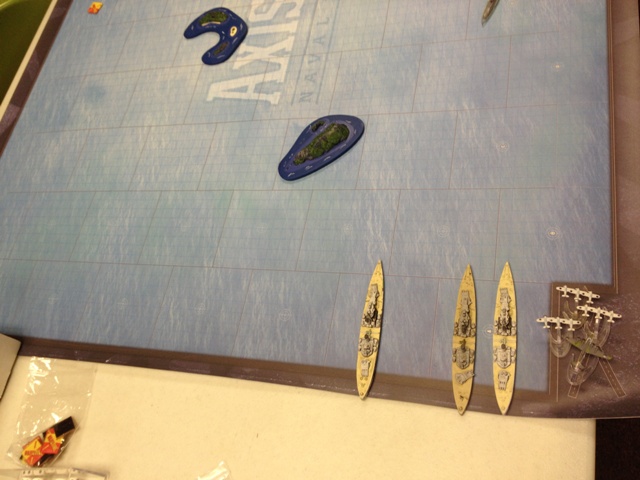
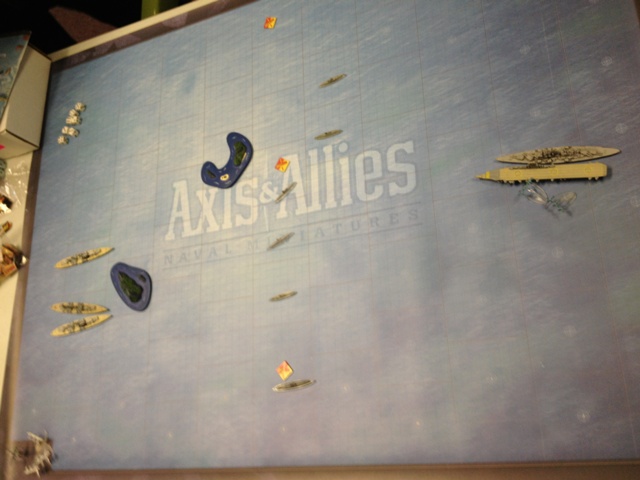
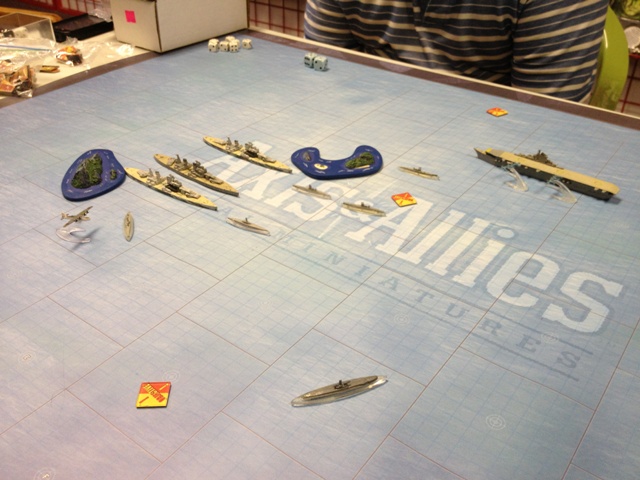
Game 1 Deployment
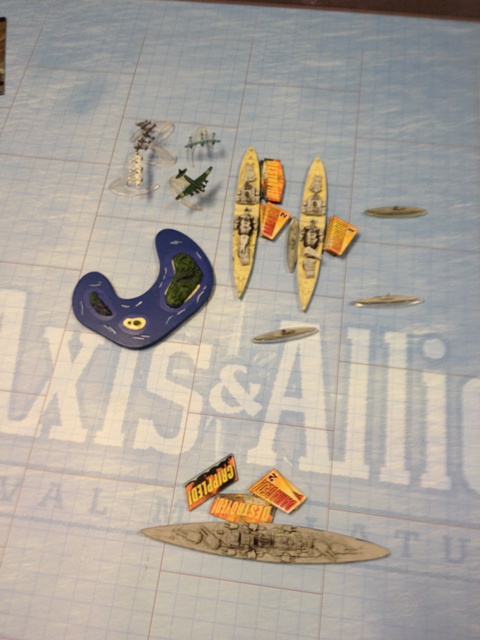
I lost the set up roll, and so had to deploy first. Here was my deployment:
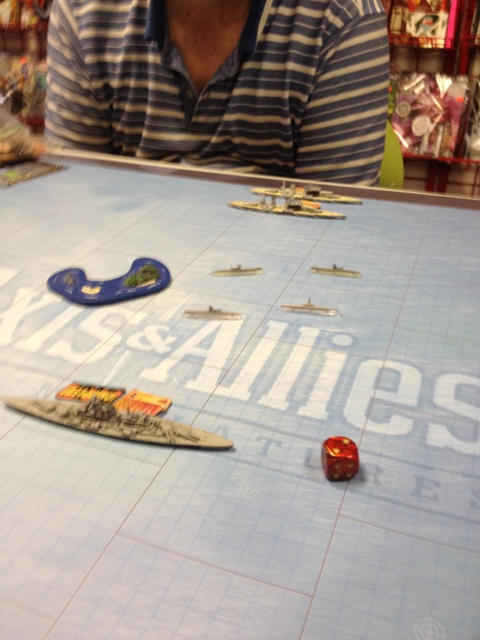
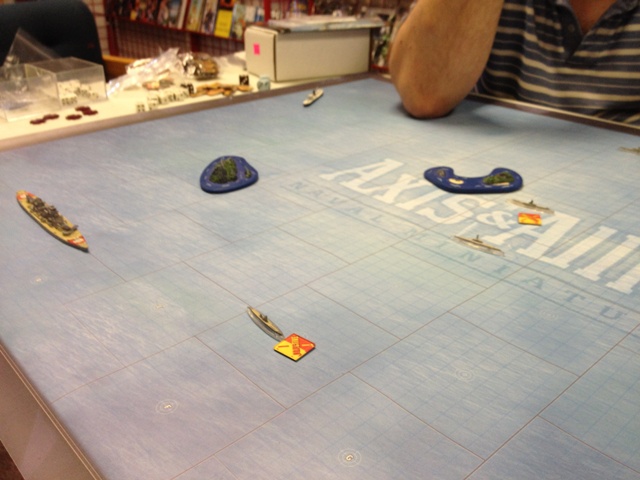
And here is how Seth deployed:
Game 1 Turn 1
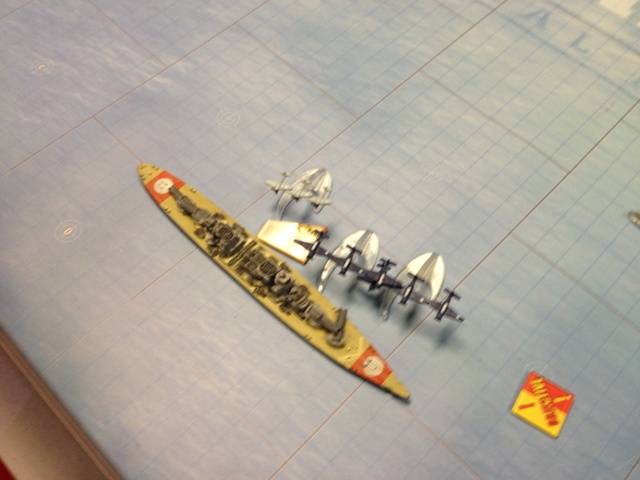
I won initiative, so I advanced the Tirpitz and Graf Z two sectors, and started shifting my sub swarm over to intercept Seth’s battleships. For his part, Seth kept the battleships behind the islands for cover. The air phase was a bit of a wash; we both tried to use our patrol bombers for ASW, but none of them could get through. In fact, I lost a Kondor to a Martlet!
Game 1 Turn 2
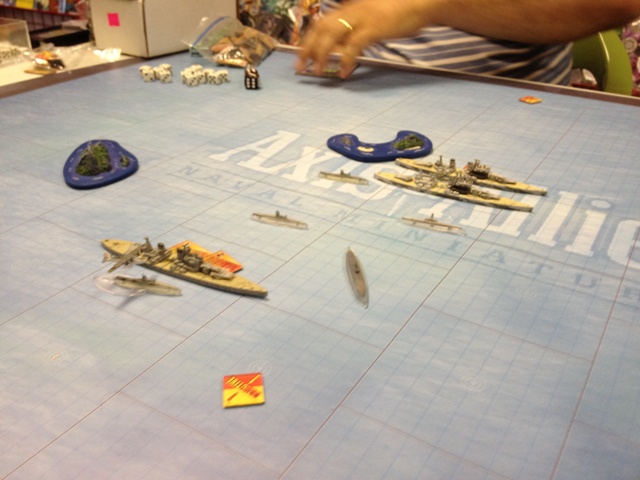
I lost initiative, so I had to tread carefully. I tried to advance the Graf Z up the flank, using the islands as cover. Unfortunately, I miscalculated, as Seth advanced all 3 of his battleships up the middle. This left my carrier open to attack from the battleships, which quickly sank her! The Tirpitz managed to put a point of damage on the KGV, however.
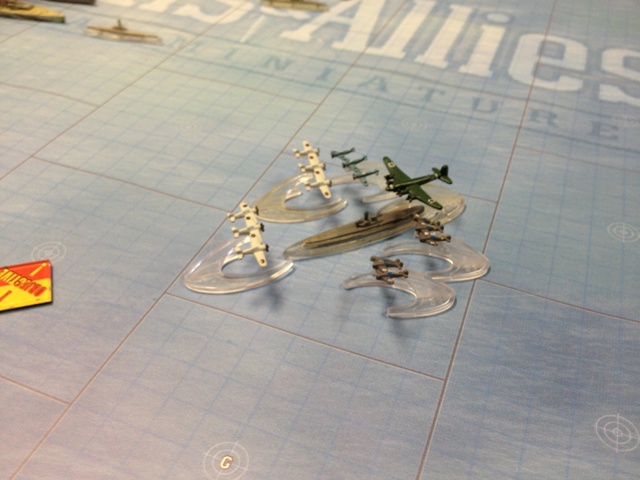
A big aerial fight developed over the Truculent, but once again my Kondor was aborted. I did manage to spalsh a Martlet with one of the Fw-190s!
Game 1 Turn 3
I lost initiative again, but it was pretty clear that Seth was going to advance his fleet to the middle of the board so I moved accordingly.
This turn, my subs began taking a major toll on the British. Despite interference from the air, my U-boats managed to finish off the KGV and put a point of damage onto one of the Prince of Wales.
Game 1 Turn 4
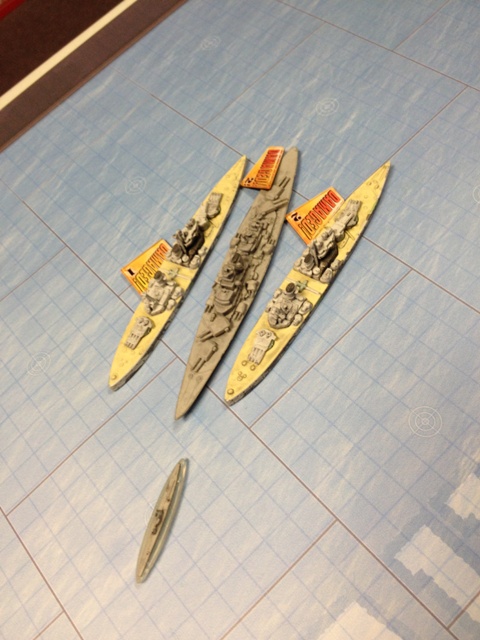
I won initiative, but I was wary of moving too close to the British battleships. I figured they would be content to go for one of the flank objectives, and hit the Tirpitz from long range. Again, I miscalculated, and wound up with a Tirpitz sandwich! Fortunately, the Tirpitz was not viatalled, but she did take a couple of points of damage. Elsewhere, the Truculent and one of the U-66’s fought it out, with each sinking the other.
Game 1 Turn 5
I managed to win initiative, but I was firmly on the defensive at this point. I decided to move the Tirpitz towards the center of the board, and use my subs as a shield. Seth decided to go for the objective and minimize his exposure to my torps! Seth still managed to cripple the Tripitz a range 3, however.
Game 1 Turn 6
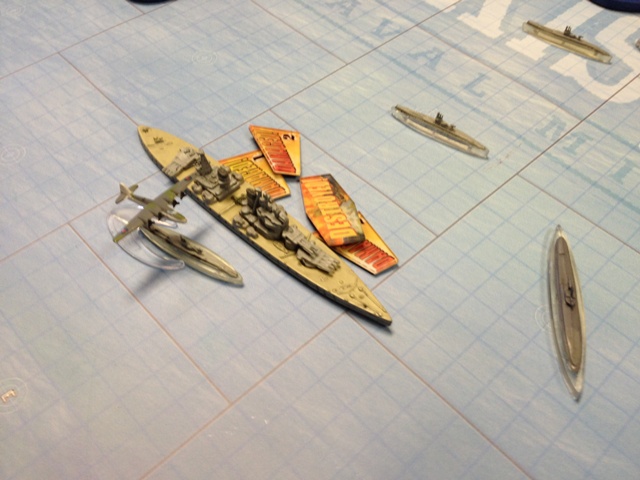
At this point, it was pretty clear this was going to be the last turn; Seth advanced both Prince of Wales towards the center, and the crippled Tirpitz could not get away. In the end, I managed to get enough torp hits to sink one more battleship, but alas a final salvo from the lesser damaged Prince of Wales sent the Tirpitz to the bottom. British victory!
On to Game 2!
For game 2, we switched sides. My British fleet took a different approach, going with an air-heavy list (we agreed that the Brits could use American planes). Here it was:
- Warspite
- Belfast
- Ark Royal
- Victorious
- Javelin x2
- Corsair x2
- Avenger x3
- Sunderland x2
Seth’s German fleet was a bit of a different take on the sub swarm fleet, with a heavier battleship and a more diverse selection of subs
- Fredrick der Grosse
- Atlantis
- U-2511
- U-47
- U-552
- U-510
- U-66
- FW-190 x2
- Kondor x5
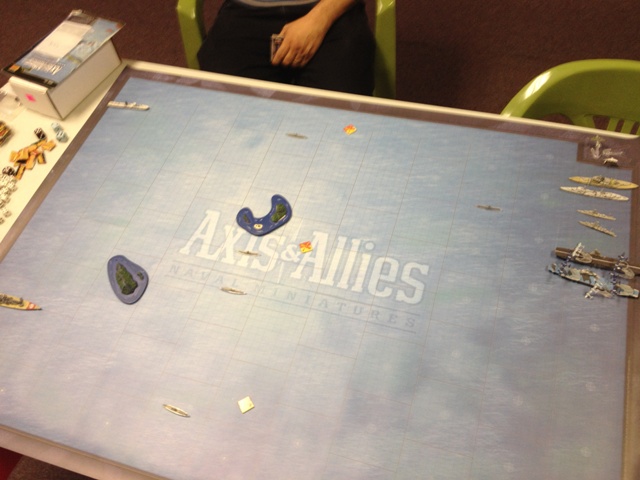
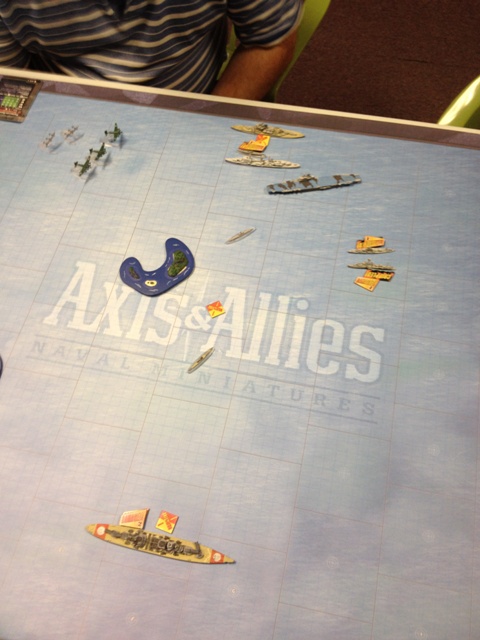
Here was the setup. Note that the U-47 was infiltrated:
Game 2 Turn 1
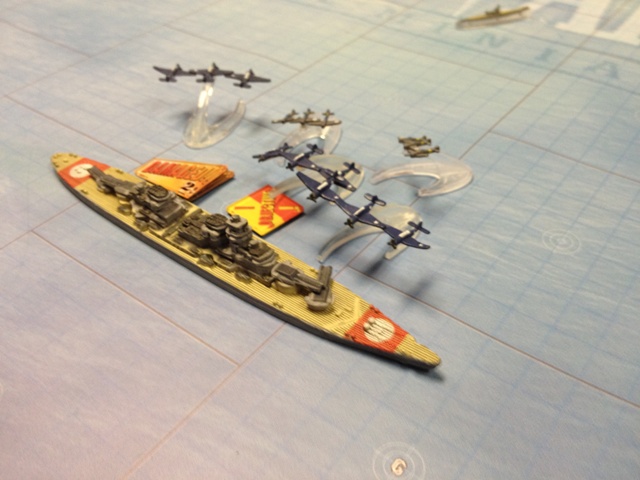
I lost initiative for turn 1, but we both just moved our fleets up (with the exception of the Atlantis, which decided to cruise the back of the map). I did mange to use sub hunter to put the Javelins over the U-47, but at this point the biggest action was going to be in the air phase. Seth put all of his Kondors in the middle of my formation, while I put all of my Avengers onto the FdG. I managed to abort one Kondor and shoot another down with my Corsairs, but I lost a Corsair to one of Seth’s FW-190s. The Kondors then manged to cripple both destroyers, but they did miss the shot they took at the Warspite. My avengers were pretty successful; 2 got through the AA, and managed to put a point of damage on the FdG. Meanwhile, one of my Sunderlands managed to cripple the U-66. I the surface face, the two crippled Javelins failed to hit the U-47. However, their harassment meant that the sub had few torpedoes to throw, and she missed!
Game 2 Turn 2
In turn two, we both advanced up our respective flanks. With all the German air rearming this turn, I had a free hand with my air. I decided to use one of my Avengers to ASW the crippled U-66, while the other two Avengers and the Corsair attacked the FdG. Unfortunately for me, Seth’s AA was good, and he managed to splash the Corsair. I now had no fighters! However, the two avengers managed to put another 3 hits on the FdG, which was now really hurting. In the surface phase, the plucky Javelins managed to sink the U-47, despite their crippling damage.
Game 2 Turn 3
I won initiative, and I quickly moved my surface forces ( along with the now plane-less Victorious) up to the right-side objective, while Seth planted the FdG on the left side. In our air phase, I once again hit the FdG with the Avengers. The FdG aborted one, while another was shot down by the FW-190s. The one that got through put another point of damage on the super-battleship, but it was not enough to prevent Seth from claiming the objective!
Game 2 Turn 4
After claiming the right hand objective, I decided to have the Belfast and the Warspite follow up on some recent reports of German raider activity in the back row. The Victorious, meanwhile, moved towards the center objective, hoping that her torpedo defense and air support would keep the U-Boats at bay. This was a bit of a gamble, as I was relying on my Avengers to finish off the FdG before she could bring my carrier under her guns. As it was, the gamble paid off; my Avengers sent the FdG to the bottom, and Seth’s subs were unable to hit the Victorious.
Game 2 Turn 5
I was still a bit short of the 300 points needed for a win, so I sent the Victorious to the middle objective. It was clear this was going to be the deciding round! Seth threw everything he had at the Victorious, and managed to take off two points of damage heading into the sub phase. Unfortunately, his subs only got one torpedo hit, meaning I claimed the center objective and victory for the British!
After Action Recap and Analysis
Overall, I felt these were two really good games. Interestingly, the British won both. In game1, I admittedly made a mistake by advancing the Graf Zepplin too far, but that boneheaded move was more than compensated for by the above-average torp dice I threw. In the end, it proved too difficult to deal with 3 battleships!
In Game 2, I think the American planes, especially the Avengers, swung the decision in my favor. The FdG is a beast, but with no consistent air support she was unable withstand the kinds of torpedo dice my planes were throwing. Things could have gone very differently if the deployment was more favorable for the Germans, as the Warspite was no match for either the FdG or the U-boats! In the end, neither the Warspite or the Belfast were overly effective; I might have been better off leaving one or both behind and going with another carrier.
Until next time, good luck and good hunting!

Excellent write up.
As the opposing commander, let me first say it was a pleasure playing Andy, who is a very congenial, capable and considerate gentleman.
Interestingly, I was much happier with my German build than the British build when I tested them against each other before the game. I was worried that the British fleet was too one-dimensional. Basically I was counting on winning by taking objectives to win and hoping the torpedo defense-equipped KGV class would survive long enough under the barrage of torpedoes I expected to be hurled at them to do that. As it happened that worked out. I played very aggressively because I felt time was not on my side — I needed to game to end before my luck ran out!
The second game went poorly mostly because the FdG turned out to be a torpedo magnet. Even though it had torpedo defense and 6 hull points the Avengers were able to sink her within four turns and cripple her in three. Turn Two when she took THREE hits was particularly disappointing. The idea behind the Atlantis was to rob the British of the 50 points for sinking all the surface ships (if they got lucky against the FdG) until the Kondors and U-boats could do their thing, but my U-Boats didn’t hold up their end of the bargain, taking heavy losses while not being able to do comparable damage in return. I wanted to try out the FdG this one time, but I don’t think I’d build another German fleet around it in a 200-point game.