After a few weeks off, Seth and I are back at it with War at Sea. We agreed to play a 300 point match, which is a larger game than we have previously played. After a coin toss, I took the Japanese while Seth would be playing the Americans.
 In addition, we decided to use the Order of Battle rules from the Forumini, which I find make for a very different tactical challenge than the usual “anything goes” game. Finally we also agreed to a year limit of 1942, which meant that some of the most powerful units on both sides would be unavailable. I was particularly excited to play this game, as it gave me the opportunity to try out some of the new units from the Team Poseidon First Strike expansion deck. Both of us managed to work in some of these units, in fact (highlighted in bold below). Here were our fleet lists:
USN (Seth)
- North Carolina
- Washington
- 2x Atlanta
- 4x Fletcher
- 2x Barb
- 2x Gudgeon
- 3x P-40
- 3x PBY Catalina
- 3x B-25 Mitchel
- Heavy Shore Battery
IJN (Me)
- Nagato
- Hyuga
- Hiryu
- Chikuma
- Agano
- Furutaka
- 2x Fubuki
- 2x Terutsuki
- 2x Hatsukaze
- 2x I-19
- Emily
- Elite Zeke
- 2x Zeke
- Type 97 Kate
- Jill
Setup
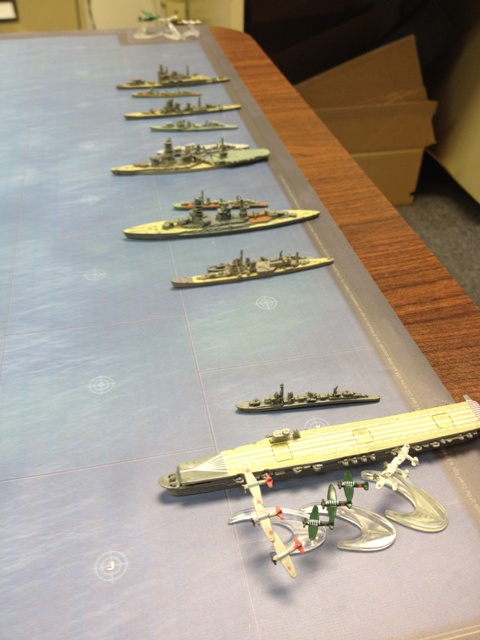
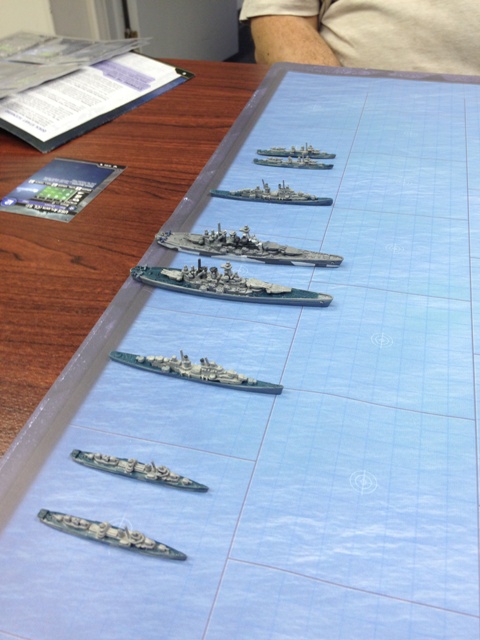
We rolled for the map, getting Rulebook Map 2, which has two islands on one side of the map, one of which is right next to the center objective. This island came to be very important, as Seth won the setup roll and immediately placed his Heavy Shore battery on it! This meant that between his subs and the battery, Seth now had very good control of the middle of the board. Here is how things looked after the rest of our fleets were set up:
Turn 1
I won initiative, which forced Seth to move his units up first. His surface ships moved up, with a cruiser and a destroyer splitting off and heading for the far objective. I managed to pass my slow rolls for both the Hyuga and Nagato, and moved up my surface groups two spaces. However, I avoided engaging Seth’s subs with mine; he outnumbered my sub fleet 2 to 1, and I didn’t want to risk them just yet!
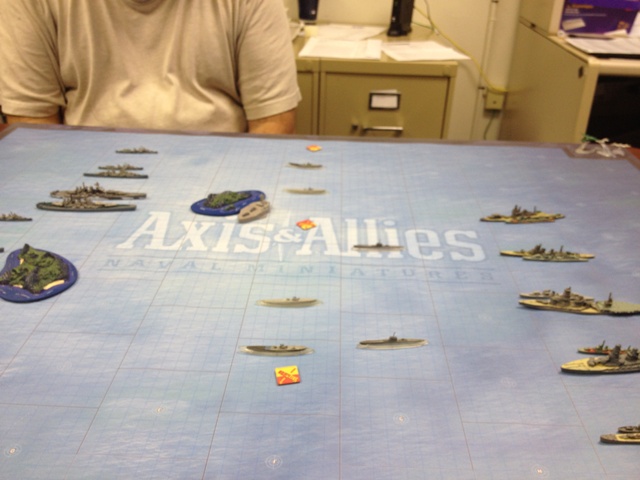 During the air phase, the center of the board became a hot spot as both of us tried to use our airborne ASW assets to start reducing the others sub force. Elsewhere, Seth set up all 3 of his B-25s to conduct heavy strafing runs on my destroyers. These attacks were going to get off scot-free, since Seth had far more planes than I did and could dictate their placement. For my part, Hiryu’s strike package targeted the US battleships, hoping to get one or two points of damage and remove their extended range.
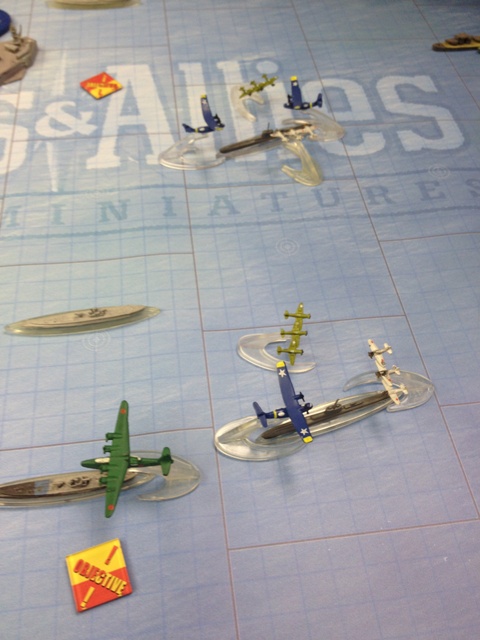
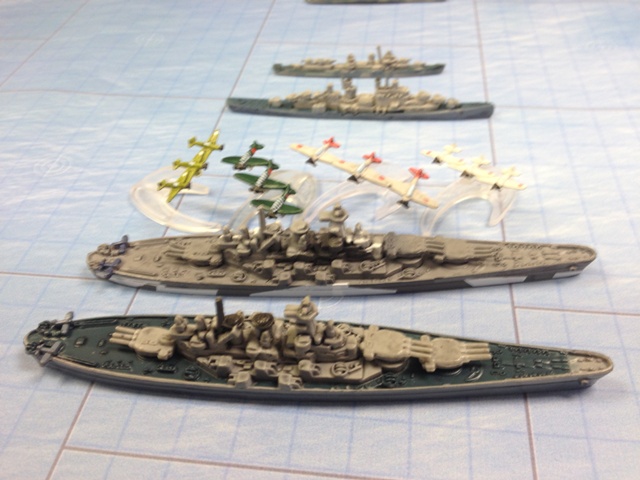
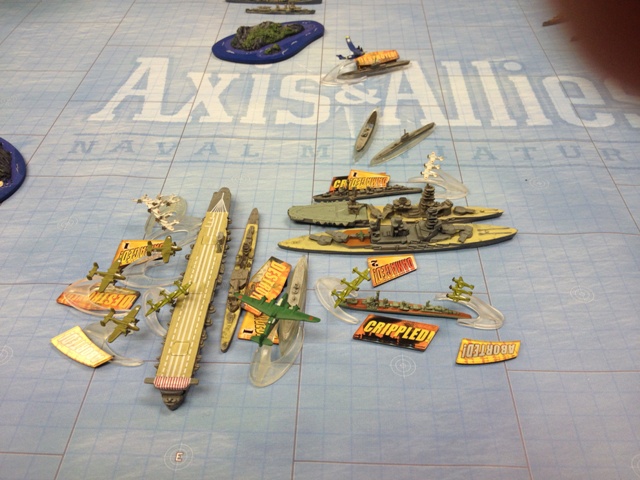
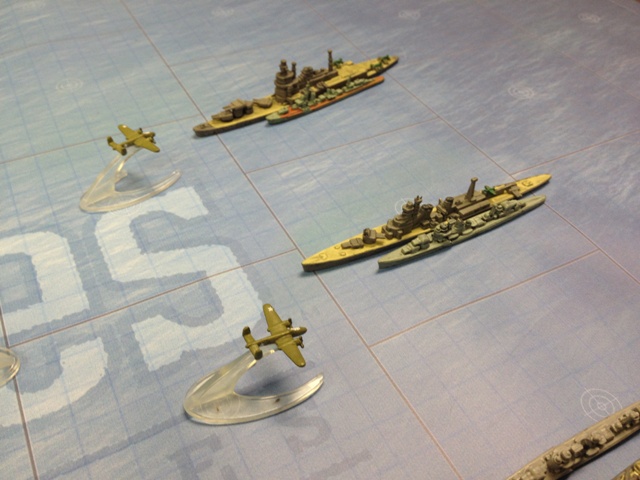 The results for this air phase went pretty badly for me; my ASW attack missed, Seth’s B-25s successfully crippled three destroyers, and to top it all off both my dive bomber and my torpedo bomber were shot down over the North Carolina! On the plus side, I did manage to shoot down two PBYs, and the third missed my subs. During the surface phase, the Hyuga succeeded in putting a point of damage on the Heavy Shore Battery, with no damage in return. Here was the situation at the end of Turn 1:
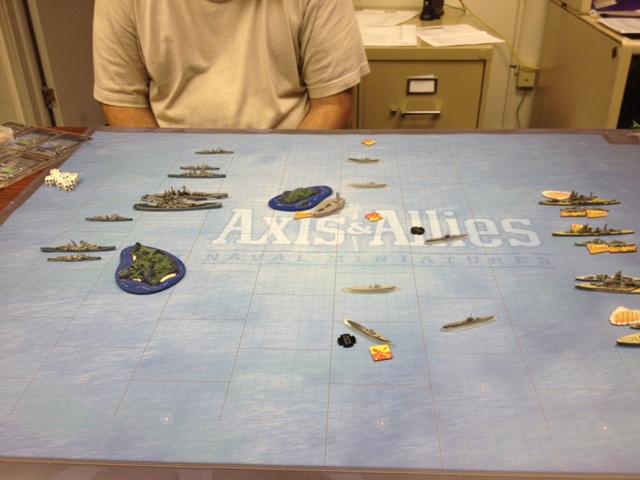 Turn 2
In turn 2, I managed to win initiative again. Seth continued to advance on the middle, while I strove to re-arrange my formation to account for several now-crippled destroyers. Seth moved his subs forward, and I pushed my remaining destroyers up to engage them.
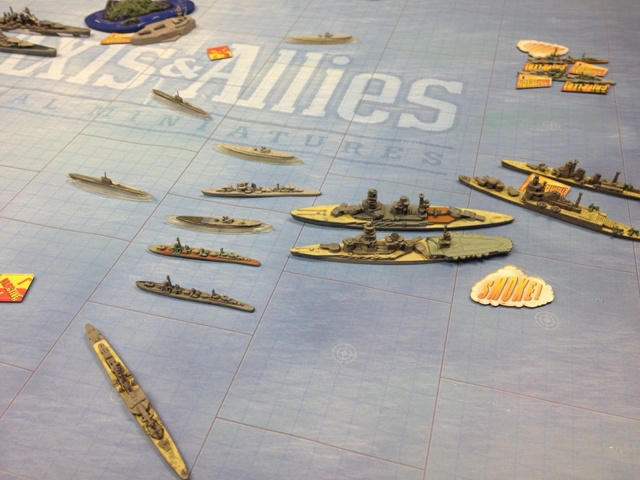
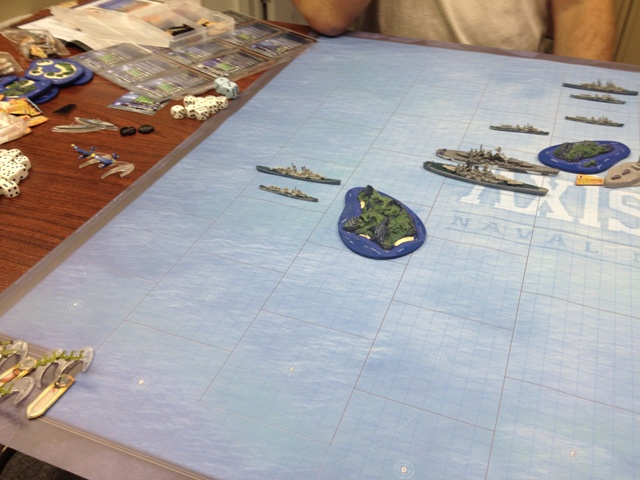 In the air phase, the good news was that I had uncontested control of the skies this round since most of Seth’s aircraft were re-arming and he wasn’t about to expose his remaining PBY without an escort! The bad news is that I only had fighters and the Emily to send out. The fighters were all driven off or missed when they attempted to strafe some of Seth’s DDs. The Emily had more luck, though, crippling one of the Gudgeons.
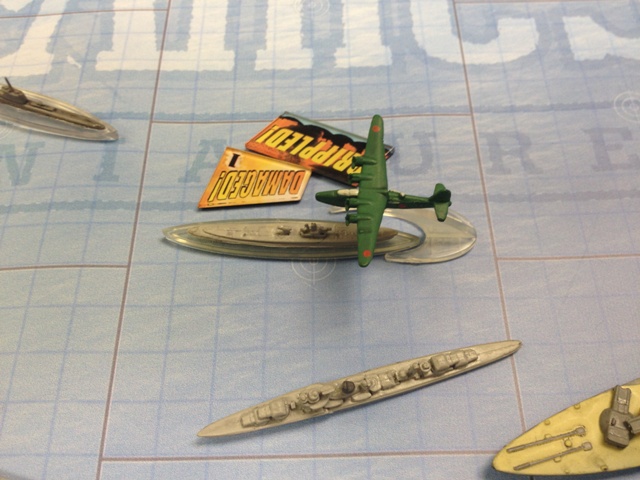 In the surface phase, the Nagato and Hyuga traded long-range shots with the North Carolina and Washington. The US battleships took a hit each, as did the Nagato. The Hyuga, however, managed to escape without a scratch. The submarine war also heated up, as my destroyers managed to sink the two nearest American subs. The I-19s attempted to torpedo the American battleships, scoring a hit on the Washington. Here is how the board stood at the end of the turn:
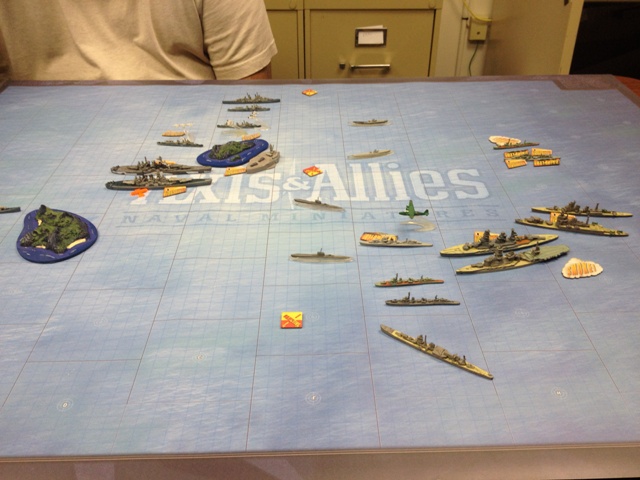 Turn 3
I finally lost initiative this turn, and decided to make a play for the objective nearest my battleships, while Seth went for the opposite one. He also sent a lone destroyer to try and take the middle objective and ASW one of my subs while he was at it. Two of my crippled destroyers positioned themselves on the far side to make Long Lance shots on that objective, but were rapidly presented with a juicer target when Seth moved both of his battleships in range (they were trying to avoid my subs):
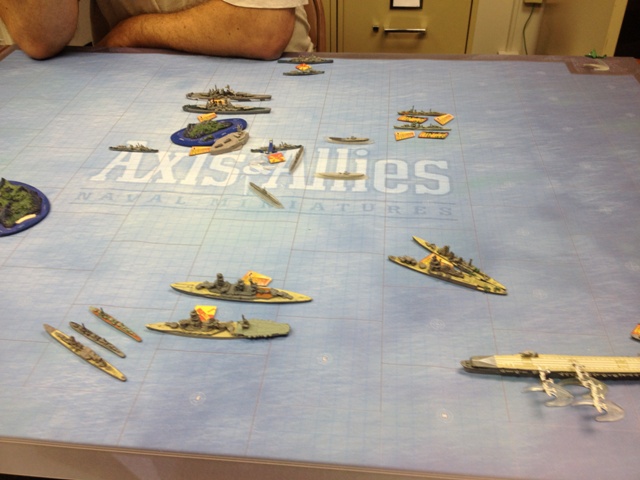 This air phase, all of Seth’s planes were up, and he wasted no time in singling out two of my cruisers, the Chikuma and the Furutaka, for attack with his B-25s. Unfortunately, my AA was not strong enough to drive them off, and both cruisers were vitaled and sunk!
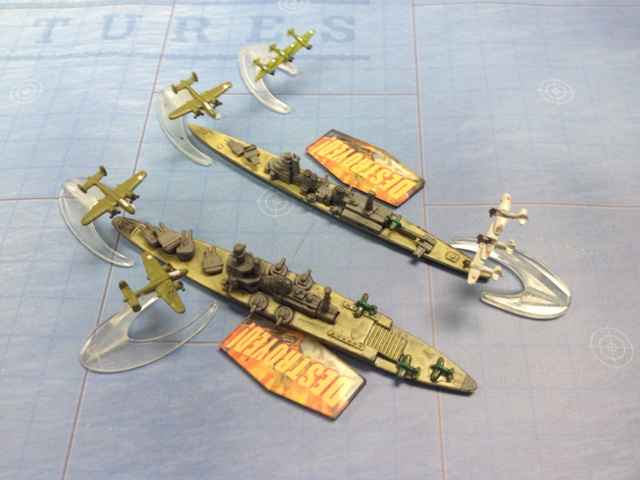 During the surface phase, the two crippled destroyers managed to put a Long Lance into the Washington, which was now crippled! The Hyuga also put another hit on the shore battery.
Turn 4
Having each claimed an objective, the action now shifted to the center of the board. I lost the initiative roll, and failed the slow roll for the Hyuga to boot! In the end, I was content to stand off from the shore battery. Seth decided to make a play for the middle objective, sending the North Carolina in.
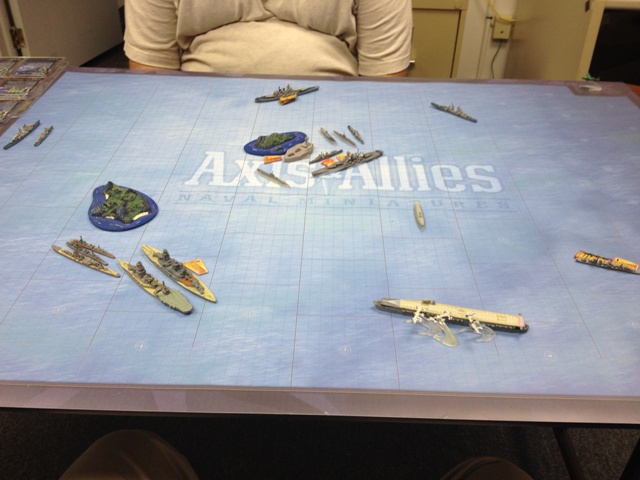 Once again, Seth’s bombers were out in force, and came gunning for the Hiryu. Fortunately, thanks to a determined fighter defense and some good AA gunnery from the Hiryu herself, all three B-25s were aborted. Meanwhile, the Emily managed to cripple the Gudgeon that was also stalking the Hiryu.
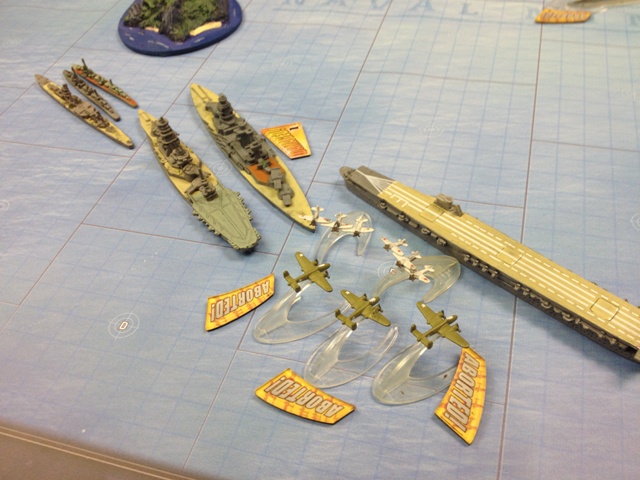 During the surface phase, I managed to put another point of damage on the shore battery with the Hyuga, Seth’s destroyers managed to cripple one of my subs, but the I-19s managed to score two more torpedo hits on the American battle wagon. However, the Gudgeon also managed to put a torp into the Hiryu, causing major damage!
Turn 5
I won the initiative this turn, meaning Seth opened the movement phase. Having claimed the center objective, he now started moving his fleet away from my forces, deeper into my half of the map. For the time being, I contented myself with setting my forces up to deliver the final blow to the shore battery.
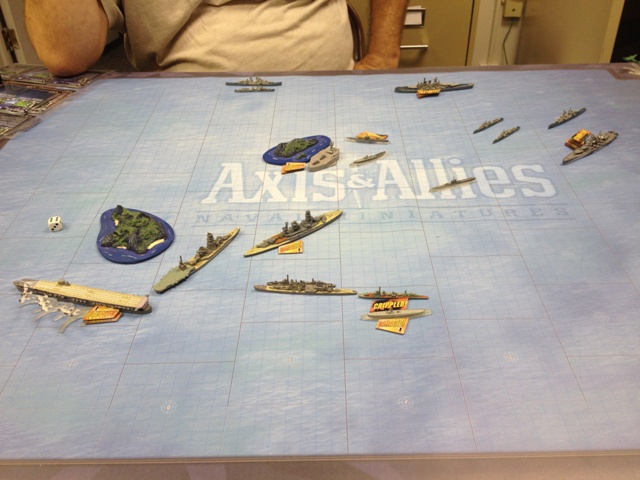 The air phase was fairly tame yet again, with just my Emily continuing the ASW campaign against the American subs. In the surface phase, I managed to finish off the shore battery, which failed to do any damage in return. During the sub phase, the healty I-19 put another torpedo into the North Carolina, crippling her!
Turn 6
Now that both of his battleships were crippled, Seth was definitely on the run. I won initiative, and then passed my slow rolls, enabling me to close with the Americans. Seth employed his air forces to the fullest, again attacking the Hiryu, strafing a couple of destroyers, and conducting an ASW attack on my crippled sub. I managed to abort one B-25 and even shoot down another, but the third got through to cripple the carrier. Likewise, Seth managed to sink two more destroyers and finish off my crippled sub. Fortunately for me, the Emily managed to finish off the Gudgeon who was still hot on the heals of the beleaguered carrier.
 During the surface phase, the still un-damaged Hyuga managed to wreck one of Seth’s Atlanta’s with a volley from her main guns. The sub phase was dramatic, as the remaining Barb attempted an Audacious Attack against my I-19 and the Hyuga, but missed! The I-19, however, managed to sink the Barb in return.
Turn 7
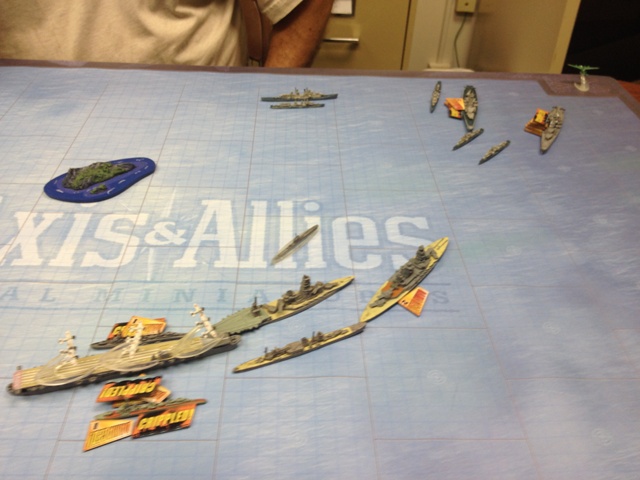
The Hyuga failed her second slow roll, making it difficult to close with the Americans. My forces started trying to close as best they could, but were out of range of the Americans. The Emily tried to attack a Fletcher, but was shot down by the superior American AA!
 Turn 8
It was clear this was going to be the climactic turn. My forces managed to get up enough steam to get into good firing position on the US fleet, while Seth did his best to cover his crippled battleships with his lighter units. Seth sent his air forces after my battleships and the cruiser, but they were all driven off.
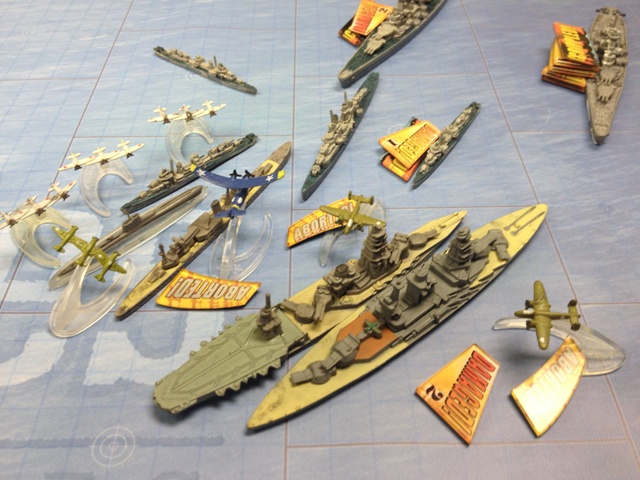 As expected, the surface phase was a bloody fight. I managed to finish off both the North Carolina and Washington, as well as a destroyer. In return, I lost the Agano to the concentrated fire of Seth’s light units. When the smoke had cleared, Seth was well over the 450 points he needed to win, while I had not yet broken 400. American victory!
After Action
What a fun game! Seth definitely gave me a merry chase around the board. I think the biggest mistake I made was to not contest the center objective. Looking back, I think I was too unwilling to close the Heavy Shore Battery. Speaking of which, having the ability to plant that battery next to the objective was a great stroke of luck for Seth, and really allowed him to control the center of the map. To my advantage, I actually did really well with my subs, getting much better than average hit ratios. As for the Team Poseidon units, I was pretty happy with their performance. Granted, the Hiryu’s special abilities were mostly useless after Turn 1, but the Hyuga did a great job! Seth’s Gudgeons didn’t have a lot of success sinking my ships, but they were a real handful for my escorts!
We are already talking about a re-match, with me running the Americans this time, so stay tuned for that report. Until next time, Good Luck and Good Hunting!

Just a few comments from the US perspective.
Due to an error on my part, my original order of battle wasn’t OOB compliant so we made some last-minute changes to make it closer to correct. This resulted in the two Atlanta’s joining the fleet and I think they were probably an under-performing part of the build. Also under-performing were the four US subs, although that had to do more with poor die rolling than any particular shortcomings with the units. The PBYs also didn’t do as much as I had hoped, mostly because two of them were shot down early,.
The two battleships and the four Fletchers performed about as well as expected and did what needed to be done. A key role was played by the North Carolina capturing the second objective.
The stars of the show were the shore battery, the B-25s and the P-40s. While the P-40s didn’t inflict any damage directly, they played an important role in mitigating the effects of the Zeros using their Escort SA and simply using up air unit placements so that the Zeroes had to place before the B-25s. An important aspect of the P-40s performing that second mission was accomplished by merely surviving and all three P-40s lived to the end of the game. The B-25s did a lot of damage over the course of the game, sinking a couple of cruisers and several destroyers before the Japanese got to use their Long Lances. The Shore battery only scored a few hits, but it did impact the maneuvers of the Japanese fleet in the first part of the game and indirectly caused the US to capture the second objective.
Overall it was very close battle, and we didn’t realize that the US pulled off a victory until we counted up the points at the end.