Hi everyone! I’m back with another War At Sea battle report. Last Wednesday Seth and I met up to for another game, but this time we decided to try something different. Instead of the 200 point battles we have been playing, we decided to go with a scenario called “In Harm’s Way,” which is based off of the historical Battle of Sunda Strait.
The original version of the scenario was posted on the Wizards of the Coast website way back when the game was first released in 2007. Given the limited number of ships available in the game at the time, this first draft had to incorporate many proxies (The USS Baltimore had to stand in for the USS Houston, for example). However, the game is now on its 6th set, and many of the units involved in the battle are now available, or else there are more appropriate proxies available. So, a while back, Seth took it upon himself to revise the scenario to incorporate these units. It is this version, which can be found on the Forumini, that we played Wednesday. Read on to see how it turned out!
Forces
We diced off for sides, and I wound up with the Allies while Seth took the Japanese. Per the scenario, our forces were as follows:
Allied Task Force (Me)
USS Houston CA
HMAS Sydney CL (HMAS Perth)
Witte de With DD (Evertsen)
Japanese Transport Force (Seth)
Kinai Maru x 3
Jintsu CL (Natori)
Yukikaze DD x1 (Hatakaze)
Muresame DD x3 (Fubuki, Hatsuyuki, Shirayuki)
Nagatsuki DD x 1 (Asakaze) (card’s SA do not apply – no Long Lance, Tokyo Express)
Japanese Escort Force (Seth again)
Mogami CA x 1
Suzuya CA x 1 (Mikuma)
Shigure DD x 1 (Shikinami)
Setup
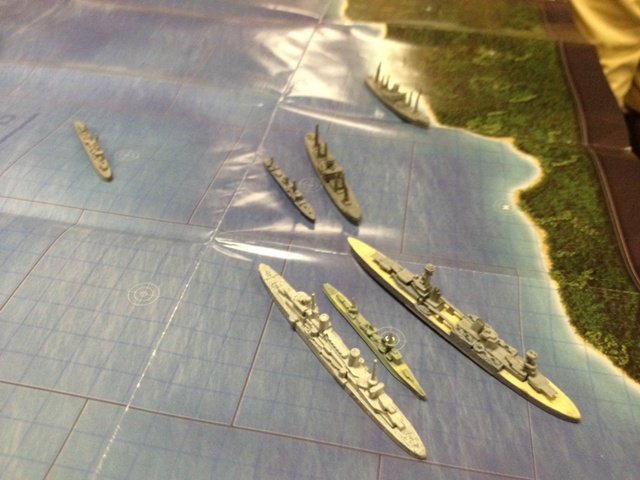
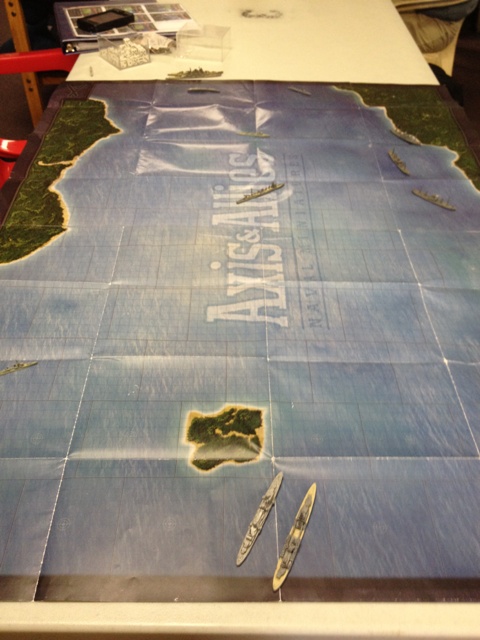
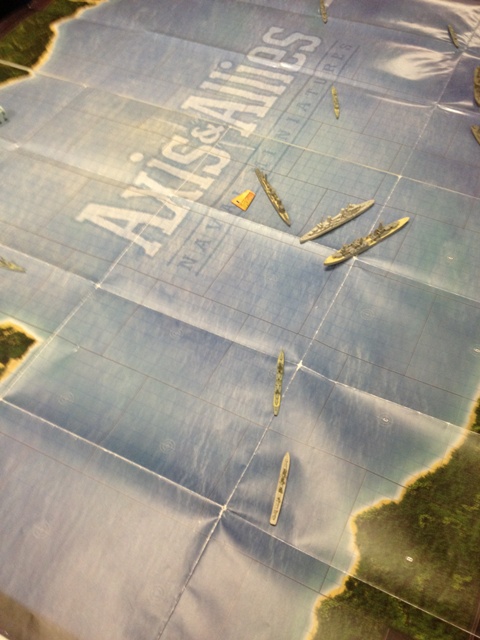
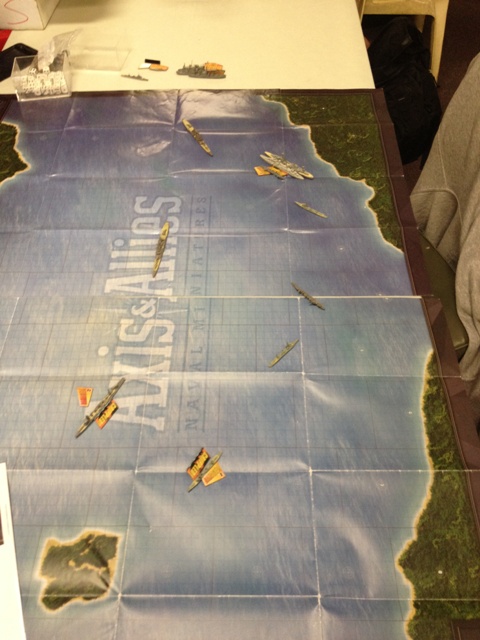
Initial deployment is mostly dictated by the scenario, though there is some latitude on where the Allied task force and the Japanese Escort Force can be placed. Here is how the map looked at the start of the game:
Turn 1
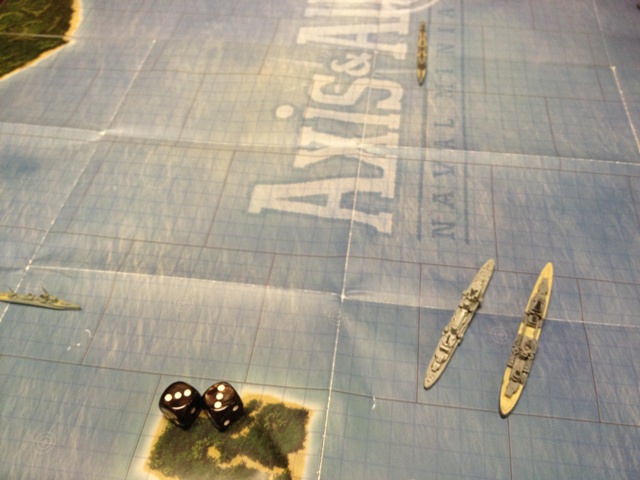
I won initiative for the first turn, so Seth had to move first. In general, he moved his DDs towards my cruisers, hoping that the Night Surprise special rule would end soon so that he could launch his torps at me! For my part, I moved my ships forward two sectors towards the Japanese transports.
In the shooting phase, I managed to put a point of damage on the Jintsu/Natori, but that was about it.
Turn 2
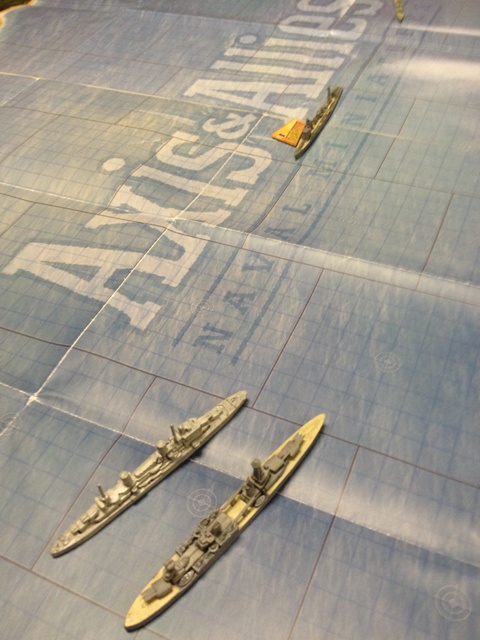
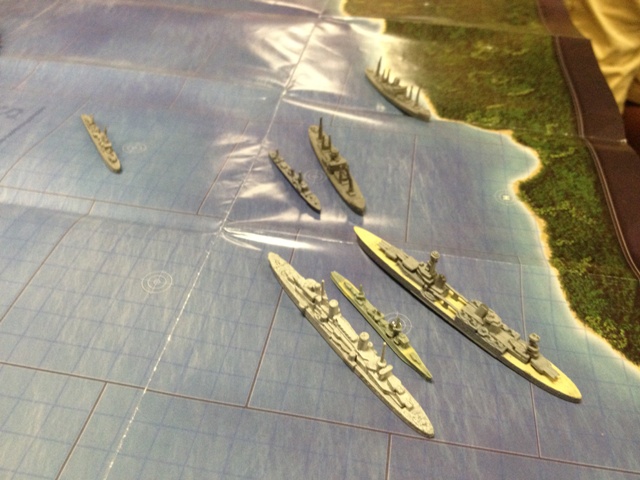
I won initiative again, so Seth had to move first. The Mogami successfully arrived from reserve, and the Japanese forces moved in on the Allies. For my part, the cruisers continued to close the vulnerable transports, while I brought on the Dutch destroyer for support.
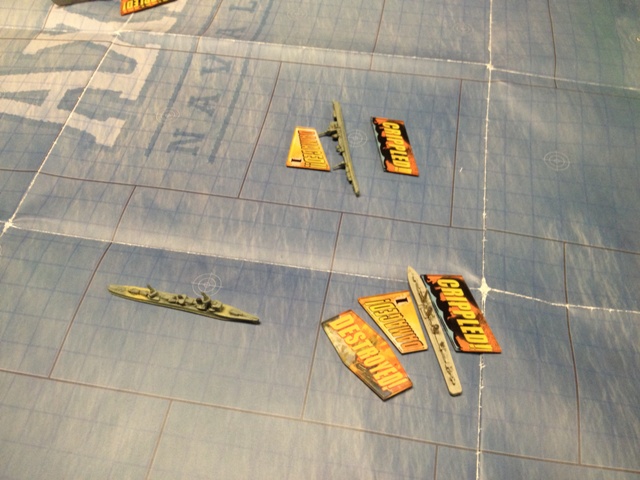
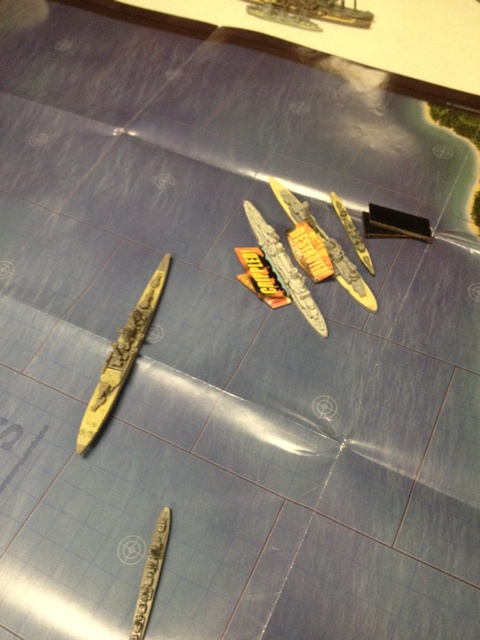
The shooting phase was much more eventful than in Turn 1. The Natori was crippled, I sank a transport, and my destroyer and one of Seth’s managed to cripple each other. So far, my cruisers had managed to avoid damage, thanks in no small part to the Night Surprise rule preventing the Japanese from launching their torpedoes!
Turn 3
I lost initiative this turn, and Seth managed to end the Night Surprise condition, which meant that his torpedoes were now in play. Coupled with the fact that Seth succeeded in bringing on his remaining reserves (another heavy cruiser and a destroyer), and things were looking grim for the Allies!
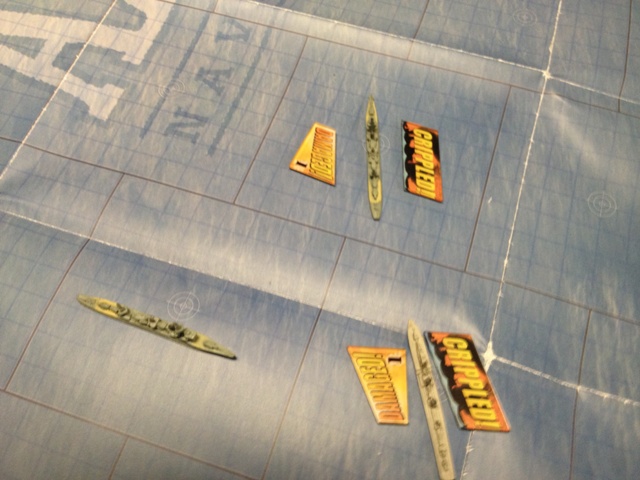
In the movement phase, I moved up my cruisers, straight into the jaws of the enemy, while my now crippled destroyer wallowed in their wake, struggling to keep up. It now seemed that the battle was splitting into two isolated engagements, as Seth split off a couple of his destroyers to finish mine off.
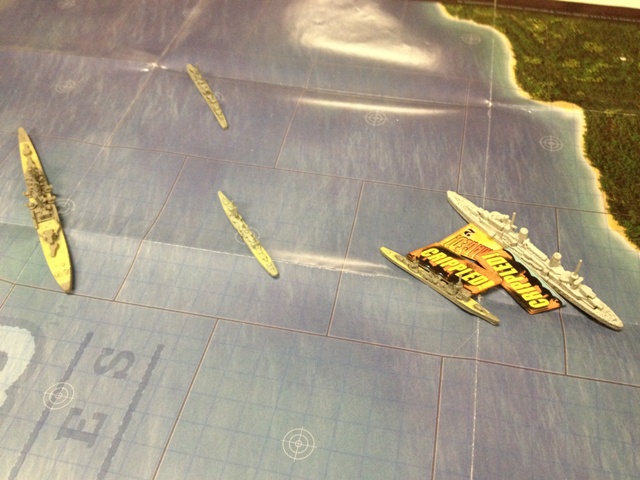
As might be expected, the shooting phase was brutal this turn. I manged to sink the two remaining transports and cripple another destroyer with my cruisers. Unfortunately, my destroyer missed with her guns and torps, and was quickly eliminated by the circling Japanese. Luckily for me, all of the Japanese torps had missed and my cruisers escaped damage yet again!
Turn 4
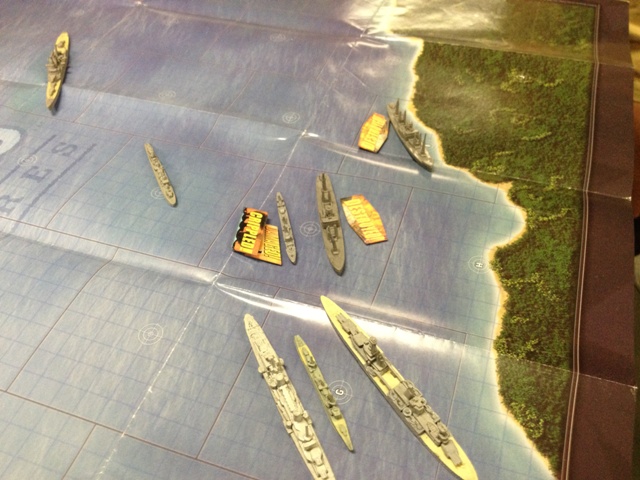
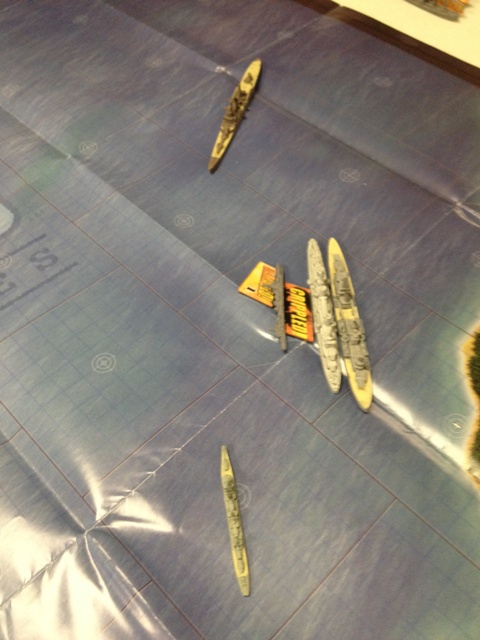
I managed to win initiative this turn, but at this point my options were pretty limited. While I had managed to finish off the transports, there could be no escape for my beleaguered cruisers! So, I decided to continue to close the far elements of the Japanese task force, in the hopes of avoiding some return fire and focusing on one piece of the enemy at a time.
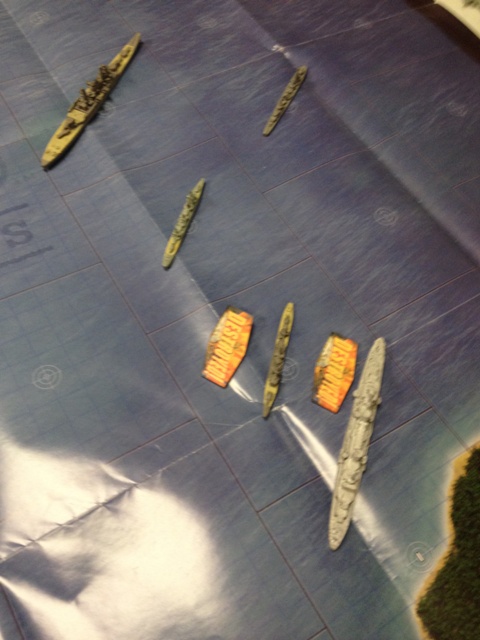
In the shooting phase, the Japanese finally managed to score telling hits on the Sydney/Perth, crippling the Australian cruiser. However, once again all of the deadly Japanese torpedoes went wide of the mark. In my shooting phase, I managed to sink the two closest destroyers. The Houston, meanwhile, took the shot of the game by vitaling the nearby Suzuya/Mikuma!
Turn 5
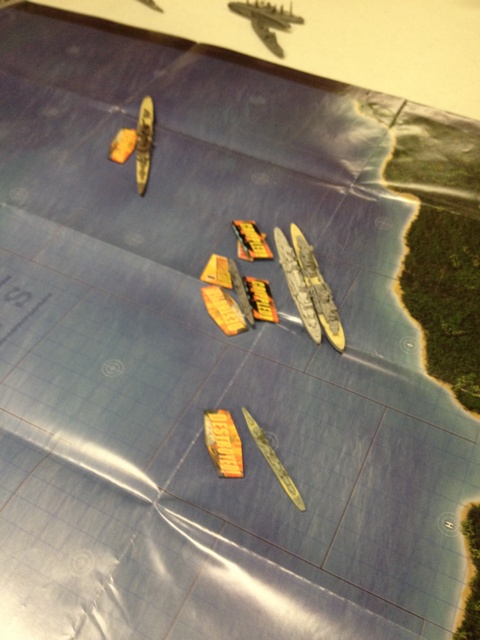
It was clear that the Allies’ time was quickly running out. Despite the success of the last turn, there were still an overwhelming number of Japanese ships on the board. I won initiative, but given that one of my ships was now crippled there wasn’t much I could do. I decided to keep my ships together, and was quickly surrounded by Seth’s ships. In the shooting phase, neither my or Seth’s gunfire amounted to much. However, Seth finally scored a Long Lance hit on the Houston, sending the stalwart heavy cruiser straight to the bottom!
Turn 6
I managed to win initiative yet again, but it was pretty clear that this was going to be the final turn, as the remainder of the Japanese fleet closed in for the kill on the wounded Australian cruiser.
My crippled cruiser managed to sink a destroyer, but as expected the Sydney/Perth finally succumbed to the Japanese “21 Torpedo Salute.”
After Action
In the end, the Allies managed to achieve a pretty convincing victory, 76 points to 39. I would say this was due in no small part to the poor performance of Seth’s torpedoes, as well as me having some luck with the Houston’s mains! I had a lot of fun playing this scenario; I really have to hand it to Seth, he did a great job bringing this scenario up to date and including newer units. It was also a nice change of pace; by far, a majority of the the War at Sea I have played have been standard/tournament scenarios with balanced forces on each side. An asymmetric scenario like this one presents all kinds of new tactical challenges!

