Prologue
Stanley Harbor, Falkland Islands
FSS Hampton, Flagship of the FSN Falkland Islands Squadron
As he approached the bridge, Captain Wales drew his coat tightly about his person. His breath formed smoky clouds not unlike the sturginium fueled exhaust of the FSS Hampton. Normally, he appreciated the biting wind; reminding him of the winter mornings at his family’s ranch in Deadwood, but today felt different.
“I still can’t believe they took the Portsmouth north for refit with the Prussian and Blazing Sun coalition encroaching from the east. We gave them one hell of a black eye off of Good Hope, but those nations have willpower to spare.”
“Ah well, another beautiful day in the South Atlantic…now, to find something to be rid of this chill.” It was then the first barrage of incendiary rockets blackened the sky over the Hampton.
INBS Furutaka, Strike Force Falklands
Kaigun-Chusa Tanaka traced the high arcing trajectory of the rockets fired moments before by the squadron of destroyers ahead of his own ship through his binoculars. As those rockets bore their incendiary payloads through the air towards the American battleship that lay in the heart of Stanley Harbor, Tanaka judged their trajectory to be straight and true. He had no doubt that his comrades had done their duty to the empress, but now it was the Furutaka’s turn.
“Have we re-acquired the target through the smoke of the destroyer’s rocket launch?” he demanded of the young officer manning the tactical plot. “Hai!” replied the officer, “We are ready to launch at your command.” Tanaka turned his gaze forward once more, ordering “Rockets Away!” as he did. Moments later, the Furutaka shuddered as the launchers studded around the ship loosed yet another volley of deadly rockets towards the American ship.
Introduction
After suffering a heavy defeat at the hands of the FSA off the Cape of Good Hope, Admiral Tanouchi’s Blazing Sun forces were spoiling for a chance to avenge their comrades and restore the faith of the Empress in their endeavors! While the main thrust of the Blazing Sun attack was directed at the Caribbean, Tanouchi could ill-afford to leave the American forces stationed at the Falkland Islands intact. The Falklands nominally fell under the control of the Kingdom of Britannia, but most of the Britannian forces had been withdrawn from the South Atlantic in order to bolster the Home Fleet against a threatened French and Prussian invasion across the English Channel. In order to defend the islands, the Britannians agreed to allow a squadron of ships from the Federated States to use the Falklands as a base of operations. This small but powerful squadron could very well threaten the flank of the Blazing Sun advance as it pushed northwards, and Tanouchi was not about to leave his lines of communication under threat as he extended northwards. Therefore, he detached a small strike force to deal with the so-called American Falklands Squadron.
Forces
FSA (Matt)
- Group 1:
- Battleship
- 4x Destroyers
- Group 2:
- Mixed Cruiser Squadron (2x Cruisers +1 Gunship)
- 3x Frigates
- 4x Frigates
EotBS (Andy)

- Naval Force Eboshi
- 2x Armored Cruisers
- 4x Destroyers
- Naval Force Mutsu
- Battleship
- Naval Force Haruna
- Mixed Cruiser Squadron (3x Cruisers +1x Armored Cruiser)
- 3x Frigates
- 3x Frigates
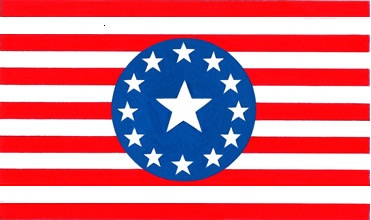
Deployment
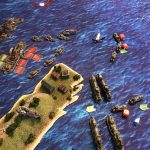
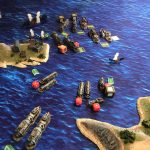
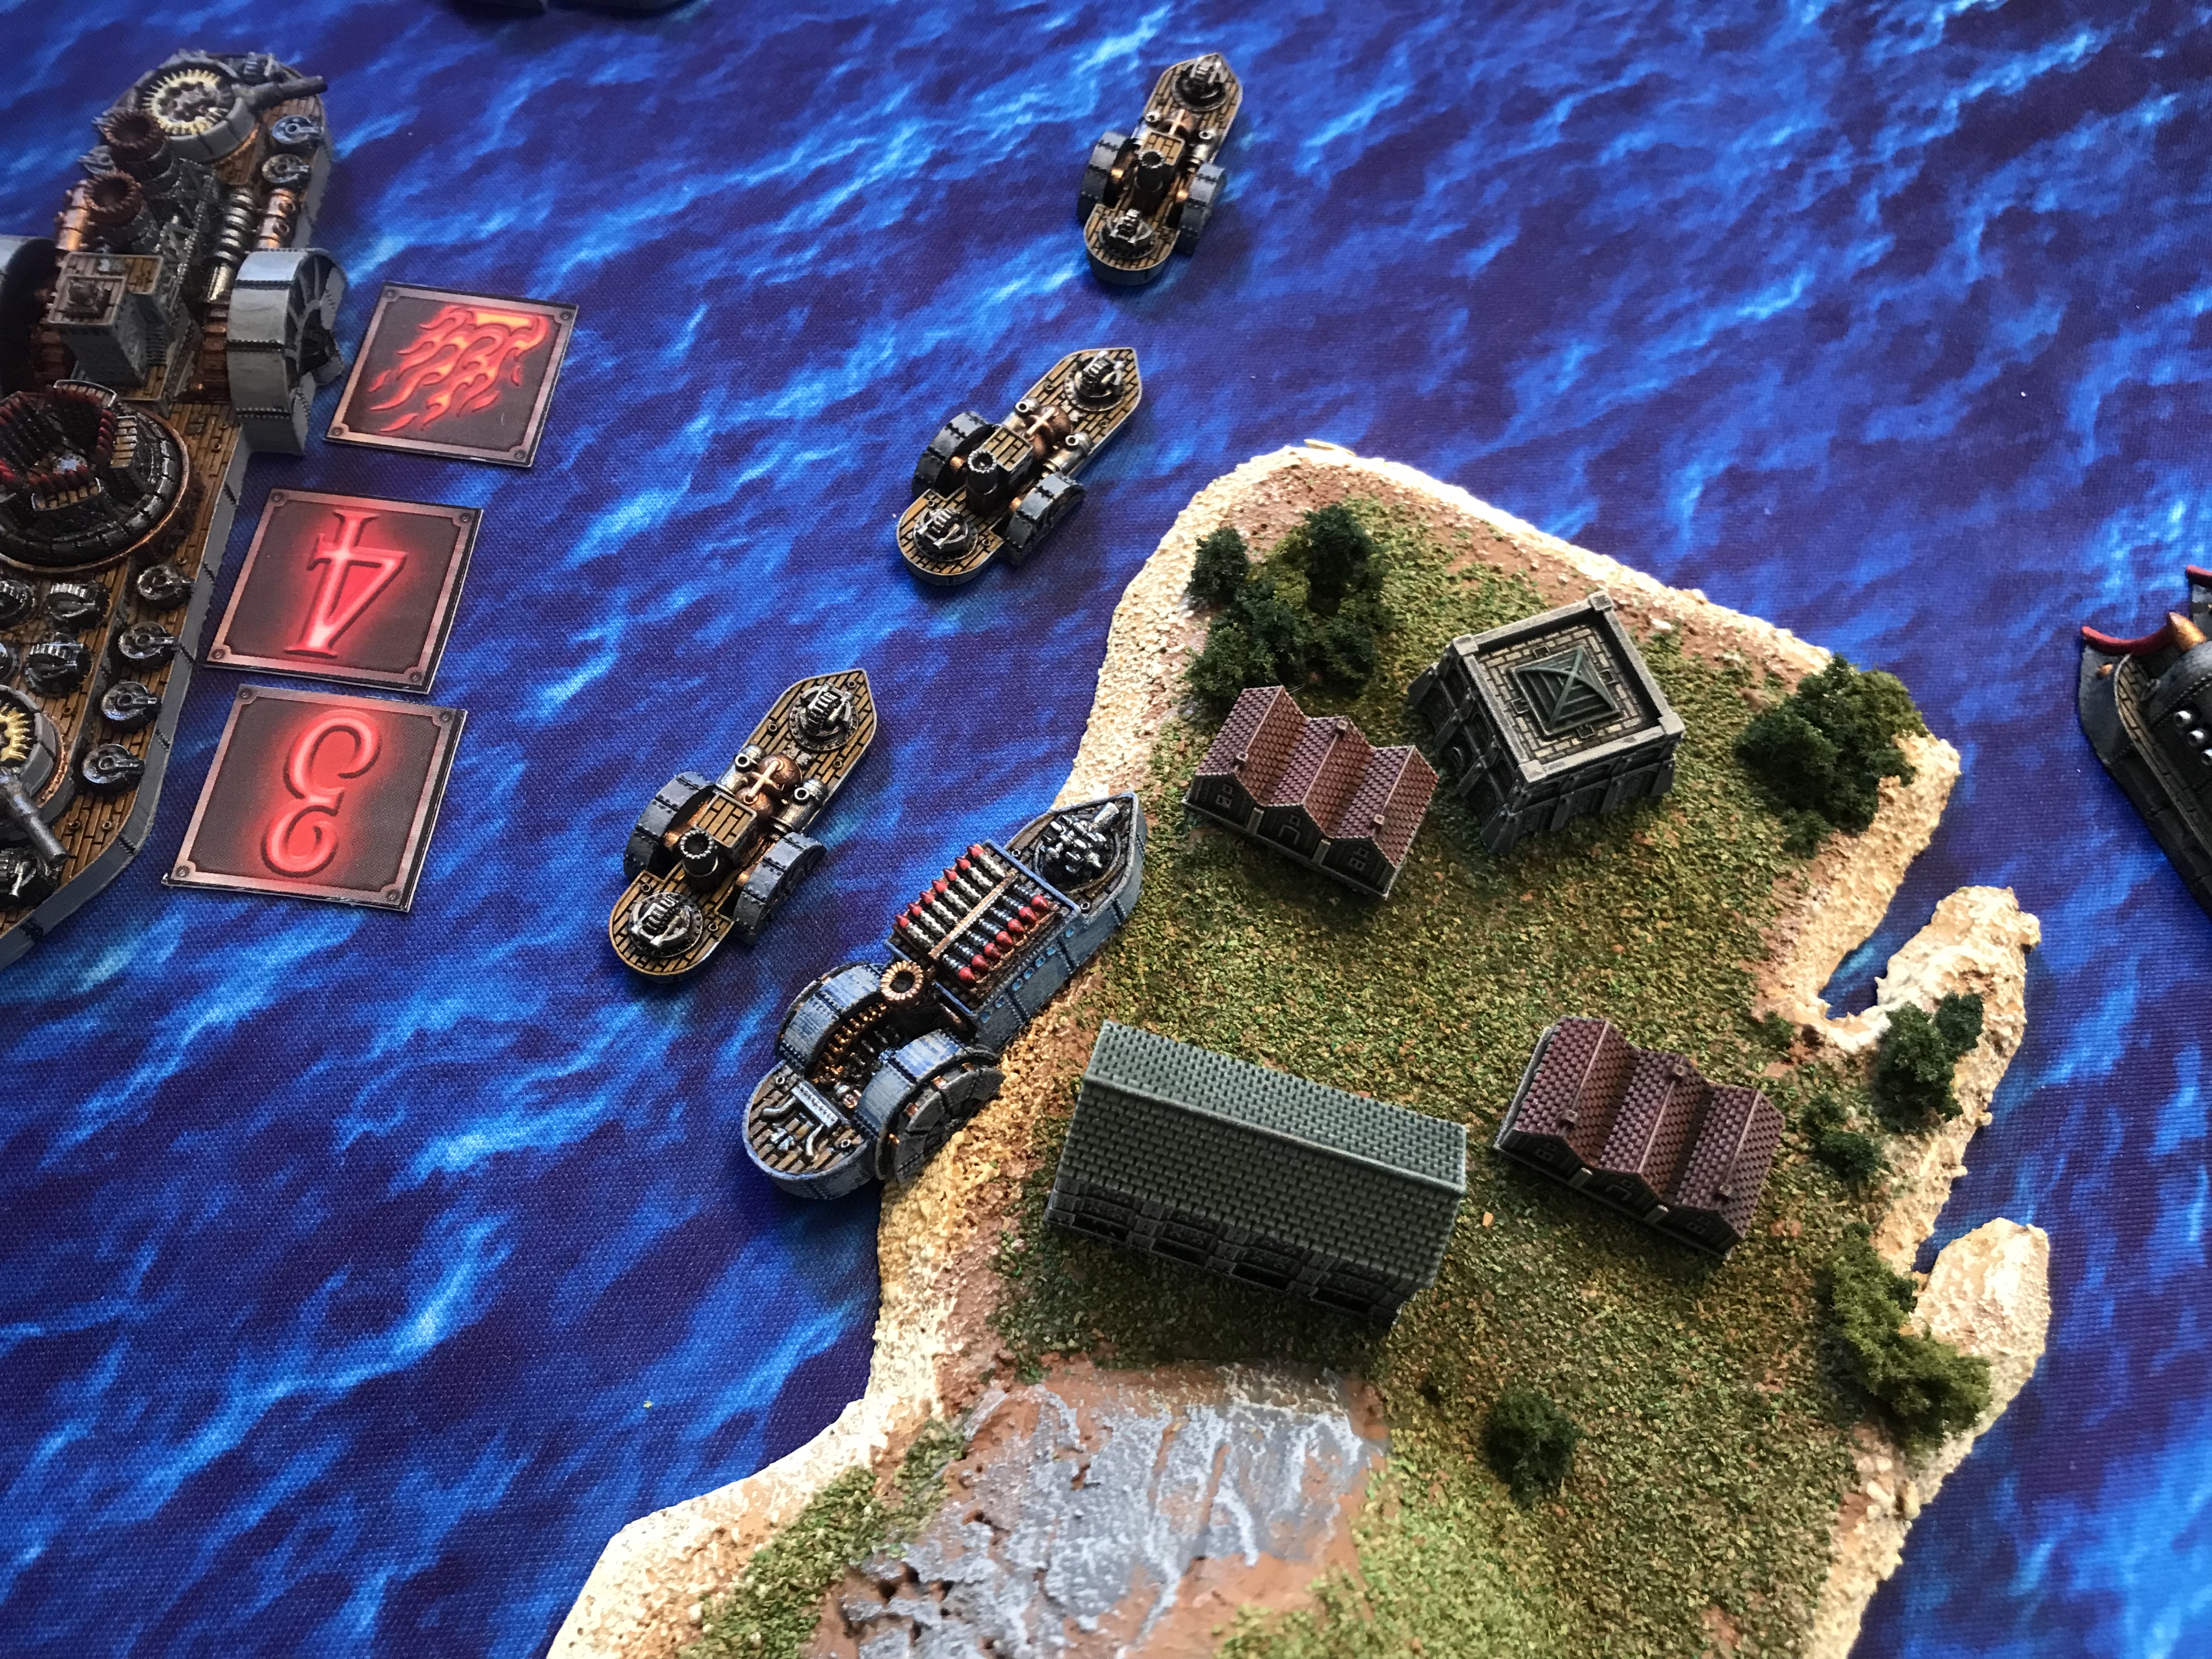
Due to the requirements of the scenario, Matt’s FSA deployed first, with Andy’s Blazing Sun deploying second. Only part of our fleets were deployed at the very start of the game; the rest of our forces would arrive on Turn 1, with the exception of the Blazing Sun battleship which wouldn’t arrive until Turn 4! For the FSN, the initial deployment consisted of a squadron of destroyers and the battleship. The Blazing Sun deployed Naval Force Eboshi, consisting of a squadron of destroyers as well, and a pair of armored cruisers.
Turn 1
Initiative: EoBS (due to scenario requirements)
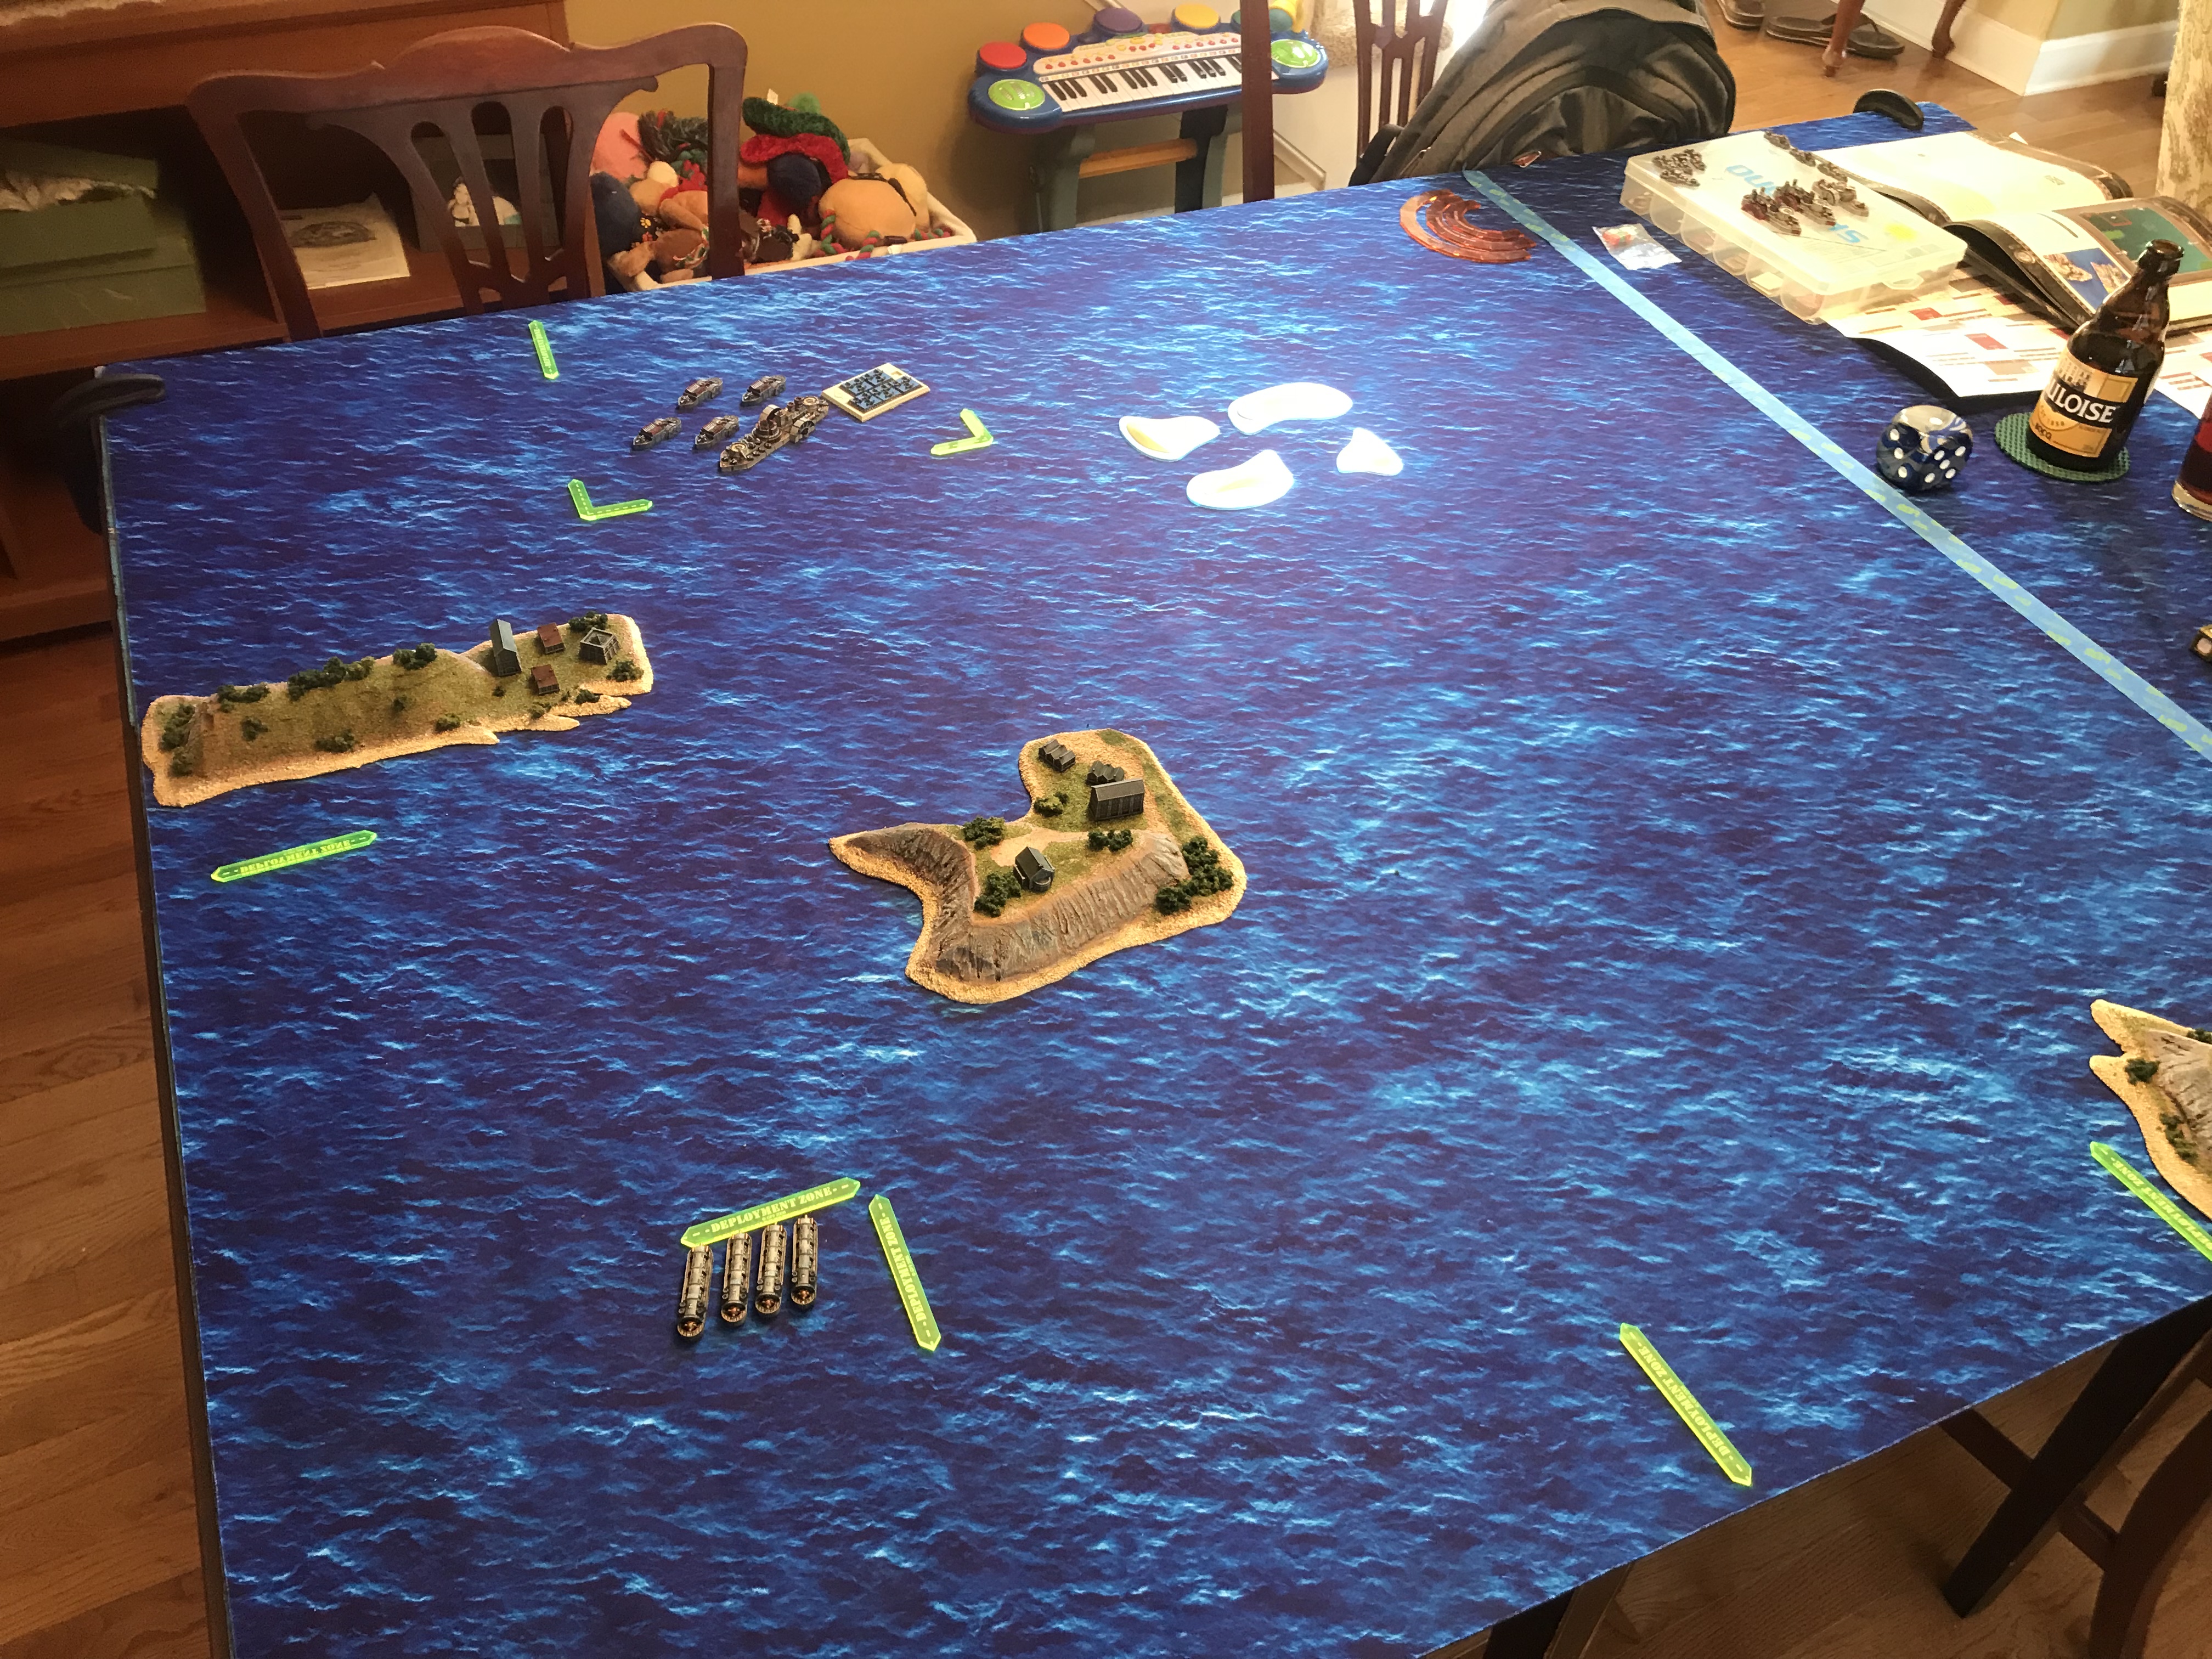
Andy: Thanks to the scenario, I was able to deploy after the Americans, and I got first turn. I was determined to make the most of these advantages, and was able to capitalize on this opportunity with a successful alpha strike on Matt’s battleship. After that, I brought the rest of my early-arriving forces on and staged them behind the island seperating our deployment zones in preparation for Turn 2.
Matt: EoBS had the initiative and Andy opened up with a linked rocket barrage from his Destroyers. I shot down what I thought was a good number of rockets (8 if I’m not mistaken) however Andy managed to come up with 20 hits, landing a crit on my BB and knocking out my rocket turret. My first activation was to dip my destroyer squadron behind the island and set up to do some work with both guns and rockets on turn 2. Andy’s 2nd activation was the Tanukis and their rockets put another point of damage (and fire) on the BB. The rest of the turn had us bringing the rest of our boats on, but nothing very exciting.
Turn 2
Initiative: EoBS
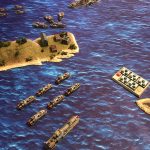
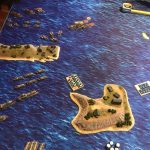
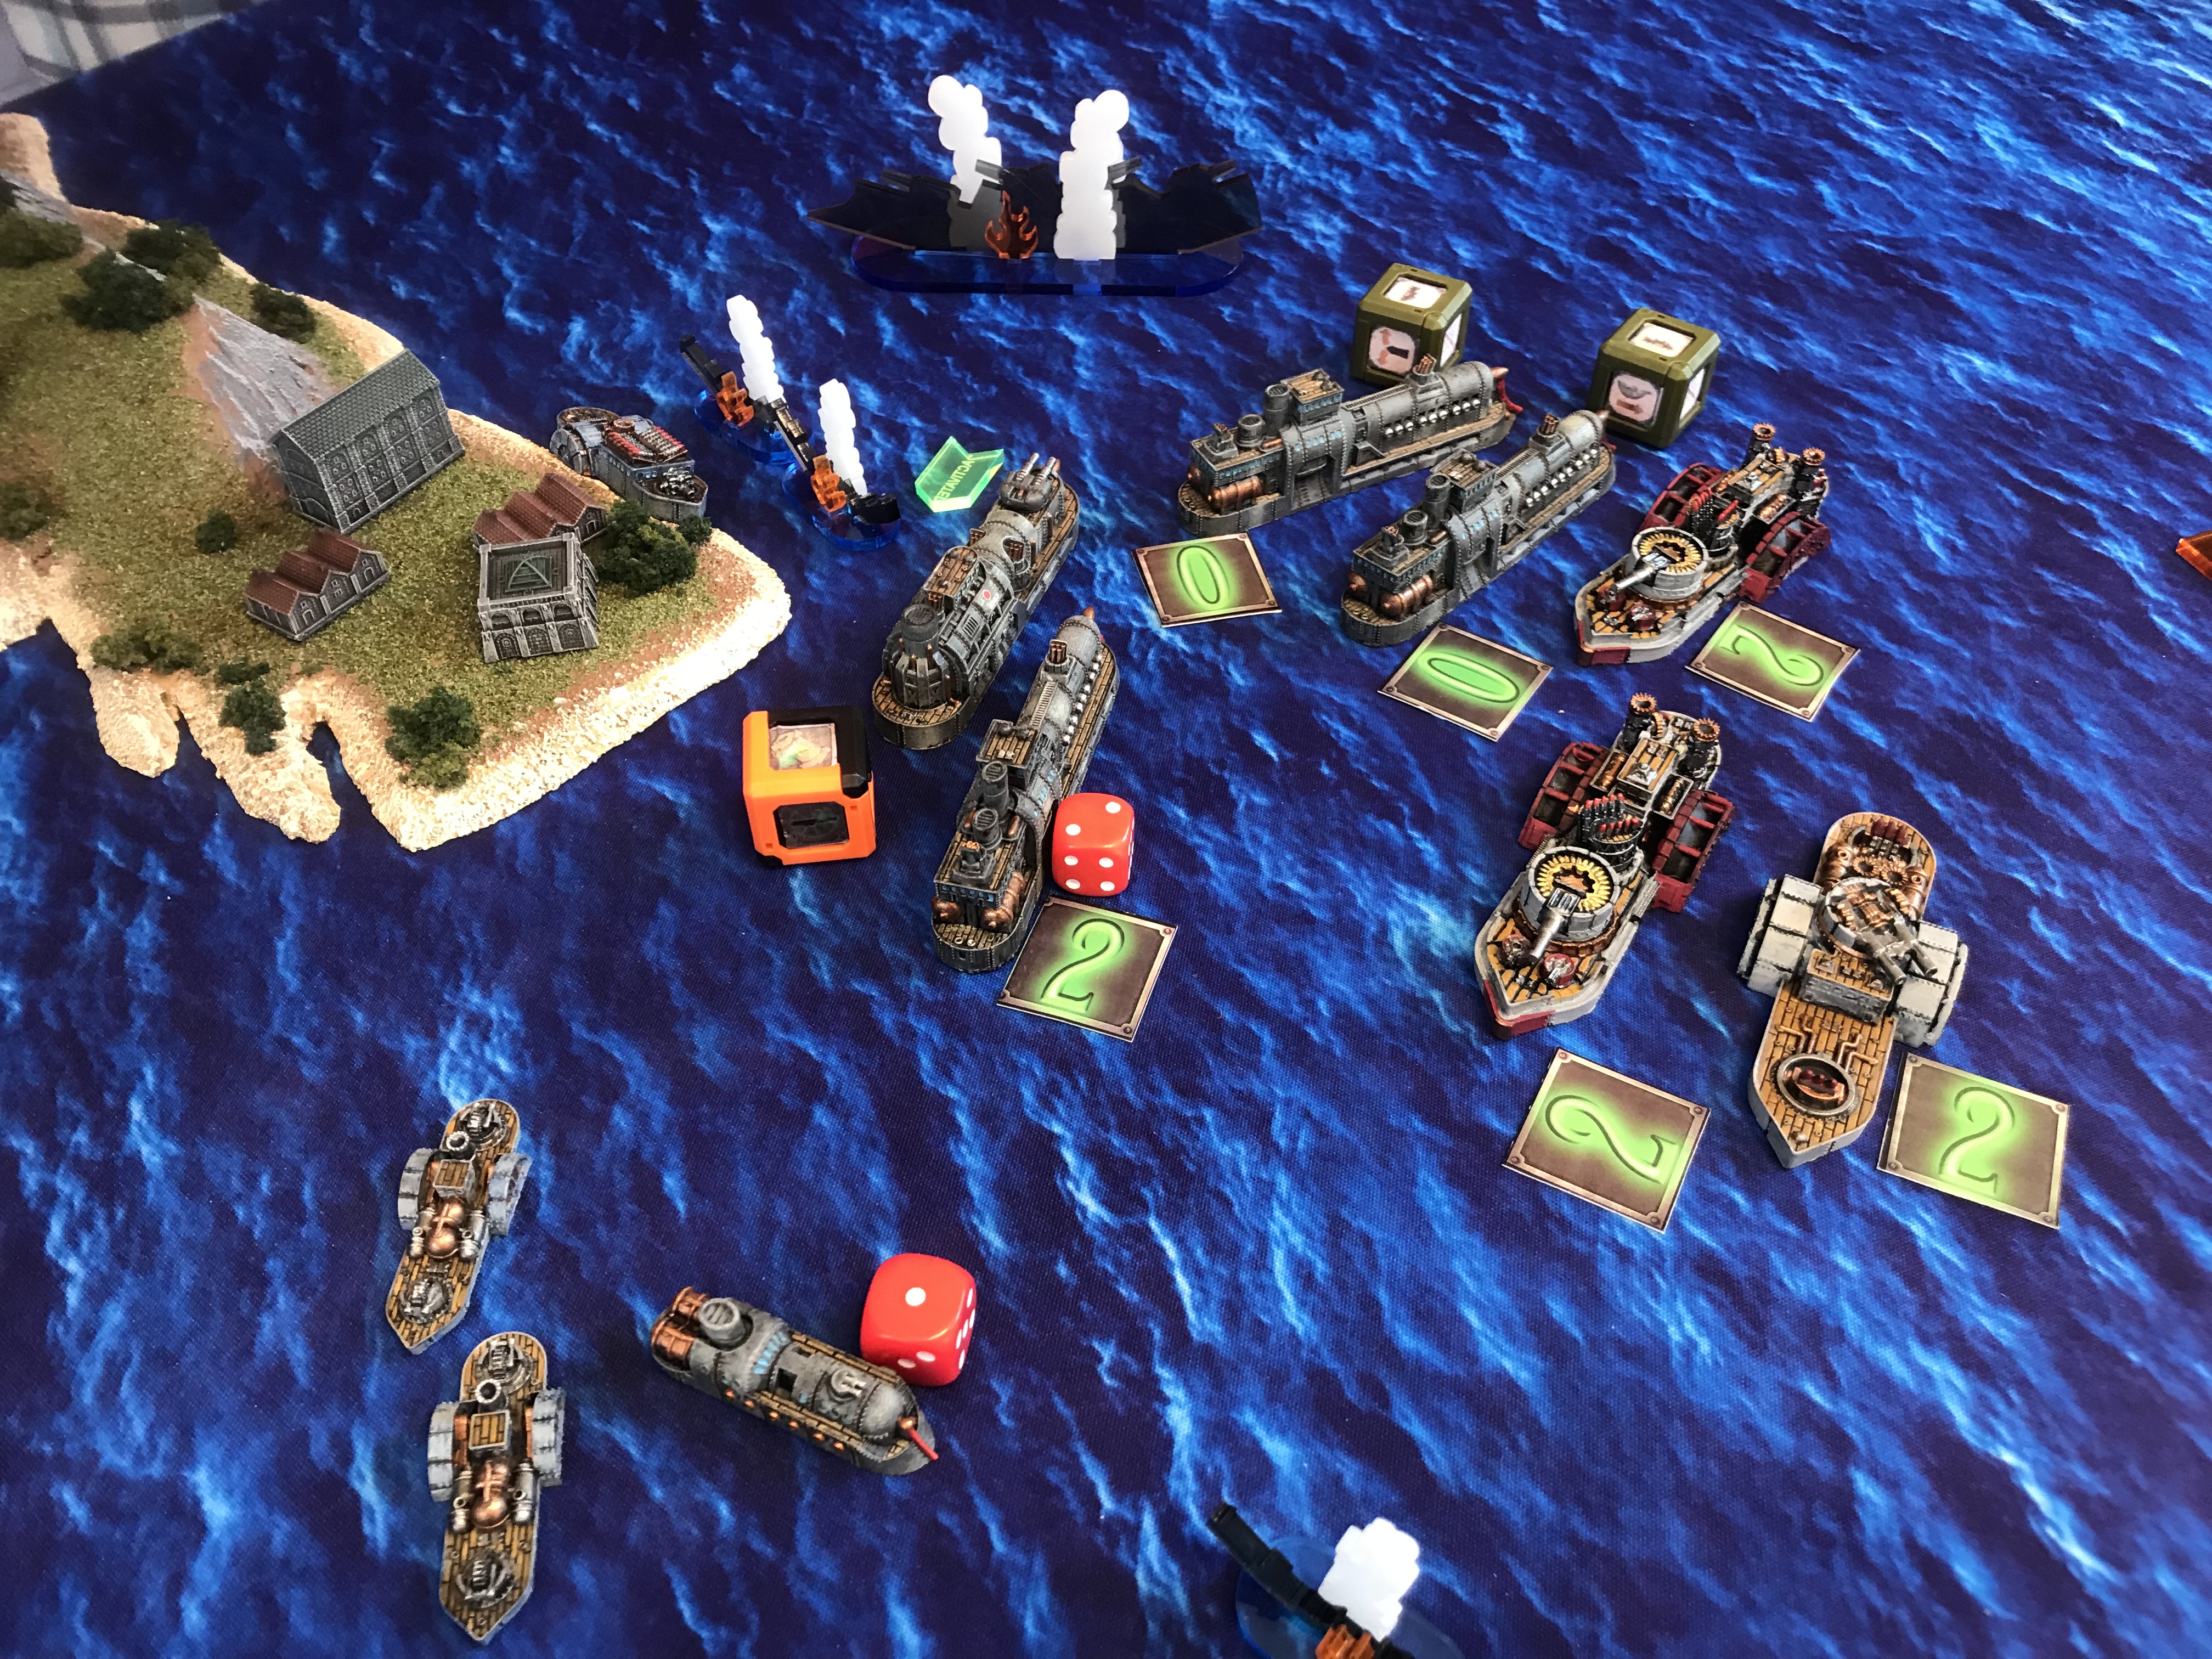
Andy: This turn presented an interesting challenge for my maneuver scheme. It was a challenge for me to line up effective shots on Matt’s fleet, while not overextending myself and not blocking my own lanes of fire. Thanks to winning initiative, I was able to do an additional critical hit on the American battleship with my Destroyers, before Matt could get his flagship into the lee of the nearby island. That critical turned out to be a Hard Pounding, taking down 3 HP and an AP as well. Other than that, the only effective shooting I was able to accomplish was with my frigates, which started feeling the effects of American return fire in short order!
Matt: I decided it was time for the destroyers to earn their keep. I felt pretty good about that, right up until I realized I miscalculated distance and blew one up on the Island. To add insult to injury, my squad broke on 4 dice…I only needed 1 success. I was able to take out 2 frigates but feel like I should have been able to knock out at least 2 more small ships. My mediums were able to do a whole lot of nothing, having LoS blocked by small ships.
Turn 3
Initiative: FSA
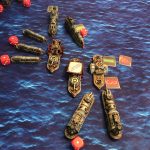
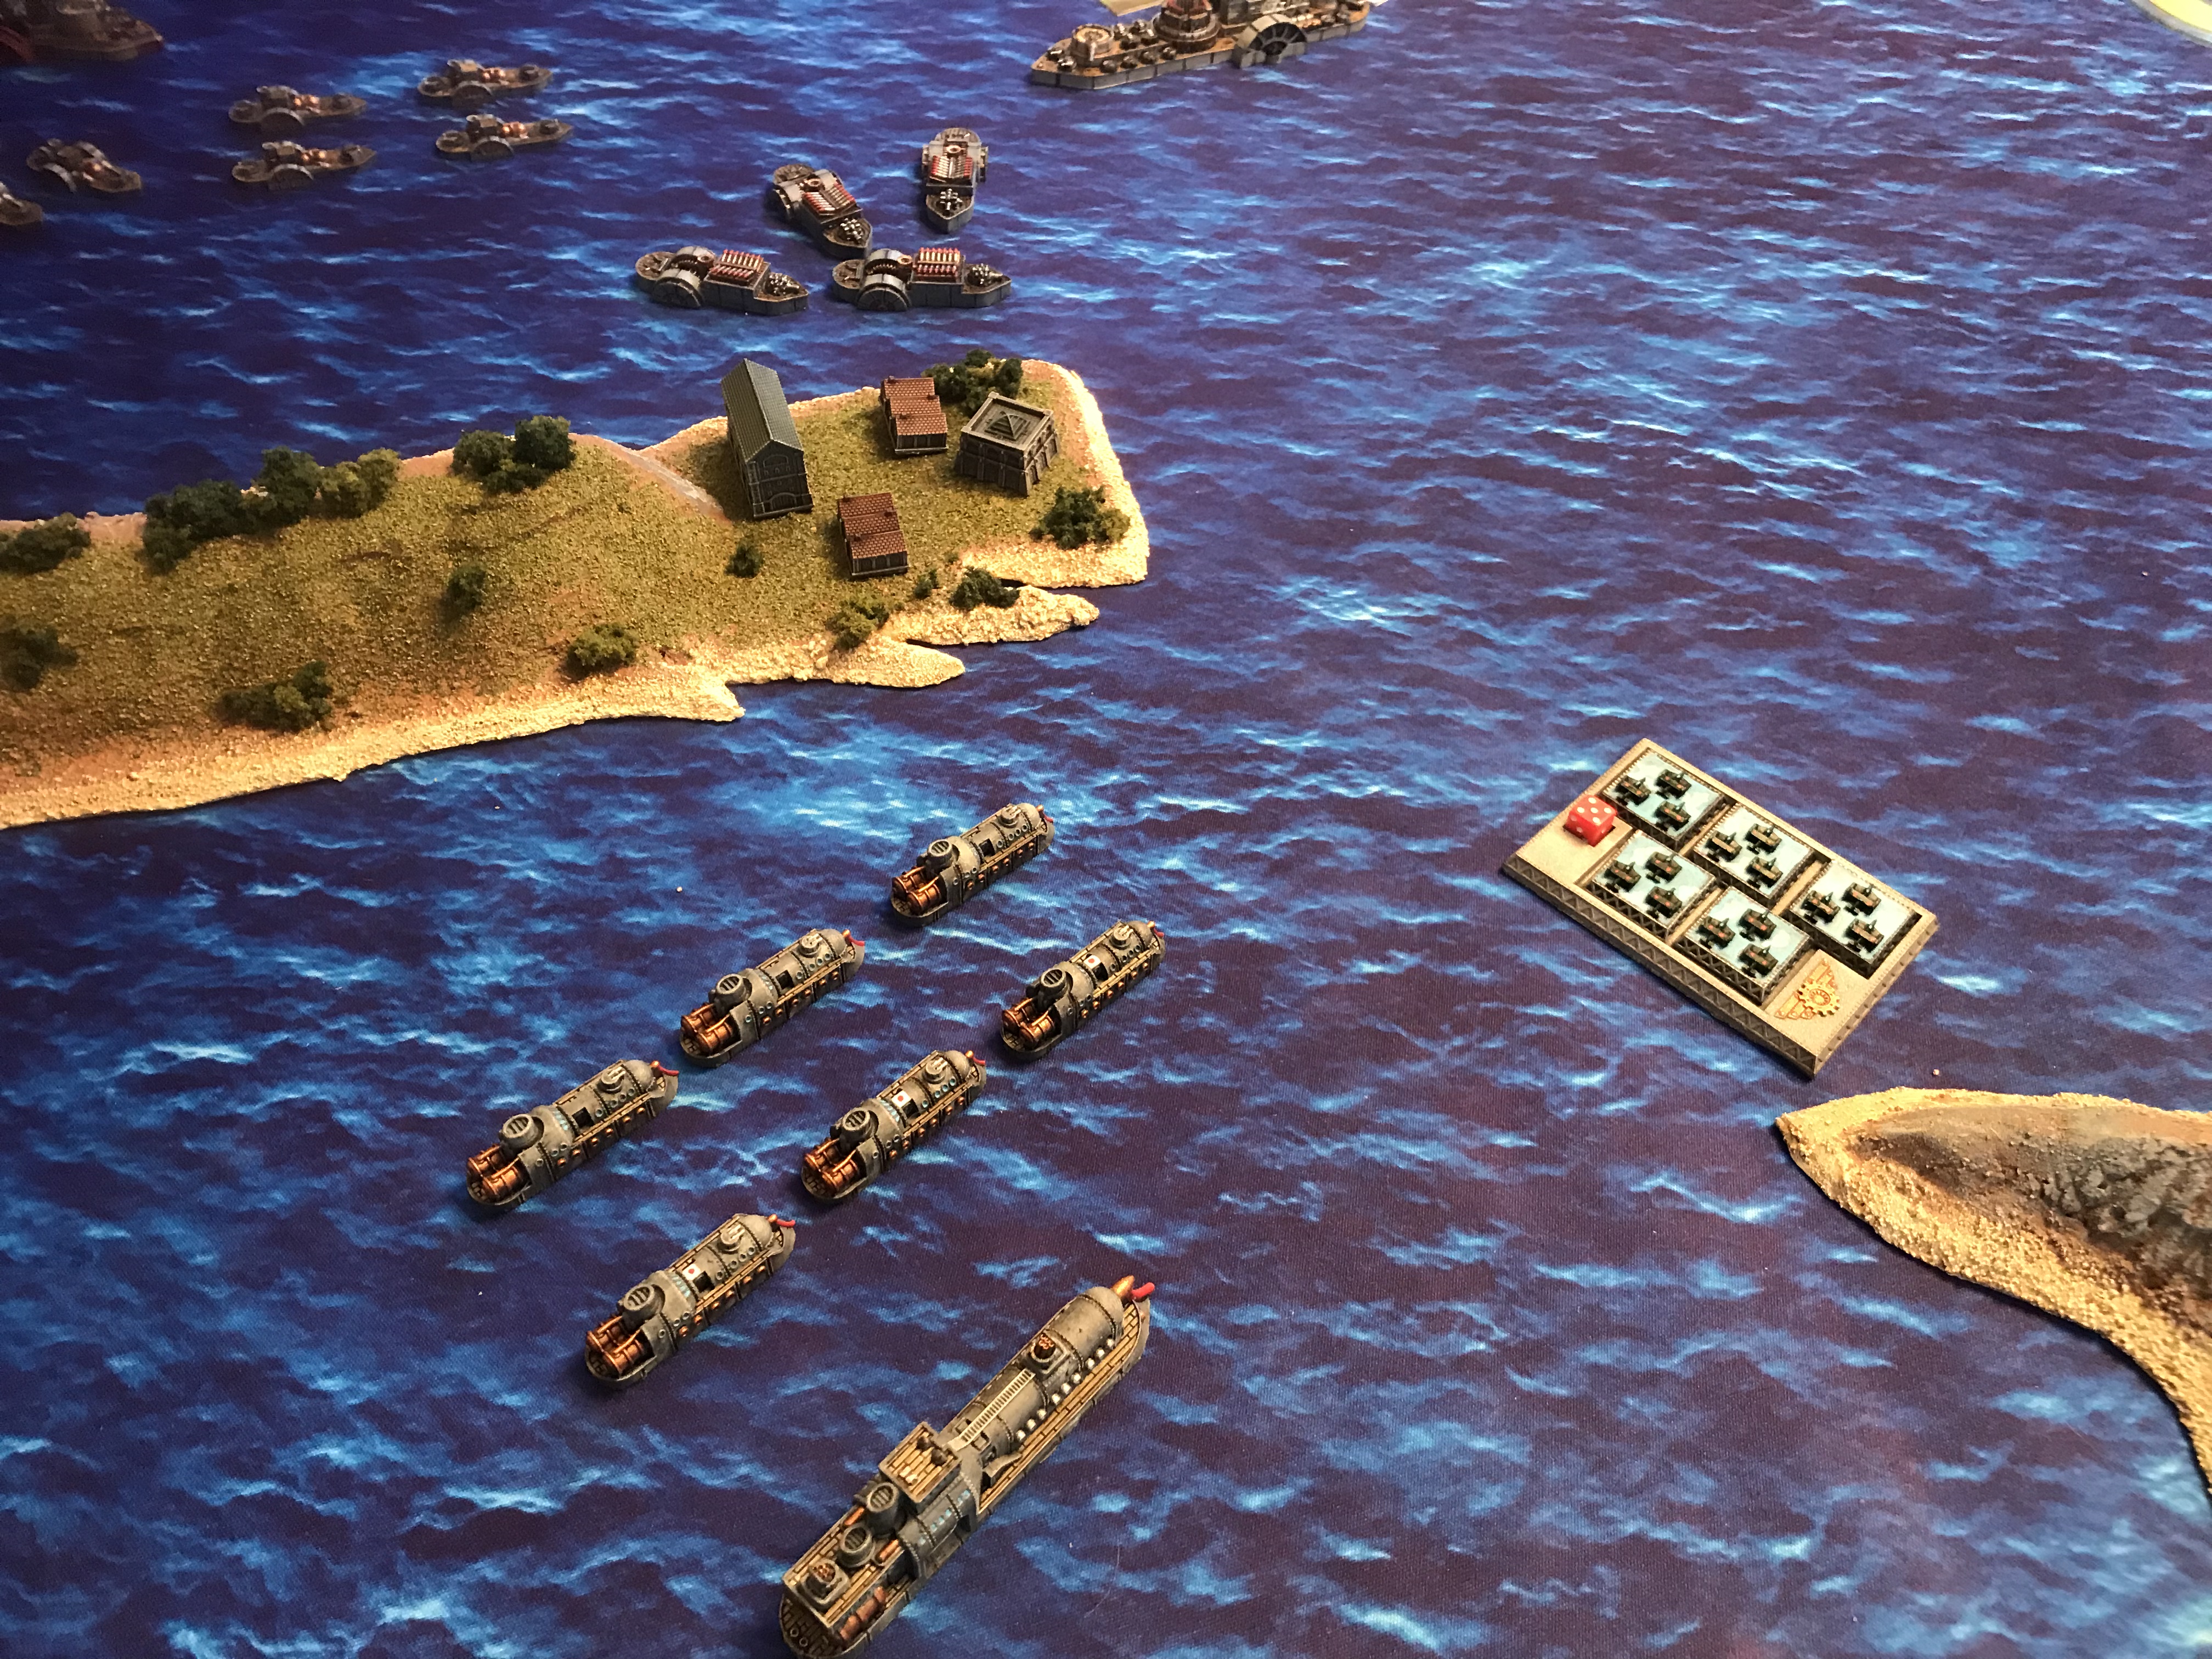
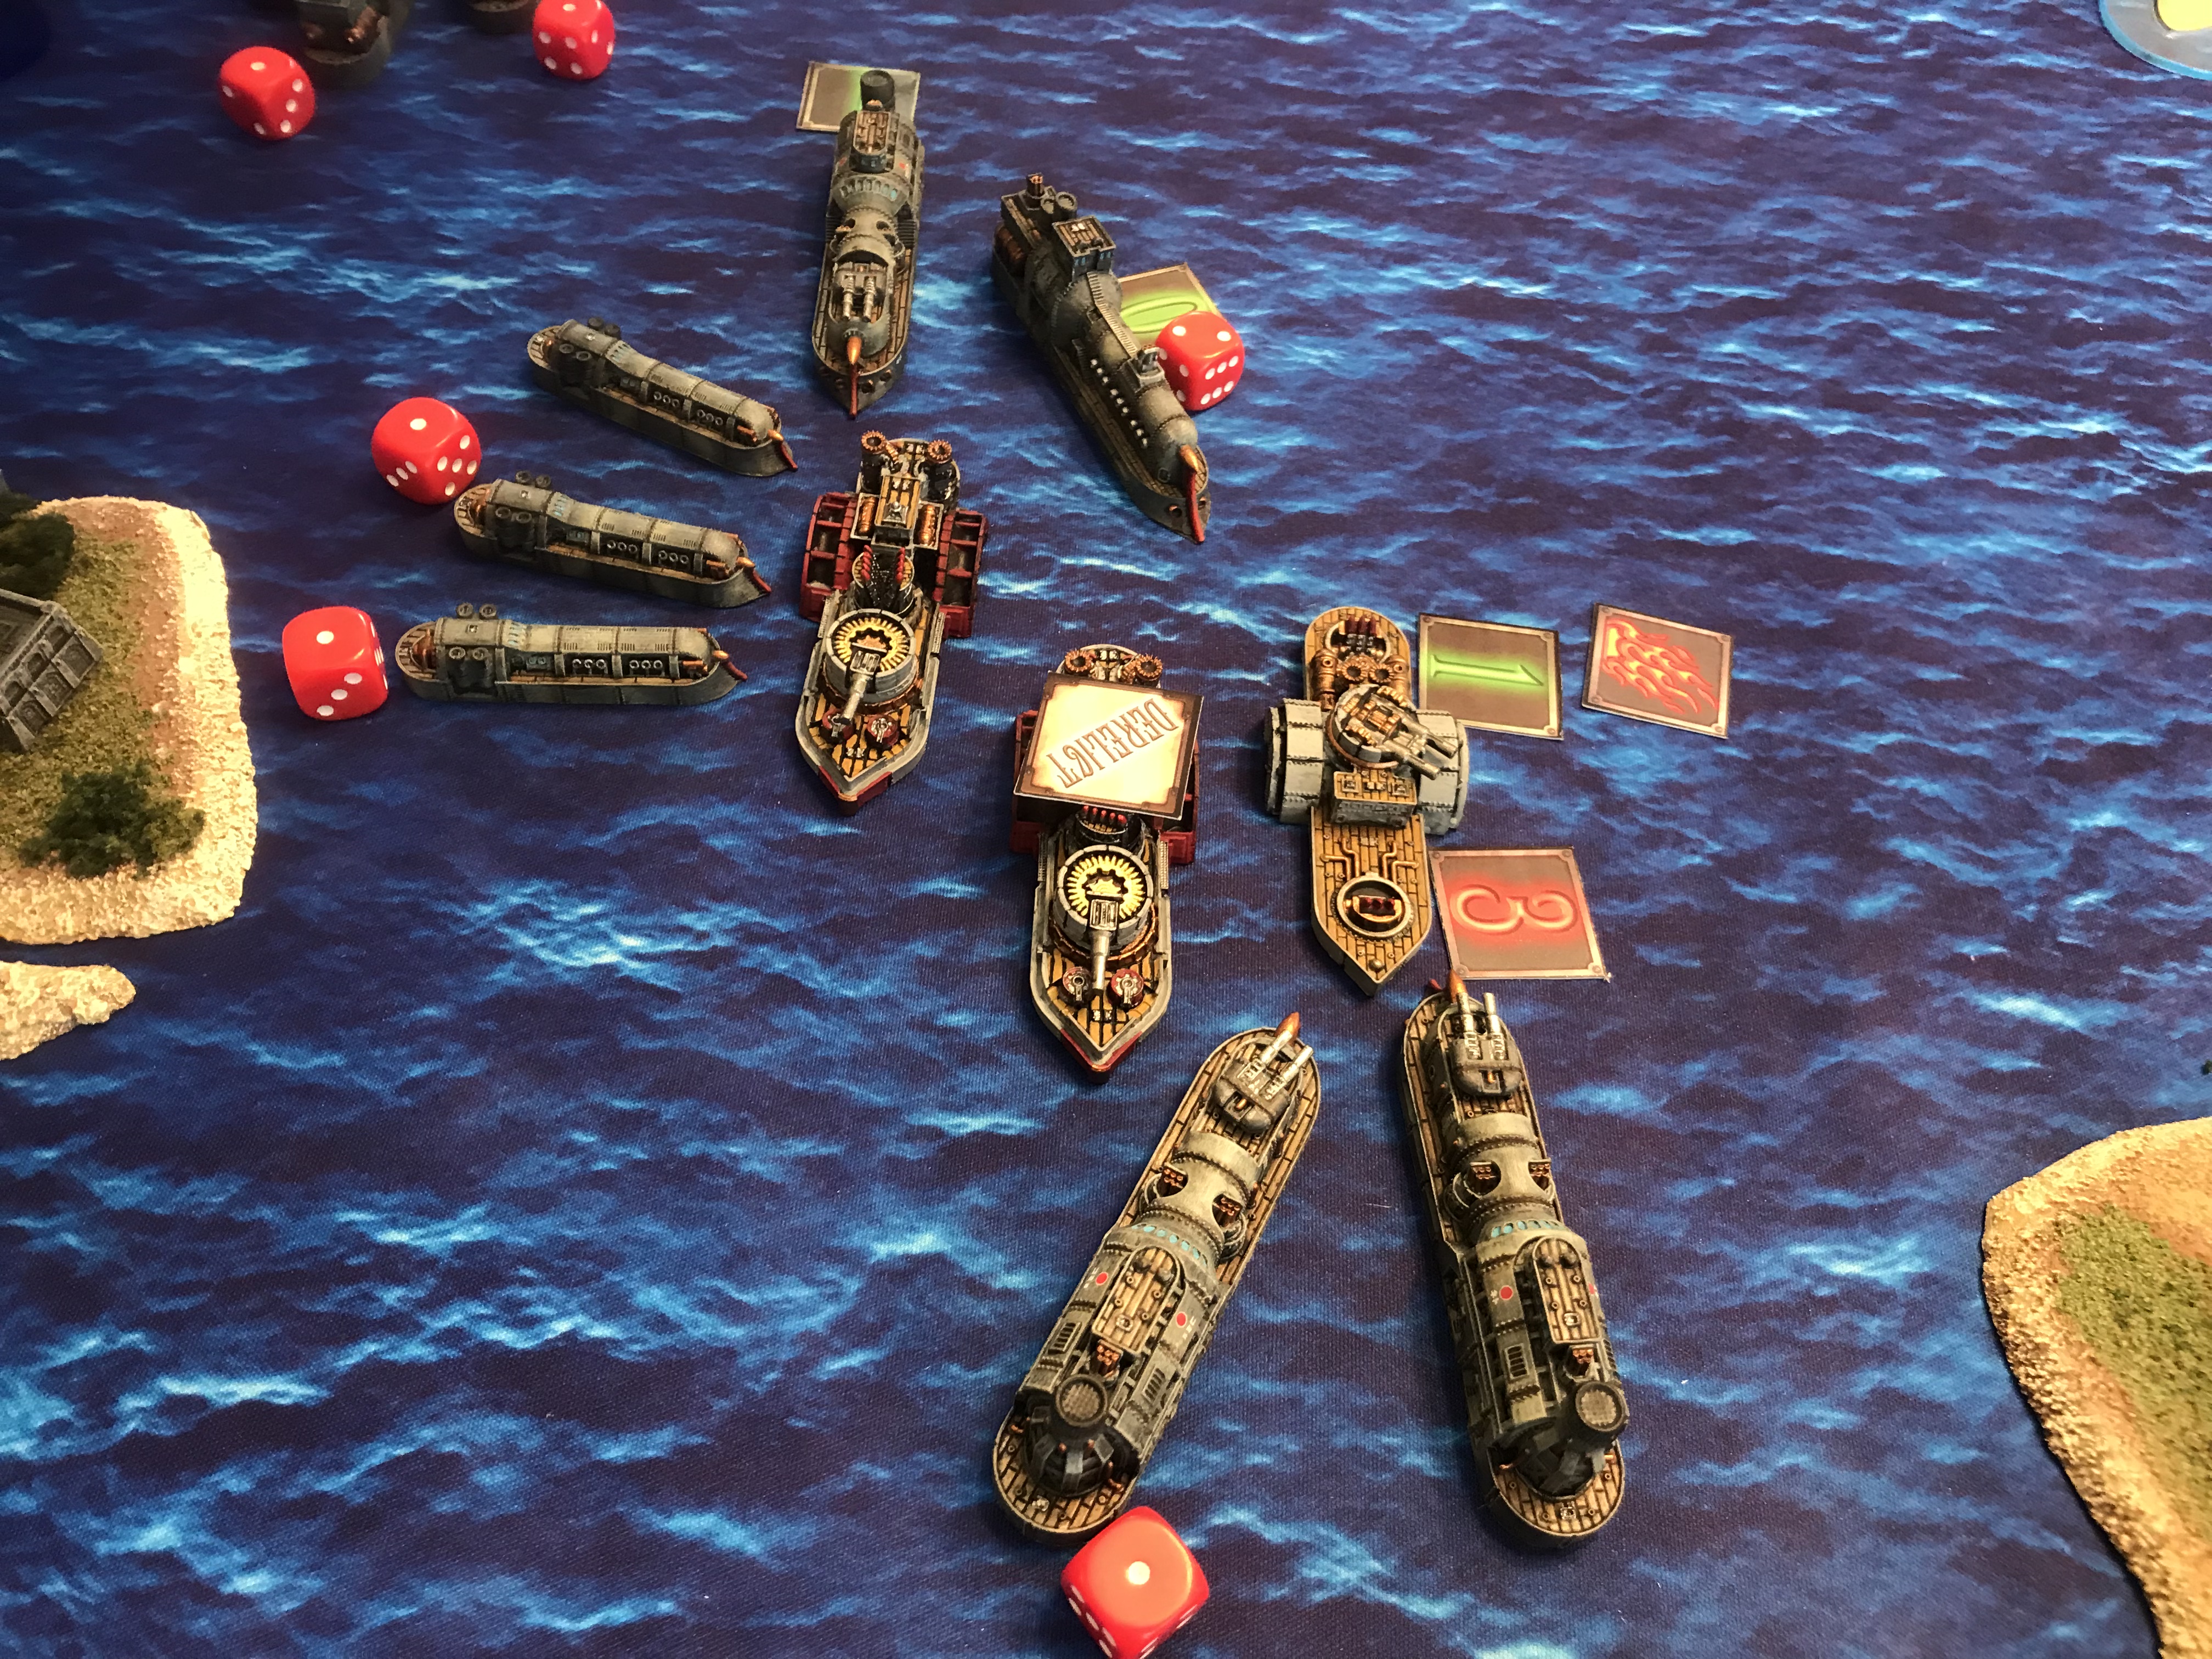
Andy: This turn wound up being the bloodiest of the game. Matt won initiative, and started the action off with an attack on my frigates with his. I managed to finally get my cruiser squadron into play, and was able to knock out three frigates by shooting and boarding. I was also able to finish off the American battleship with my shooting. It was then that Matt got his cruiser squadron into the fight, and put a critical on one of my light cruisers and reduced two more to hulks with boarding.
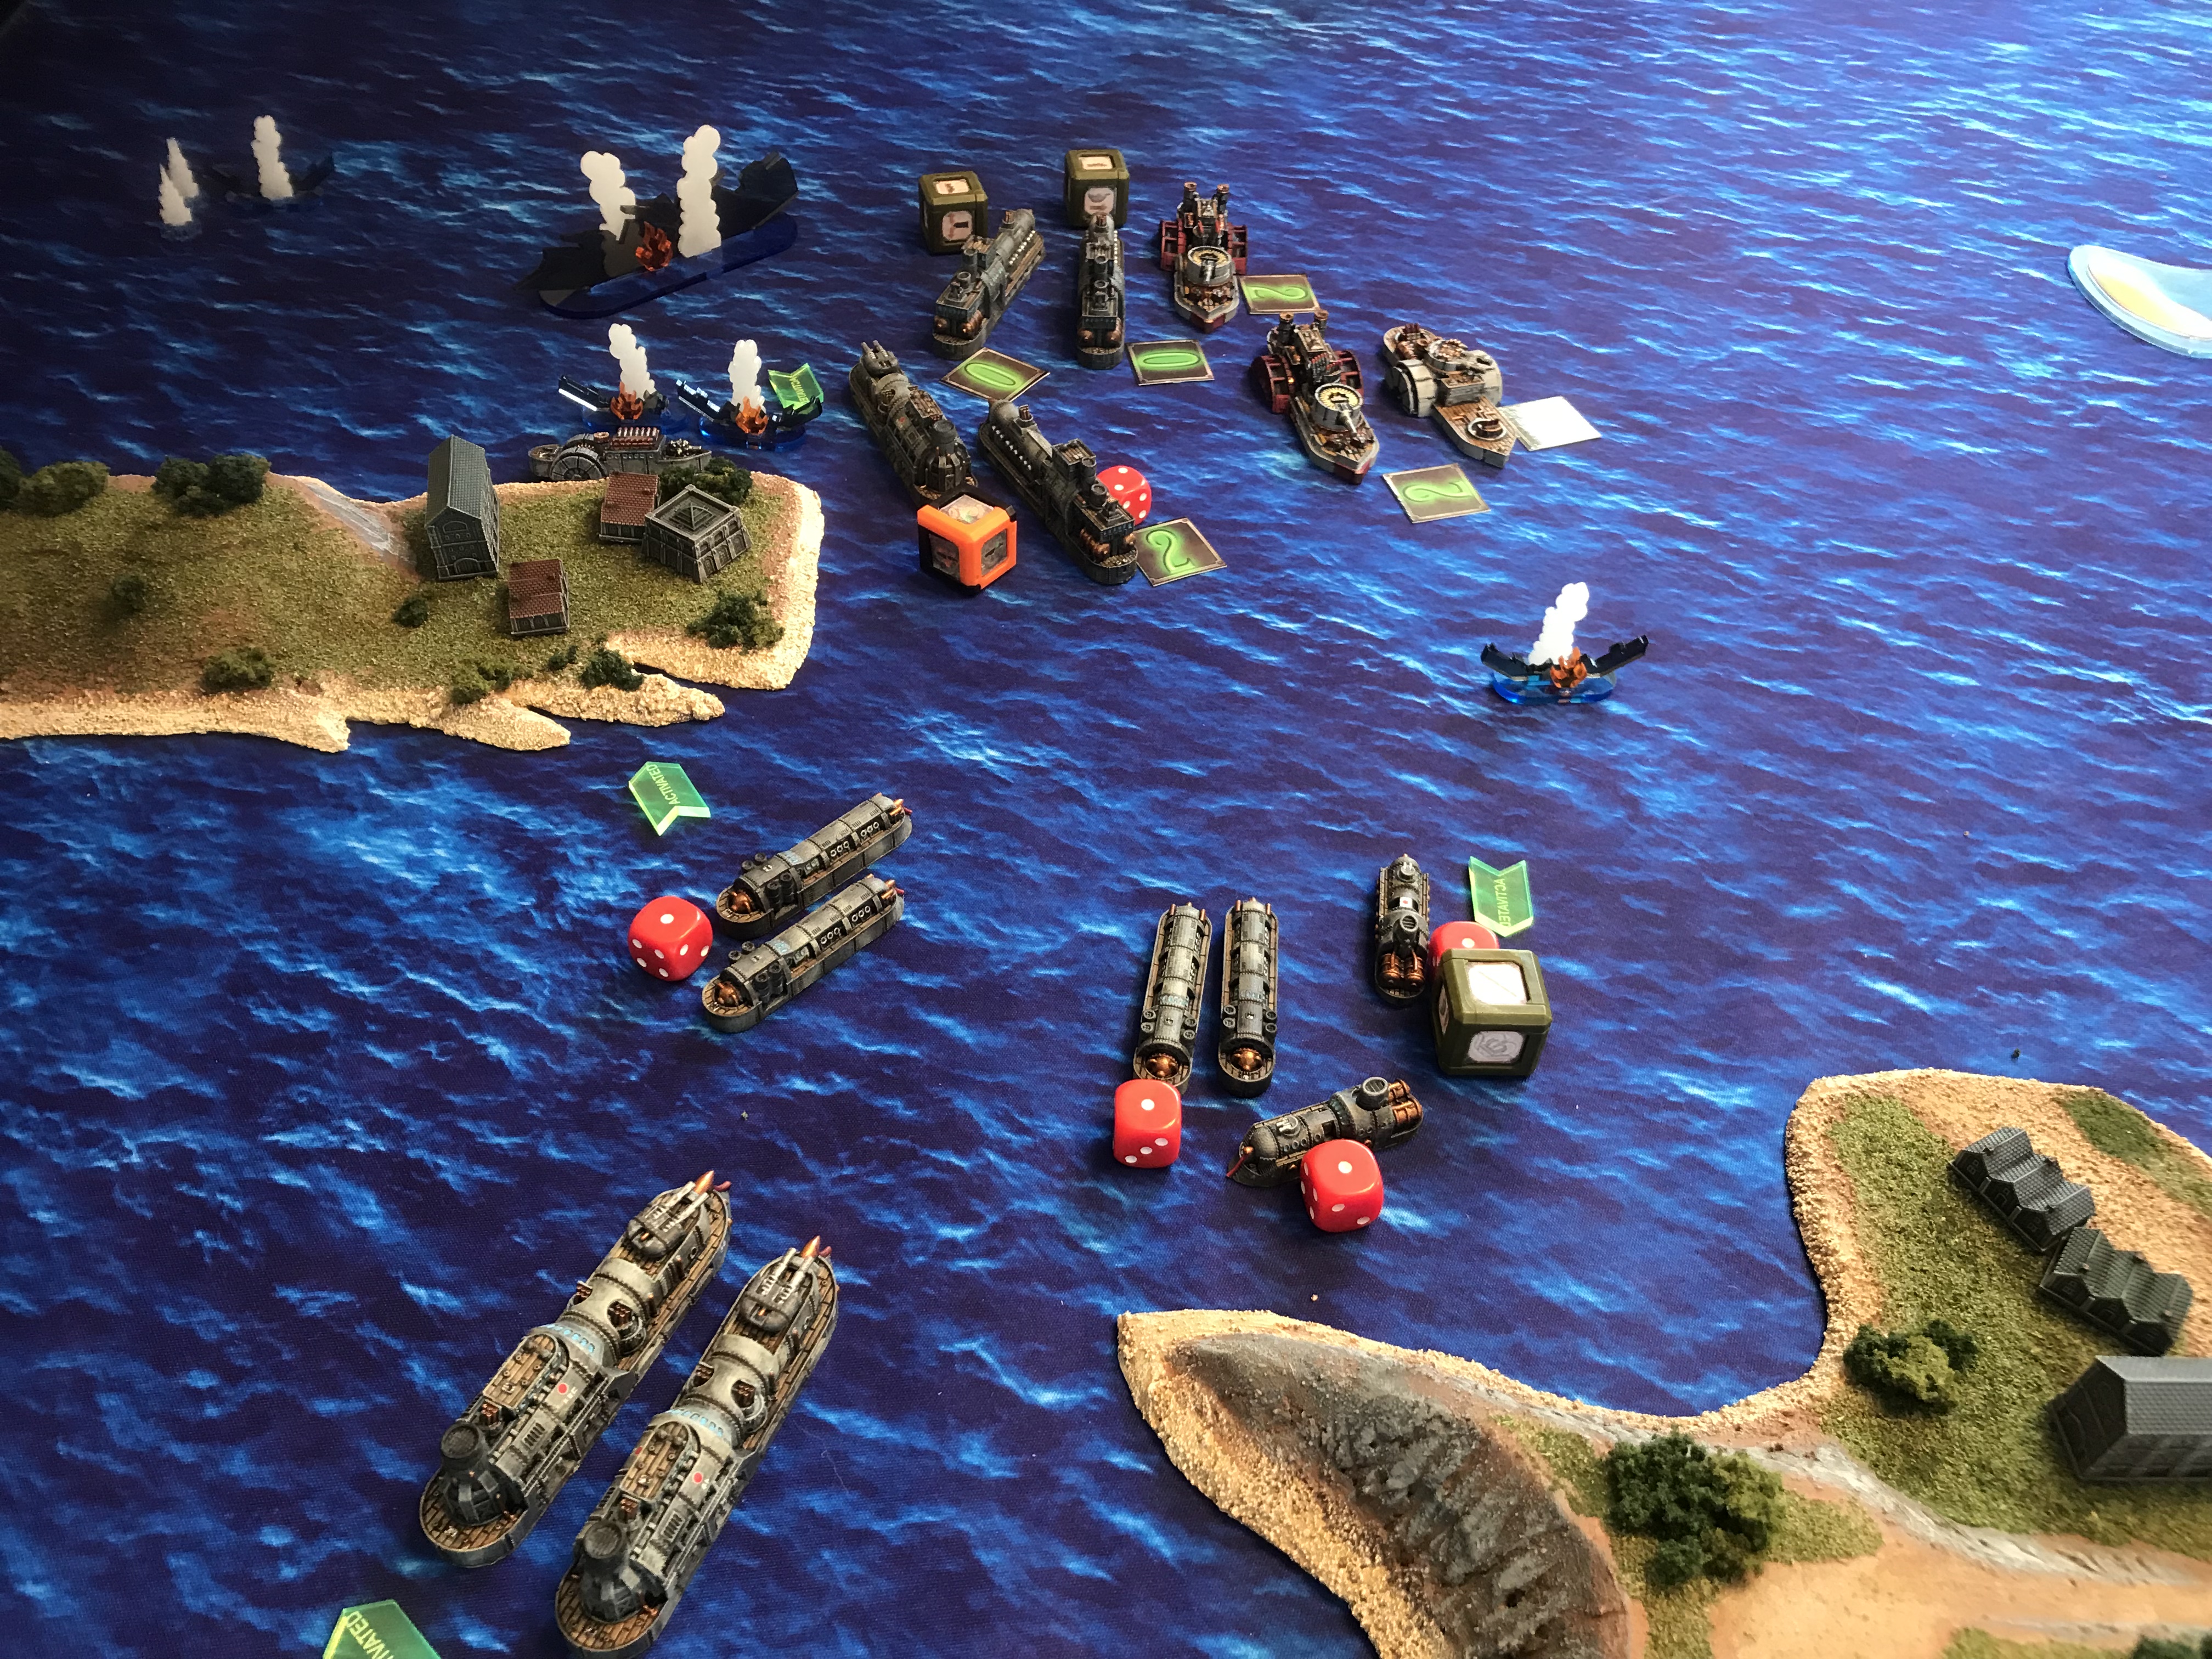
Matt: I won initiative and was determined to take something with me as a last stand. Andy kindly destroyed my BB, and knocked out 2 squadrons of frigates, leaving some room to do something with my reinforced cruiser squadron. Thanks to the marines Andy lost while murdering my boats, I was able to derelict 2 of his Cruisers with my marines and put a crit on the 3rd. Guns from this squad knocked a hull point off here and there, but nothing appreciable. I kept getting in my own way and wasn’t able to use the primary guns on my Princeton and Georgetown’s turrets to any great effect.
Turn 4
Initiative: FSA
Andy: By this point, my Blazing Sun definitely had the upper hand. With initiative on his side, Matt managed to take a toll on my small ships, finishing off my frigates and sinking a destroyer. However, by that point I had the numbers to finish off everything but the American Gunship. Better late than never, my battleship finally made an appearance as it drove onto the table.
Matt: I remember it fondly…
Turn 5
Initiative: EoBS
Andy: This turn was pretty much just a mop-up. I won initiative, and immediately moved in to board the lone surviving American ship with my two armored cruisers. The sheer weight of the Blazing Sun assault proved too much, and victory was mine!
Matt: It was indeed!
Result
With a final Campaign Point total of 22 to 11, this was a Crushing Triumph for the EoBS! Admiral Tanouchi, arriving at the scene of battle after most of the fighting was over, was very pleased to see that the strike force he had sent to the Falklands had encountered such success. However, while this victory went a long way towards restoring the morale of his forces (not to mention his personal honor and reputation!), he knew that the FSA was far from vanquished and that even greater battles lay ahead.
Post-Battle Thoughts
Andy: Victory! This battle obviously went much better than Game 1 did, however I have to acknowledge that this scenario was designed to give me a strong starting position. Thanks to a pinch of luck here and there when I needed it most, I was able to capitalize on that strong starting hand and gain a decisive victory. Even with this win, though, I’m still behind in the overall campaign, so it will be up to the Prussians in Game 3 to finally even up the score, if they can!
Matt: It was one of those games that started bad and stayed that way to conclusion. I had a few impressive rolls, but at the end of the day they didn’t happen when I needed them. Andy has been able to close the gap in campaign points, but thanks to the first game I am still in the lead. Hopefully the FSA will put on their big boy bell-bottoms and show up for game 3.
Conclusion
The Blazing Sun, having secured their flanks, are now ready to push North! At the same time, the forces sent across the Atlantic have arrived in the theater and are ready to begin their long-awaited thrust South. Things are about to heat up in the Caribbean as the Hurricane Season grows in intensity…
Epilogue
The Tanuki’s shell detonated on the Aft section of the bridge; explosion creating a chain reaction and overloading the console in front of Danny, a dagger-like shard lodging itself in his right eye. He knew this was the end of the FSS Hampton. Luckily, the remainder of his ships were fighting on, knowing they were doomed, but determined to take some the Suns down with them.
Captain Wales made his way to his Turtle and set coordinates to the nearest friendly base, the Brittanian outpost in Stanley. Though alliance between the Crown and the Federated States was tenuous at best, he knew they were his best shot. The adrenaline subsided, and he fell unconscious.
Danny awakened in a post-surgical haze to find an orderly re-dressing his wound. “Good Afternoon! I do hope you had a nice kip. Now that you’re awake, we’ve someone that wants to speak to you.”
Commodore Whitehurst entered the room, saluting Danny: “Captain Wales is it?”
Danny returned the salute, nodding in acknowledgment.
“Hmmm, I feel like I’ve heard that name before…were you at the battle of Santos?”
“Aye, Gunner on the FSS Dover. Managed to land a shot that detonated the magazine on one of your Cromwells, they were giving us hell until then.”
“That’s right…earned you the moniker ‘Deadeye’ didn’t it?”
“Indeed, sir.”
A wry smile drew across Whitehurst’s face “Well lad, I suppose no one will be doubting that nickname again” he paused “We’ll get you back north as soon as we can, this fight is far from over…”
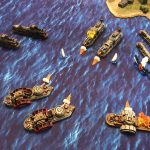
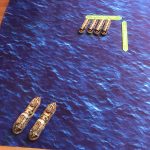
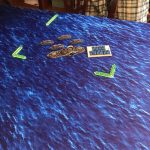
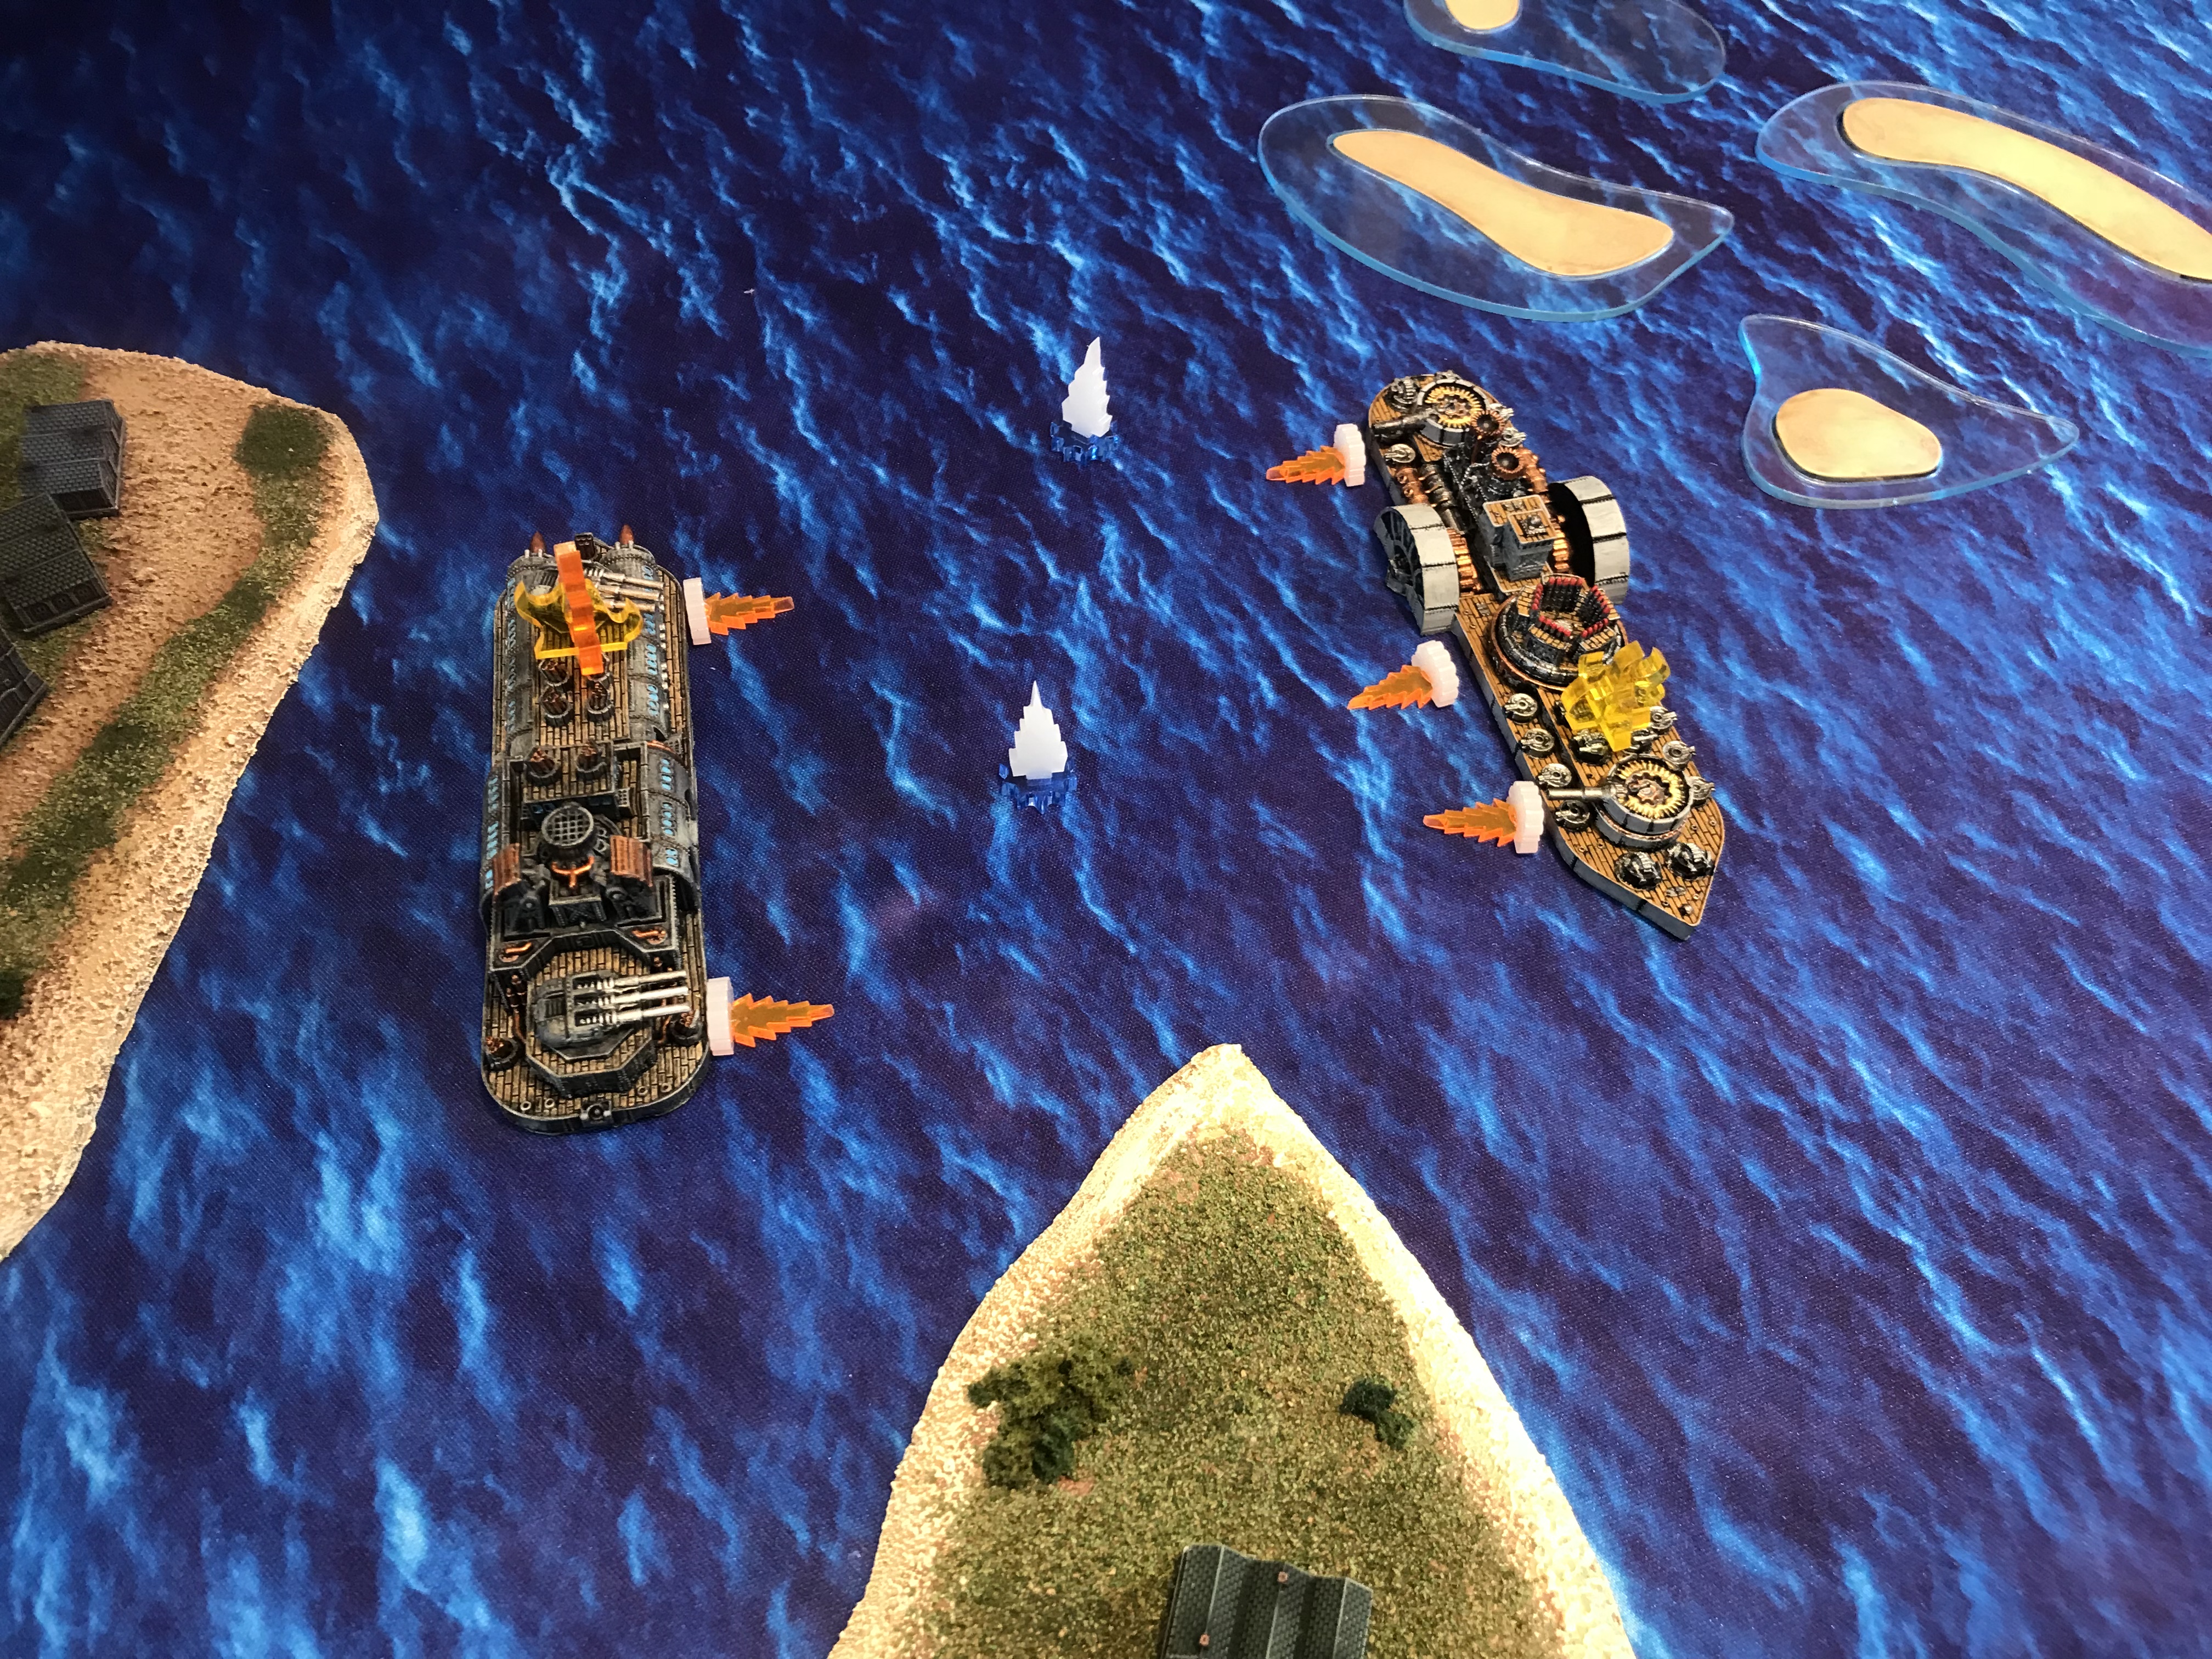
Gallery
-
- Oops