Sorry for the grandiose title, I couldn't think of a better one for this scenario.
I've had this idea bouncing around in my head for a couple years. What if you loaded up the
Millenium Falcon with all the upgrades you could fit, and try to get from one side of the board to the other?
Forum member Stephan and I sat down the other day to answer that question. I ran the YT-1300 with the
Millenium Falcon title card, Han as the pilot, and Chewie and Luke in the two crew slots. I equipped the
Falcon with Assault Missiles and the "Outmaneuver" pilot upgrade (reduce your target's agility by one if you're outside their firing arc when you shoot at them), and I added a couple of the generic upgrade cards--one to add one shield and I can't recall the other (it didn't do much for me in the game anyway). This totaled up to about 80 points.
As the Imperial player, Stephan took 175 points of ships and divided that up into three squads. I told him to generally keep the higher-ranked pilots in reserve. Stephan would deploye one three-ship squadron at the beginning of the game, and the other two would be deployed after the
Falcon crossed a specified line on the board. The initial squadron deployed even with with
Falcon but off to one side of the board; subsequent squadrons would deploy in range one of the board edge but not within shooting range of the
Falcon.
The scenario: Han, Chewie, and Luke got into an Imperial entanglement and had to make a hasty exit off the planet. The Imperials were giving chase, trying to stop the
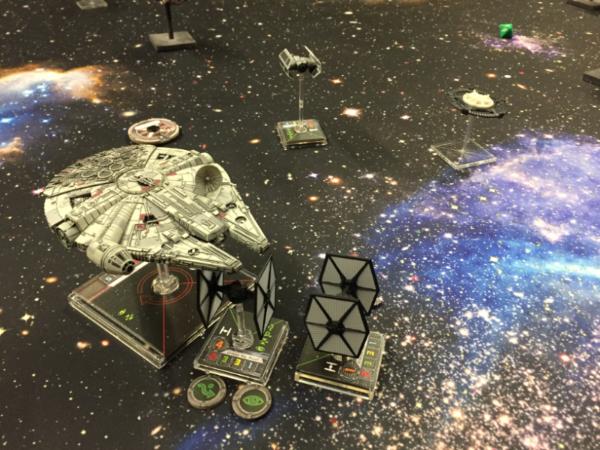
Falcon before it could get far enough away from the planet to engage the jump drive. Here's the initial set-up:
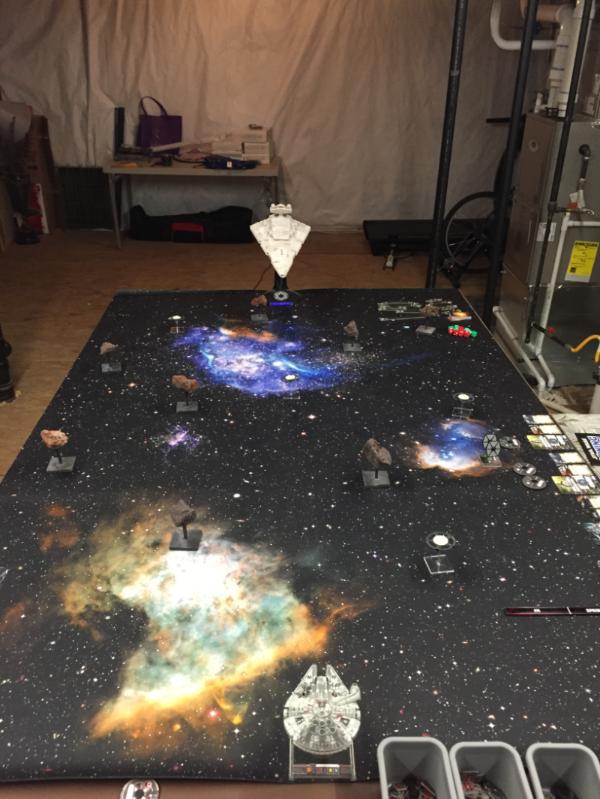
This was a 6x4' board. The
Falcon had to fly lengthwise up the board to get to the jump point. We scattered some asteroids and satellites on the board for cover. The star destroyer at the other end was purely for aesthetics.

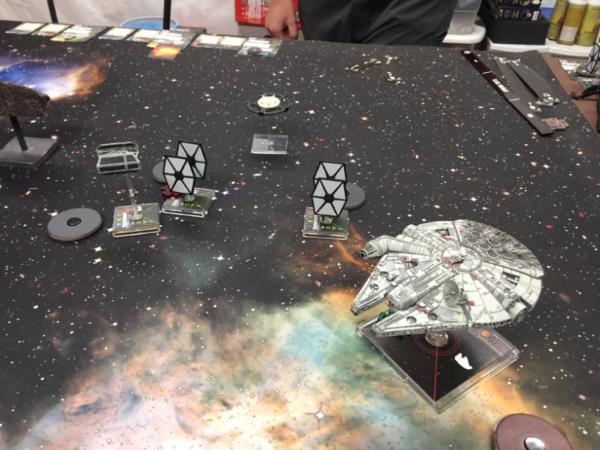
As the Rebel player, I spent a LOT of time trying to avoid getting shot at. The
Falcon had 6 shields (thanks to the upgrade) and 8 hull points, but as I realized quickly those would go pretty quickly if I let all three Imperial ships line up shots in every turn. So, I tried very hard in each turn to have no more than two Imperials ships able to shoot at me. Sometimes this worked, sometimes it didn't. Thankfully, with 360-degree firing arcs, I could focus more on evading than lining up shots.
I did make a big loop right at the beginning--hard to explain, it was a series of tactical choices that in hindsight I probably shouldn't have made--so I didn't make as much forward progress in the first few turns that I should have. However, the
Falcon can turn pretty tightly for a ship that size, and my maneuvers did cause Stephan's ships to collide quite frequently, robbing them of the chance to take their free actions.
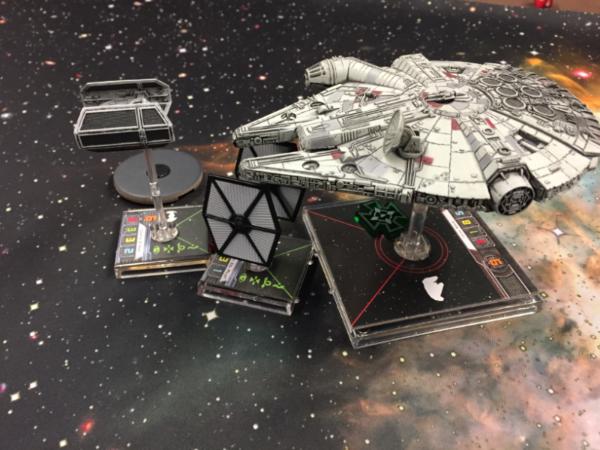
I also tried, where possible, to ram the Imperial starfighters to reduce the amount of incoming fire. This unfortunately prevented me from taking my free actions too, but I figured it was worth it.
Long story short...the
Falcon didn't make it. I had reduced the original squad down to one ship, but then the second squad deployed and I was down to just a couple of hull points, and they took me out in short order. This picture shows how far up the board I got:
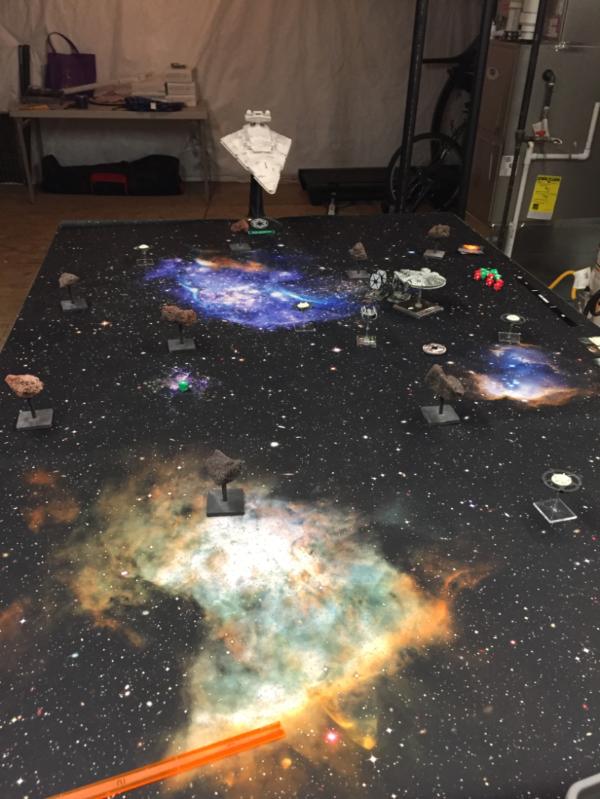
Another four turns and I might have been able to get off the board.
Overall, this was a fun scenario! I shouldn't have wasted so much time at the beginning, but hindsight is 20/20 as they say. I think it is possible for the
Falcon to escape in this scenario, but it would take some dang good flying. I'm glad I finally got the scenario on the table to see how it would go. I'm not a big fan of using the larger-based ships in normal combat, but I think they're good for scenarios like this.
Stephan, please chime in with anything I missed.
Thanks for reading!


