Prologue
South Atlantic, off the Cape of Good Hope
INBS Kaga, Flagship of the Blazing Sun Carribean Strike Force
The waters off the Cape of Good Hope were an expanse of storm-tossed deep blue, domed with an oppressive grey overcast, broken by occasional banks of mist and intermittent squalls of rain. Through this maelstrom, the enormous bulk of the Kaga, a Kiyohime-class assault carrier of the Imperial Blazing Sun Navy, pounded inexorably eastward.
From the Kaga’s flag bridge, Admiral of the Sword Tanouchi Hiroshi surveyed the scene around him, watching as the frigates serving as the close escort for his flagship struggled to maintain formation as they bobbed like corks in the heavy seas.
“This weather will be the death of us all,” he muttered.
His mood was as dark as the weather; these storms were greatly slowing the progress of his Carribean Strike Force. The last reports from the Shinobi agents operating in the Falklands indicated that a sizable American task force had departed there recently, and thanks to the weather-induced delay Tanouchi’s van was now in danger of being intercepted by the Federated States Navy before breaking out into the Atlantic.
Those fears were confirmed moments later, when a lookout reported the distinctive shape of an FSN battleship on the horizon through a small break in the squalls. Turning to his aide, Tanouchi remarked, “It appears we will have to fight our way past the FSN after all. Signal all ships in the task force. Action Stations! For the Empress!”
FSS Portsmouth, Flagship of South Atlantic Task Force “Liberty’s Shield” (self-identified as Squall’s Stormriders)
The warning Claxons rang out and Admiral MacCannon stormed to the bridge to see what or whom interrupted his morning coffee. He raised his Busshell Monocular and saw the hazy outline of the Blazing Sun Assault Carrier on the horizon.
“So that’s what a Kiyohime looks like; about as large as Danny described, and I thought that was just another fish story…”
Radio Officer Johnson snapped him out of his internal dialog: “Admiral, priority message received from Commander Wales.” Danny spoke quickly, his voice nervous, but determined: “Sir, I think we have another problem, Kaiju spotted off of our fore-starboard, and I told you the Kiyohimes were impressive…”
Matthias activated fleet-wide comms channels to steel his men for the bloody task ahead: “Well lads, I suppose the Crown agents hadn’t what did they call it? ‘Lost the plot’ with their intel. The Empire is pushing north with their Prussian allies and they’ve brought some new toys.” He paused, summoning his courage before continuing: “We may not be pretty, but the FSA has always had it where it counts. BATTLESTATIONS! Let’s show the Empress how we do it in the Atlantic!”
He closed the link and turned towards Johnson: “Hank, call in the Vikings…we have some new toys too.”
Introduction
Andy: Matt and I managed to get in our first game in our play-through of the Hurricane Season campaign missions! This first mission was an interesting scenario. As the Blazing Sun player, my goal was to try to get my commodore’s model into an exit zone on Matt’s side of the board. The deployment for this scenario required both of us to divide our fleets into two naval elements and one aerial element. All of our naval elements would start the game on the table, while my aerial unit would drive on Turn 1. Matt’s aerial forces would arrive on turn 2. On top of all this, there were special weather rules in effect! Conditions could either be Fair, a Storm, or a Tempest, and were rolled for at the end of each turn. In a Storm, movement is reduced by 1″, and attacks at Range Band 4 are half strength. In a Tempest, movement is reduced by 1,” small and medium vessles have to use the medium and large turning templates respectively, and models using the Large template have to spend 2″ of their move to transit 1″ around the template. Finally, we are using the Campaign Points system for scoring as detailed in the Hurricane Season book, rather than Victory Points.
Forces
FSA
Naval Group 1
Deployed where EoBS Commodore had to exit.
-Battleship +3 Escorts (Shield, Commodore)
– 4 Revere Corvettes
Naval Group 2
-Battleship (Kinetic)
-2 Princeton Gunships (Shields)
Aerial
-Valley Airship (target painter)
-Justice Robot Squadron (2 JH, 3 Freedom)

EoBS/PE
 Naval 1
-Carrier (Commodore, randomly determined for scenario)
-4 Frigates
Naval 2
-Heavy Battleship+3 escorts (Shield)
-3 Lt Cruiser
-4 Frigates
Aerial
-Gewitterwolke Airship
-2 Pflichts
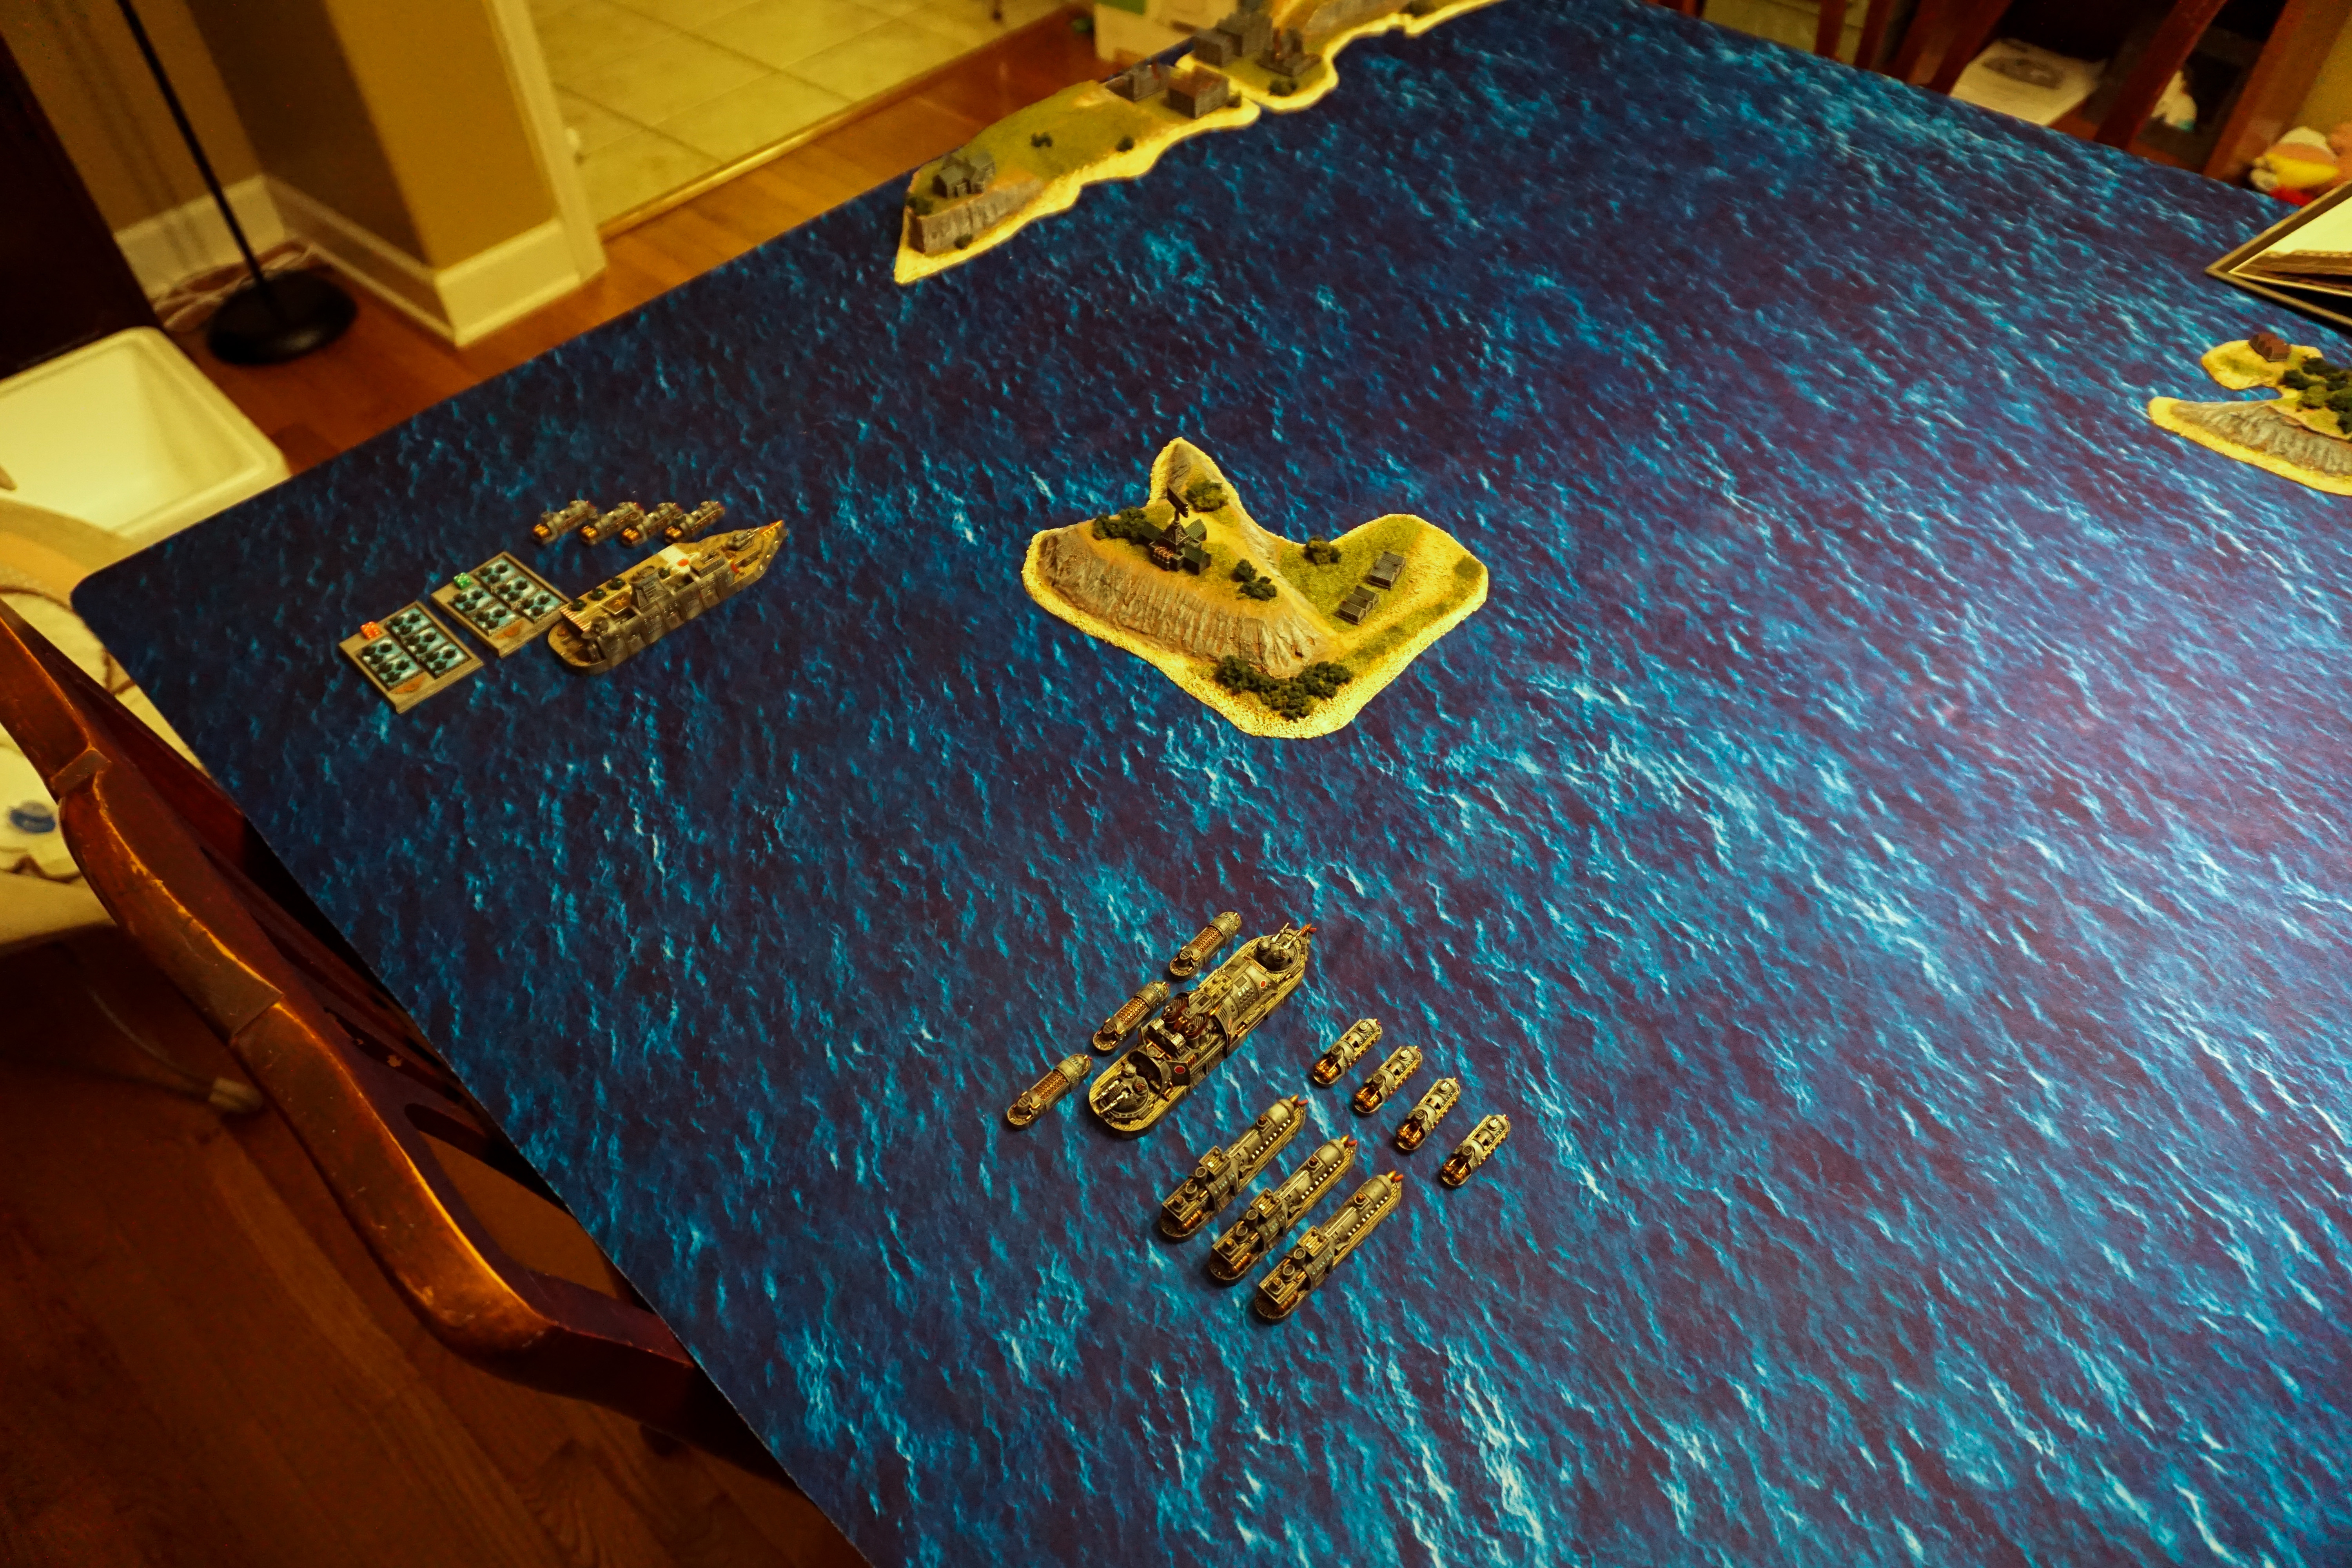
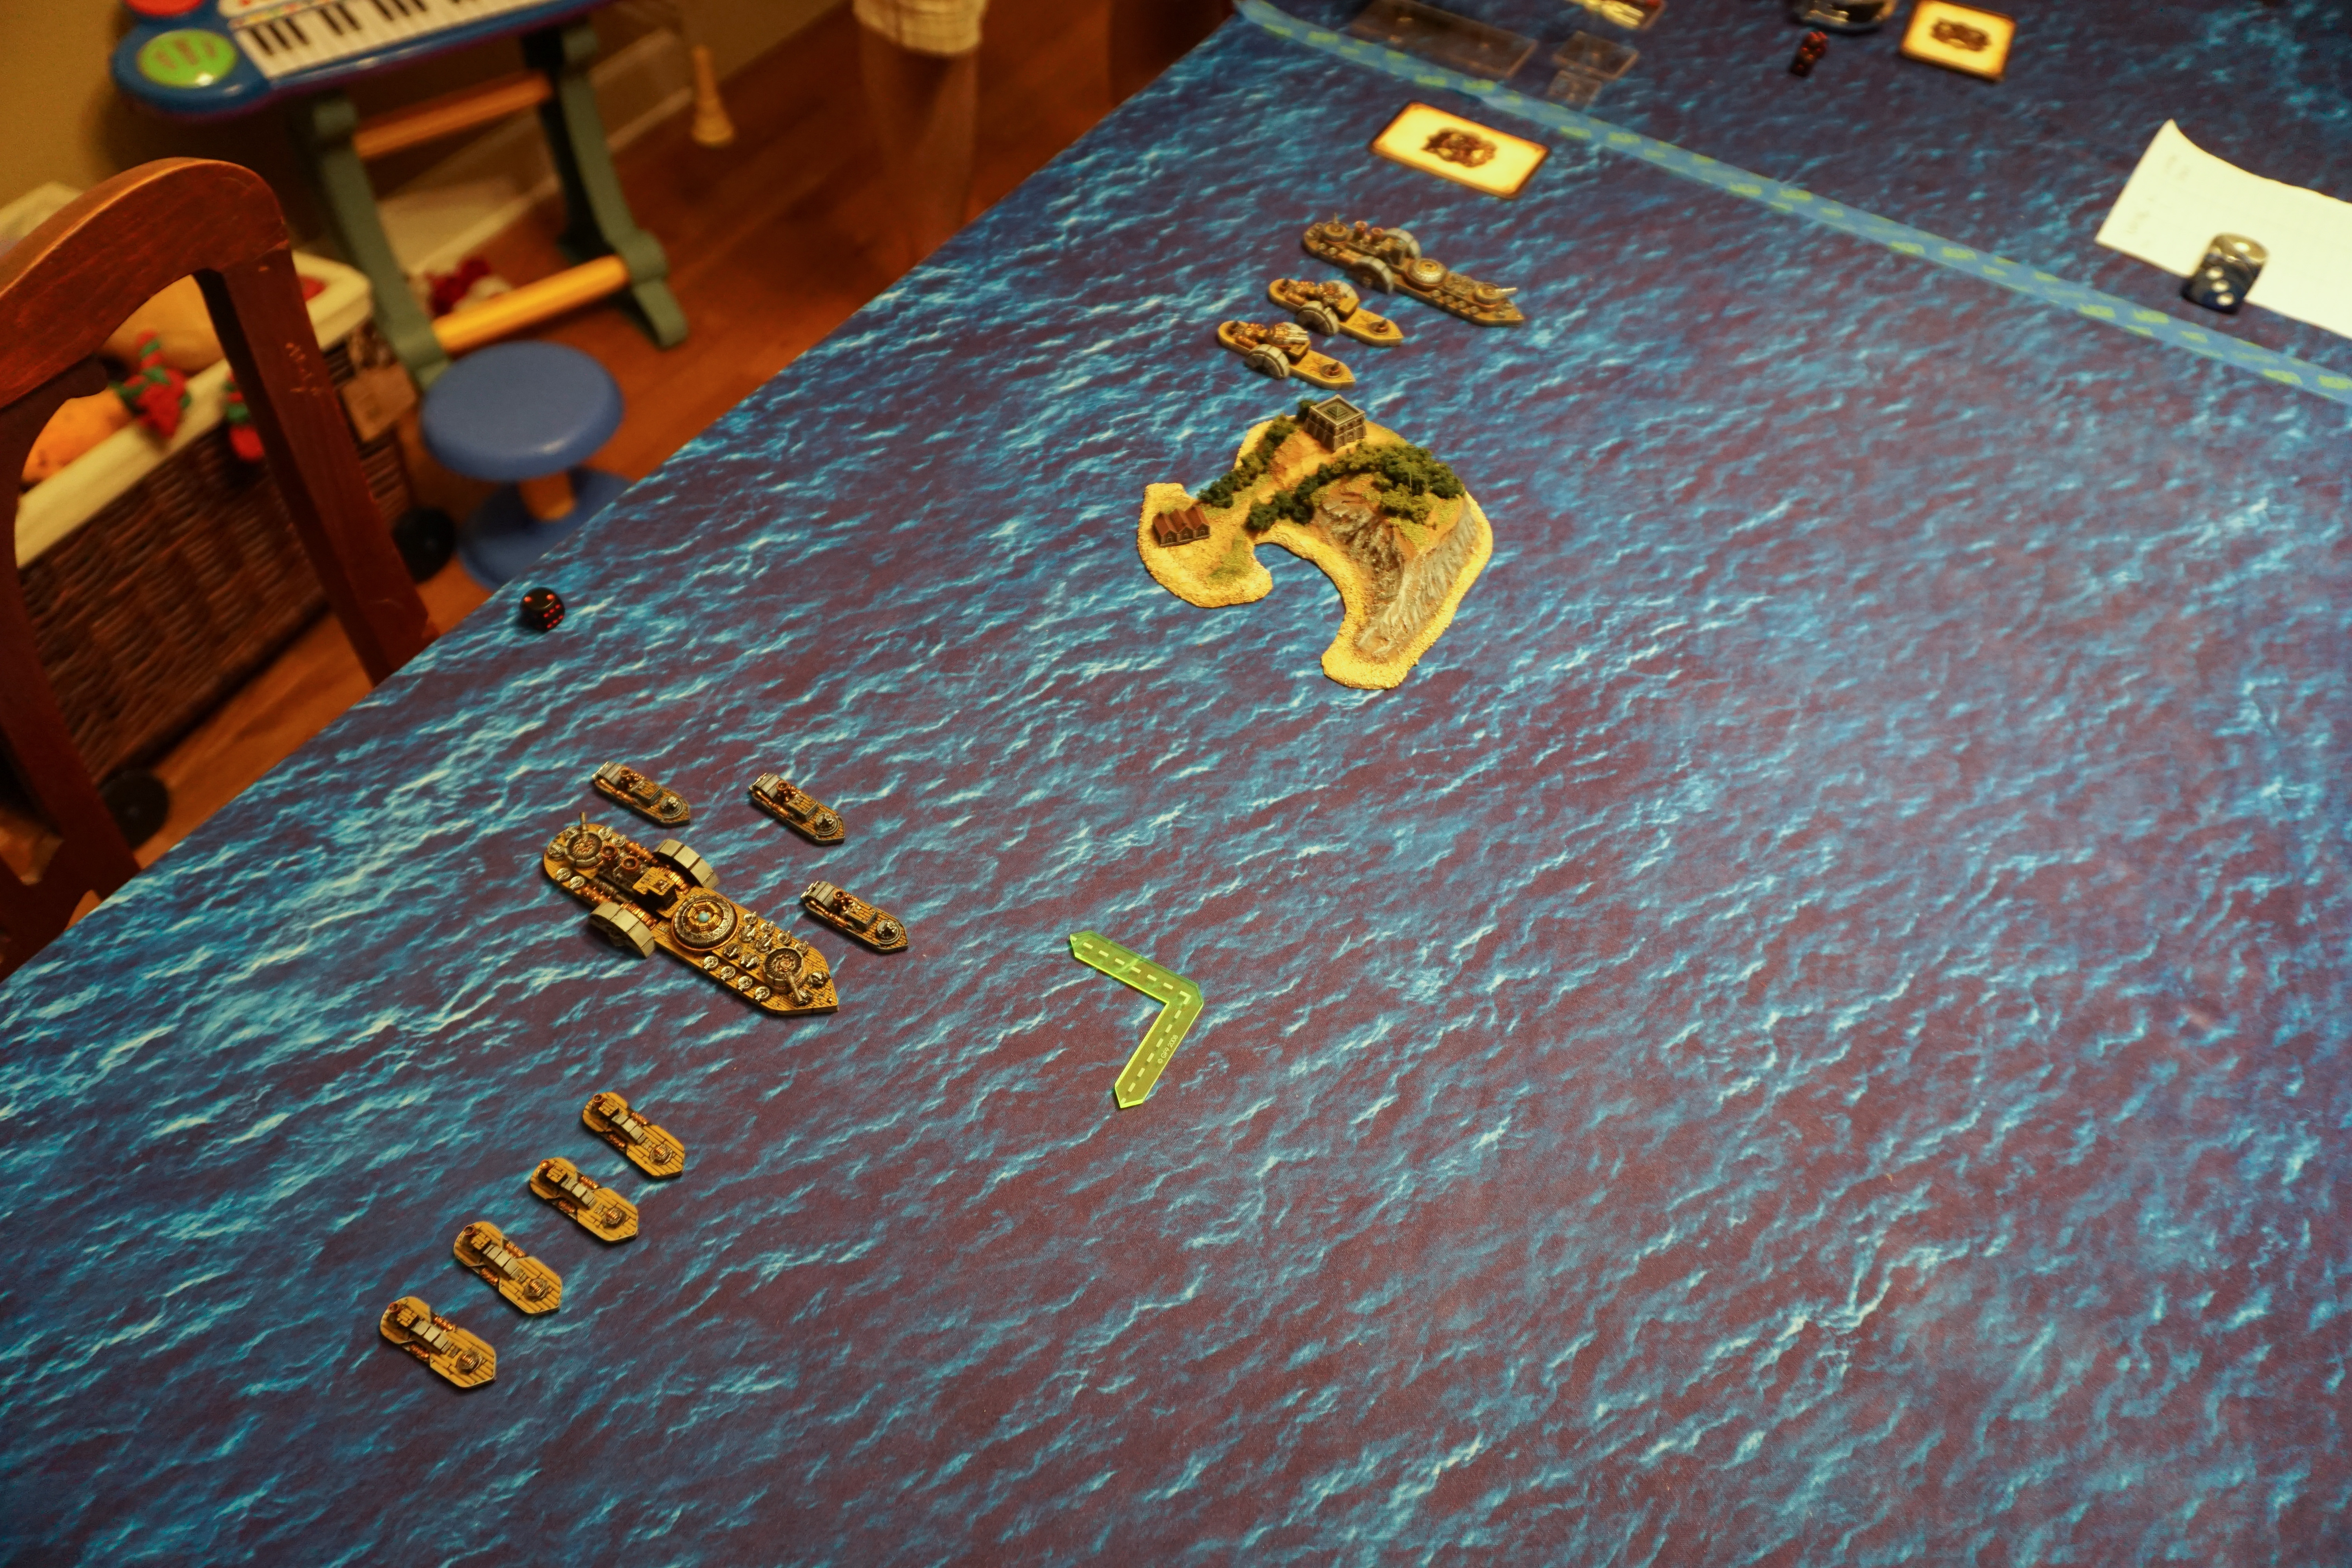
Deployment
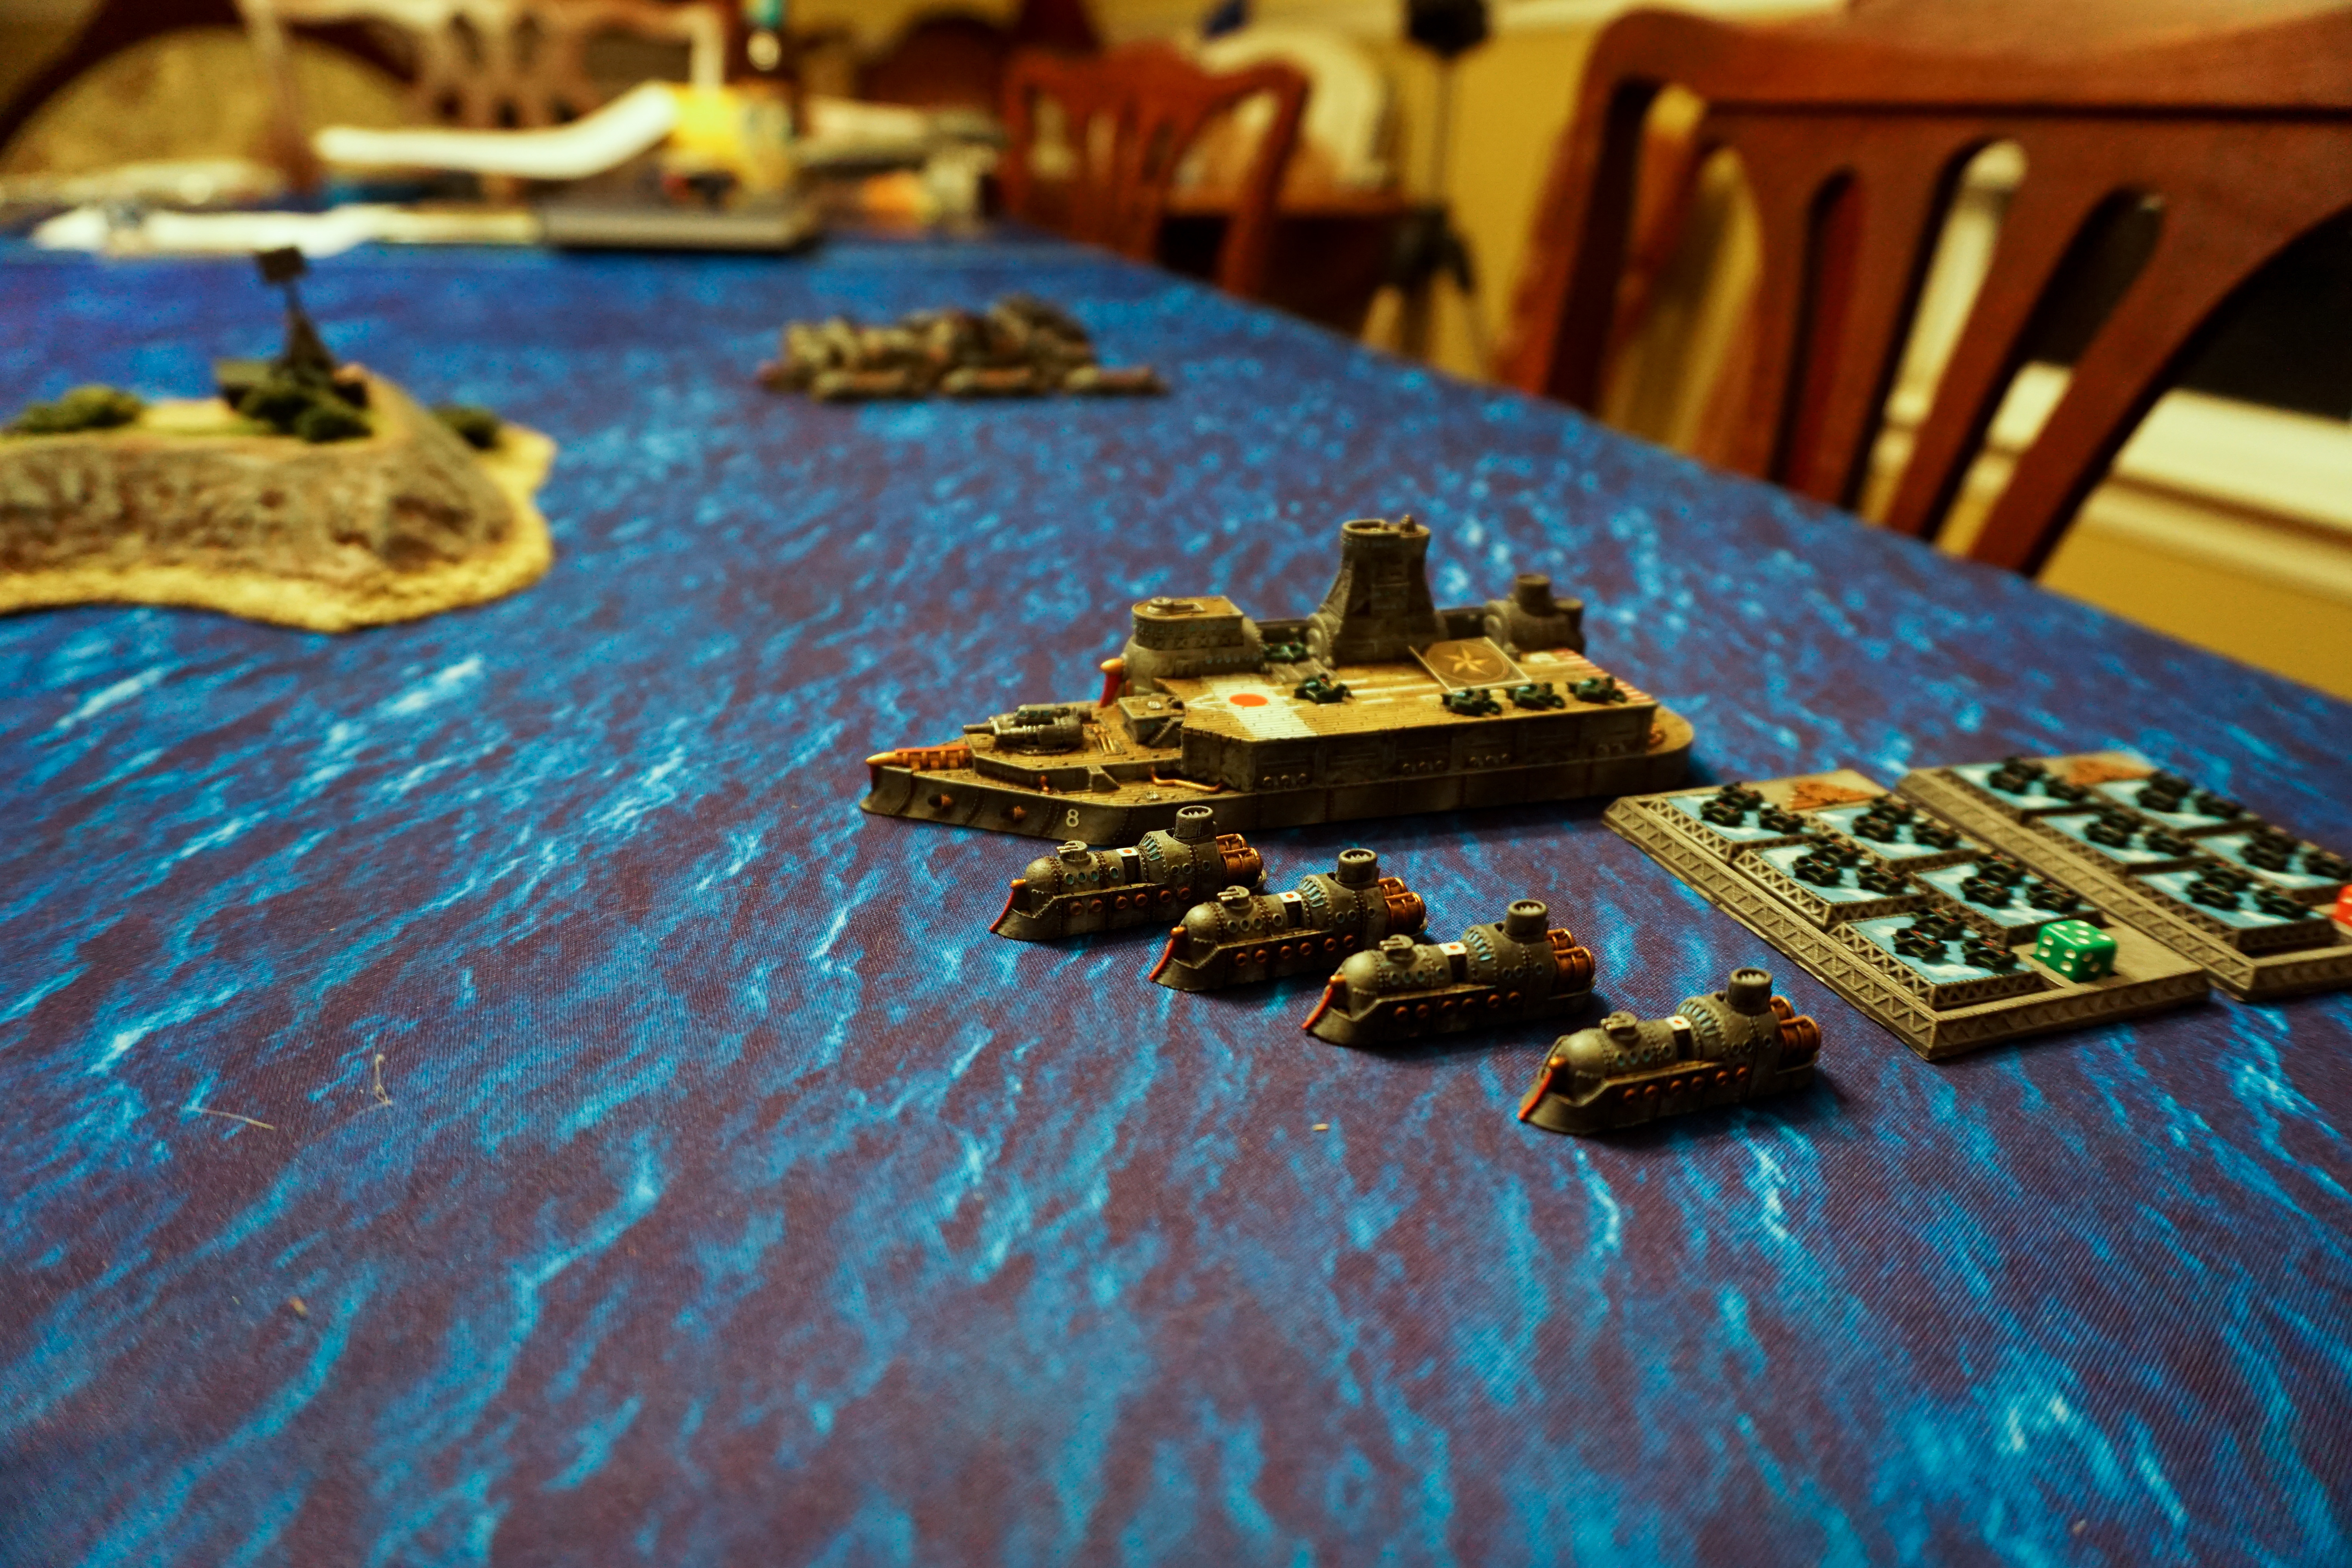
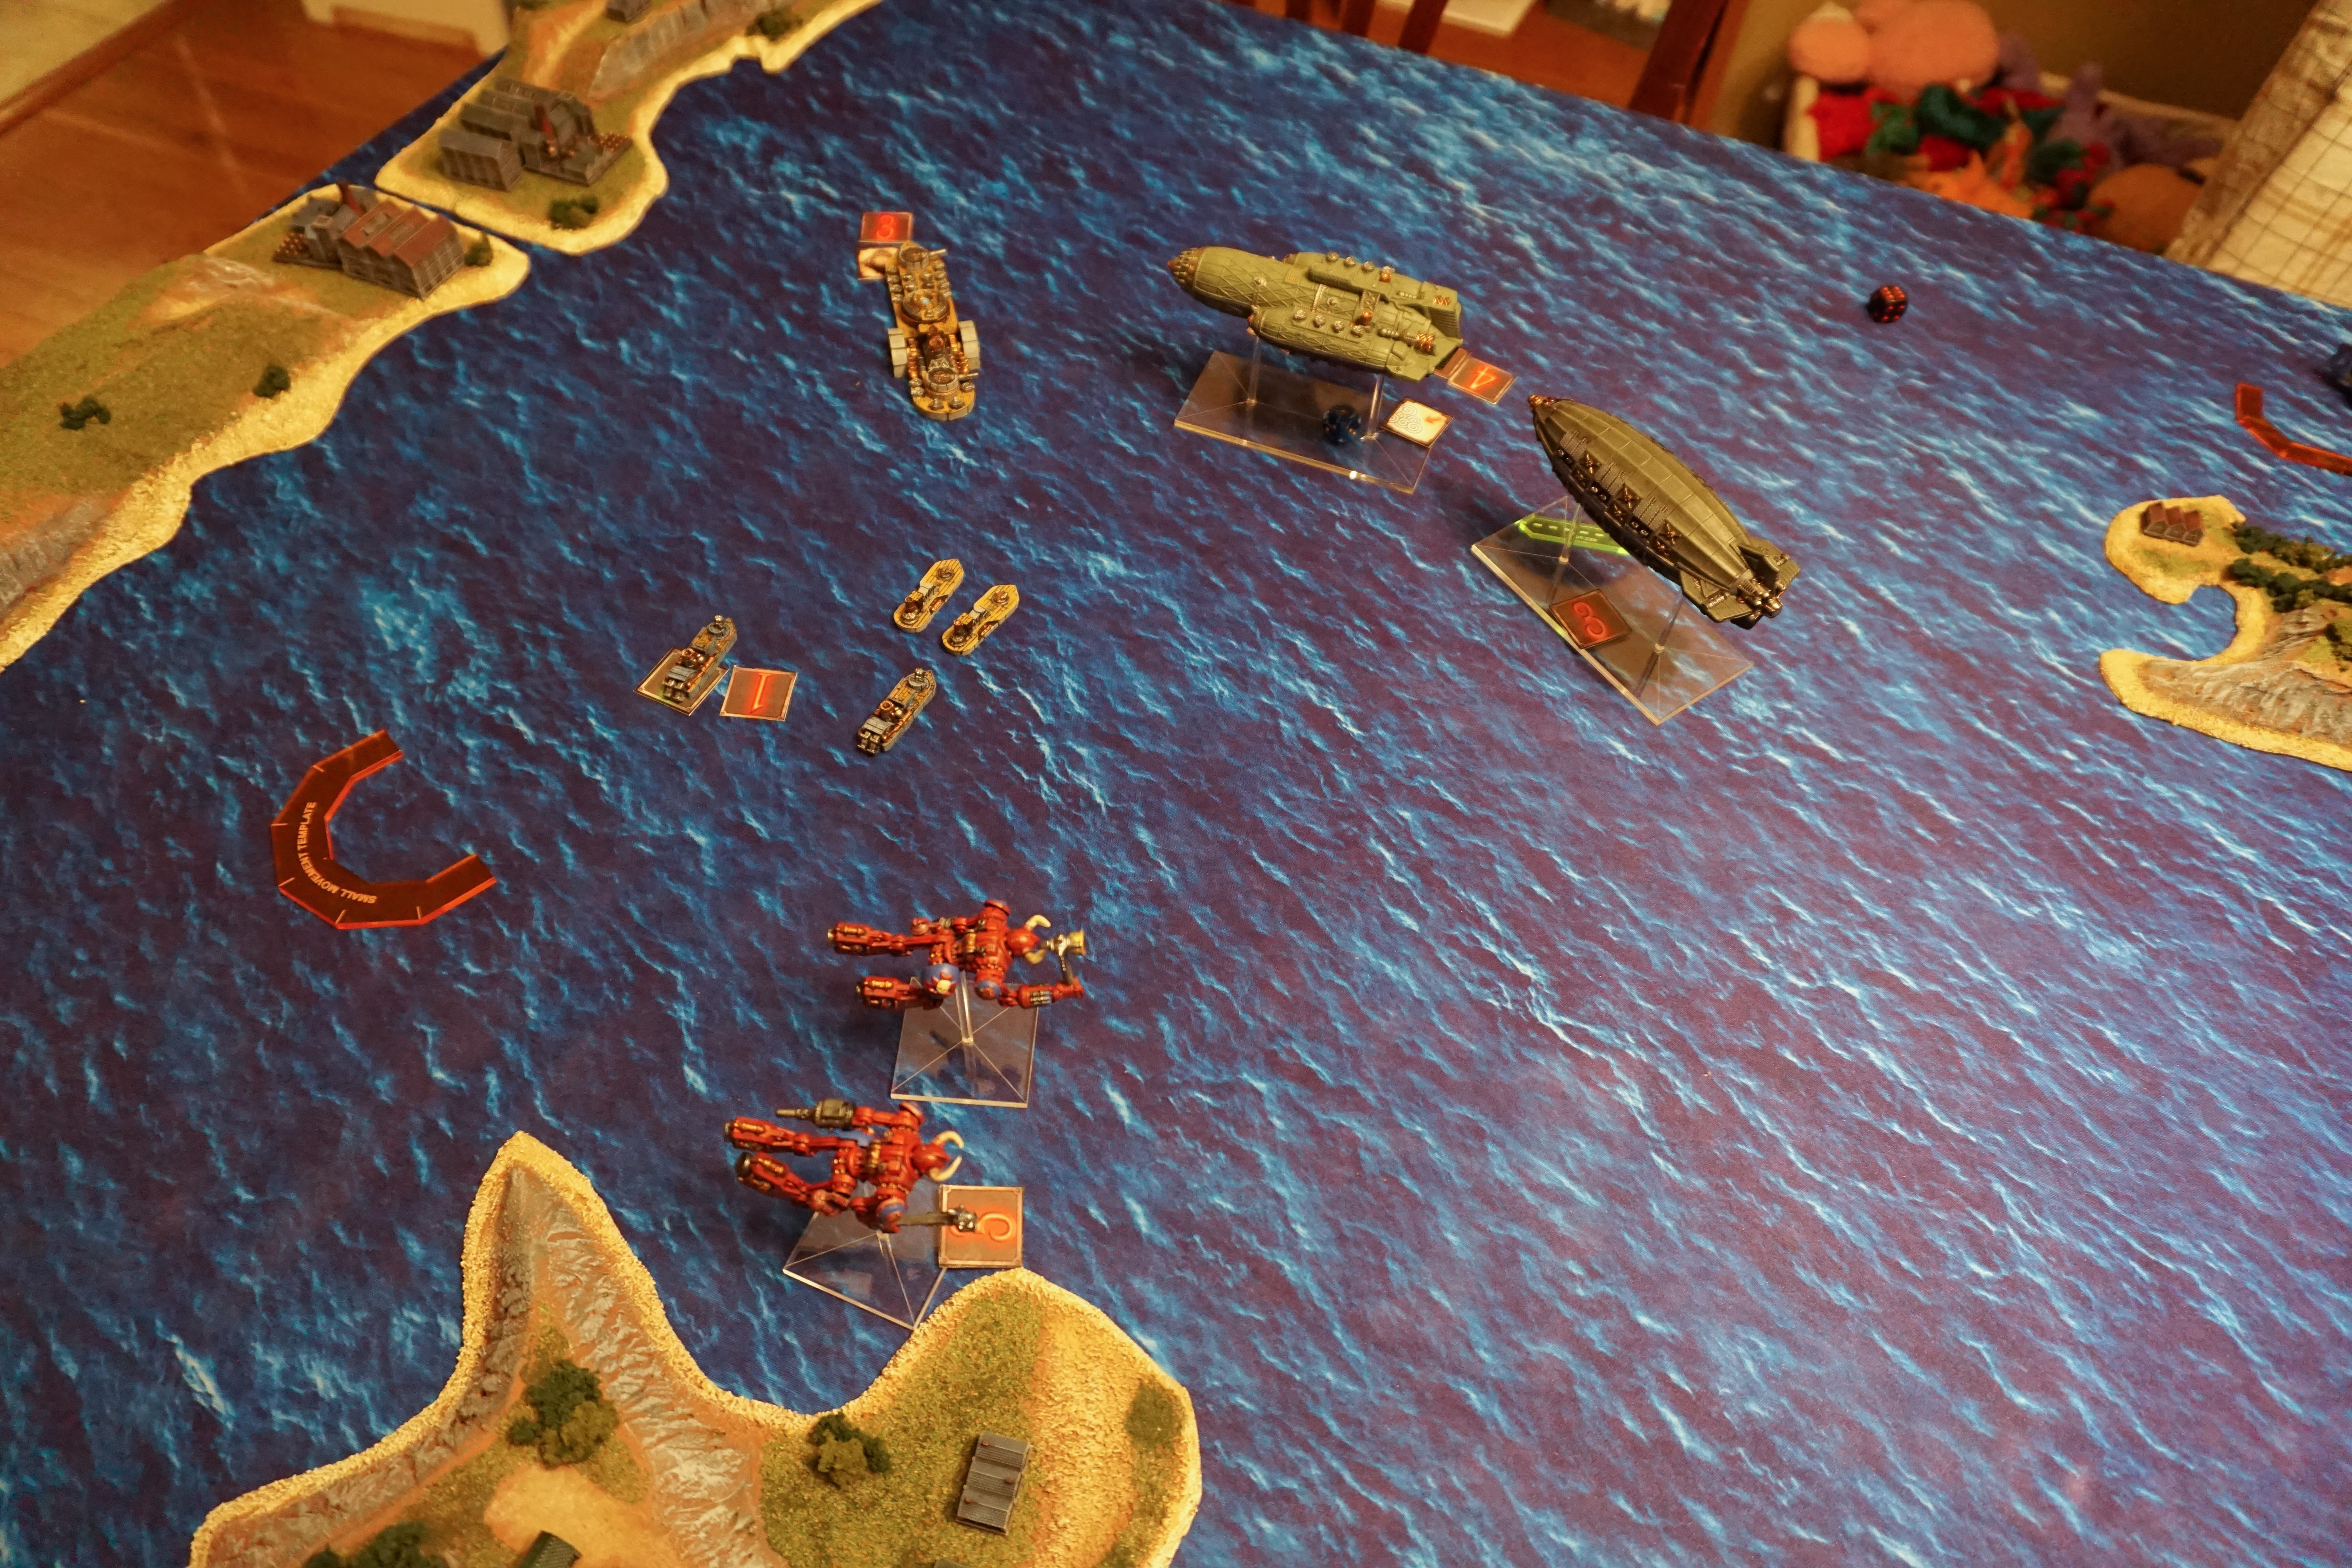
Andy: Here were our force dispositions at the start of the game. My random roll for commodore placement put my commodore on the Assault Carrier, which was deployed in my “northern” deployment zone.
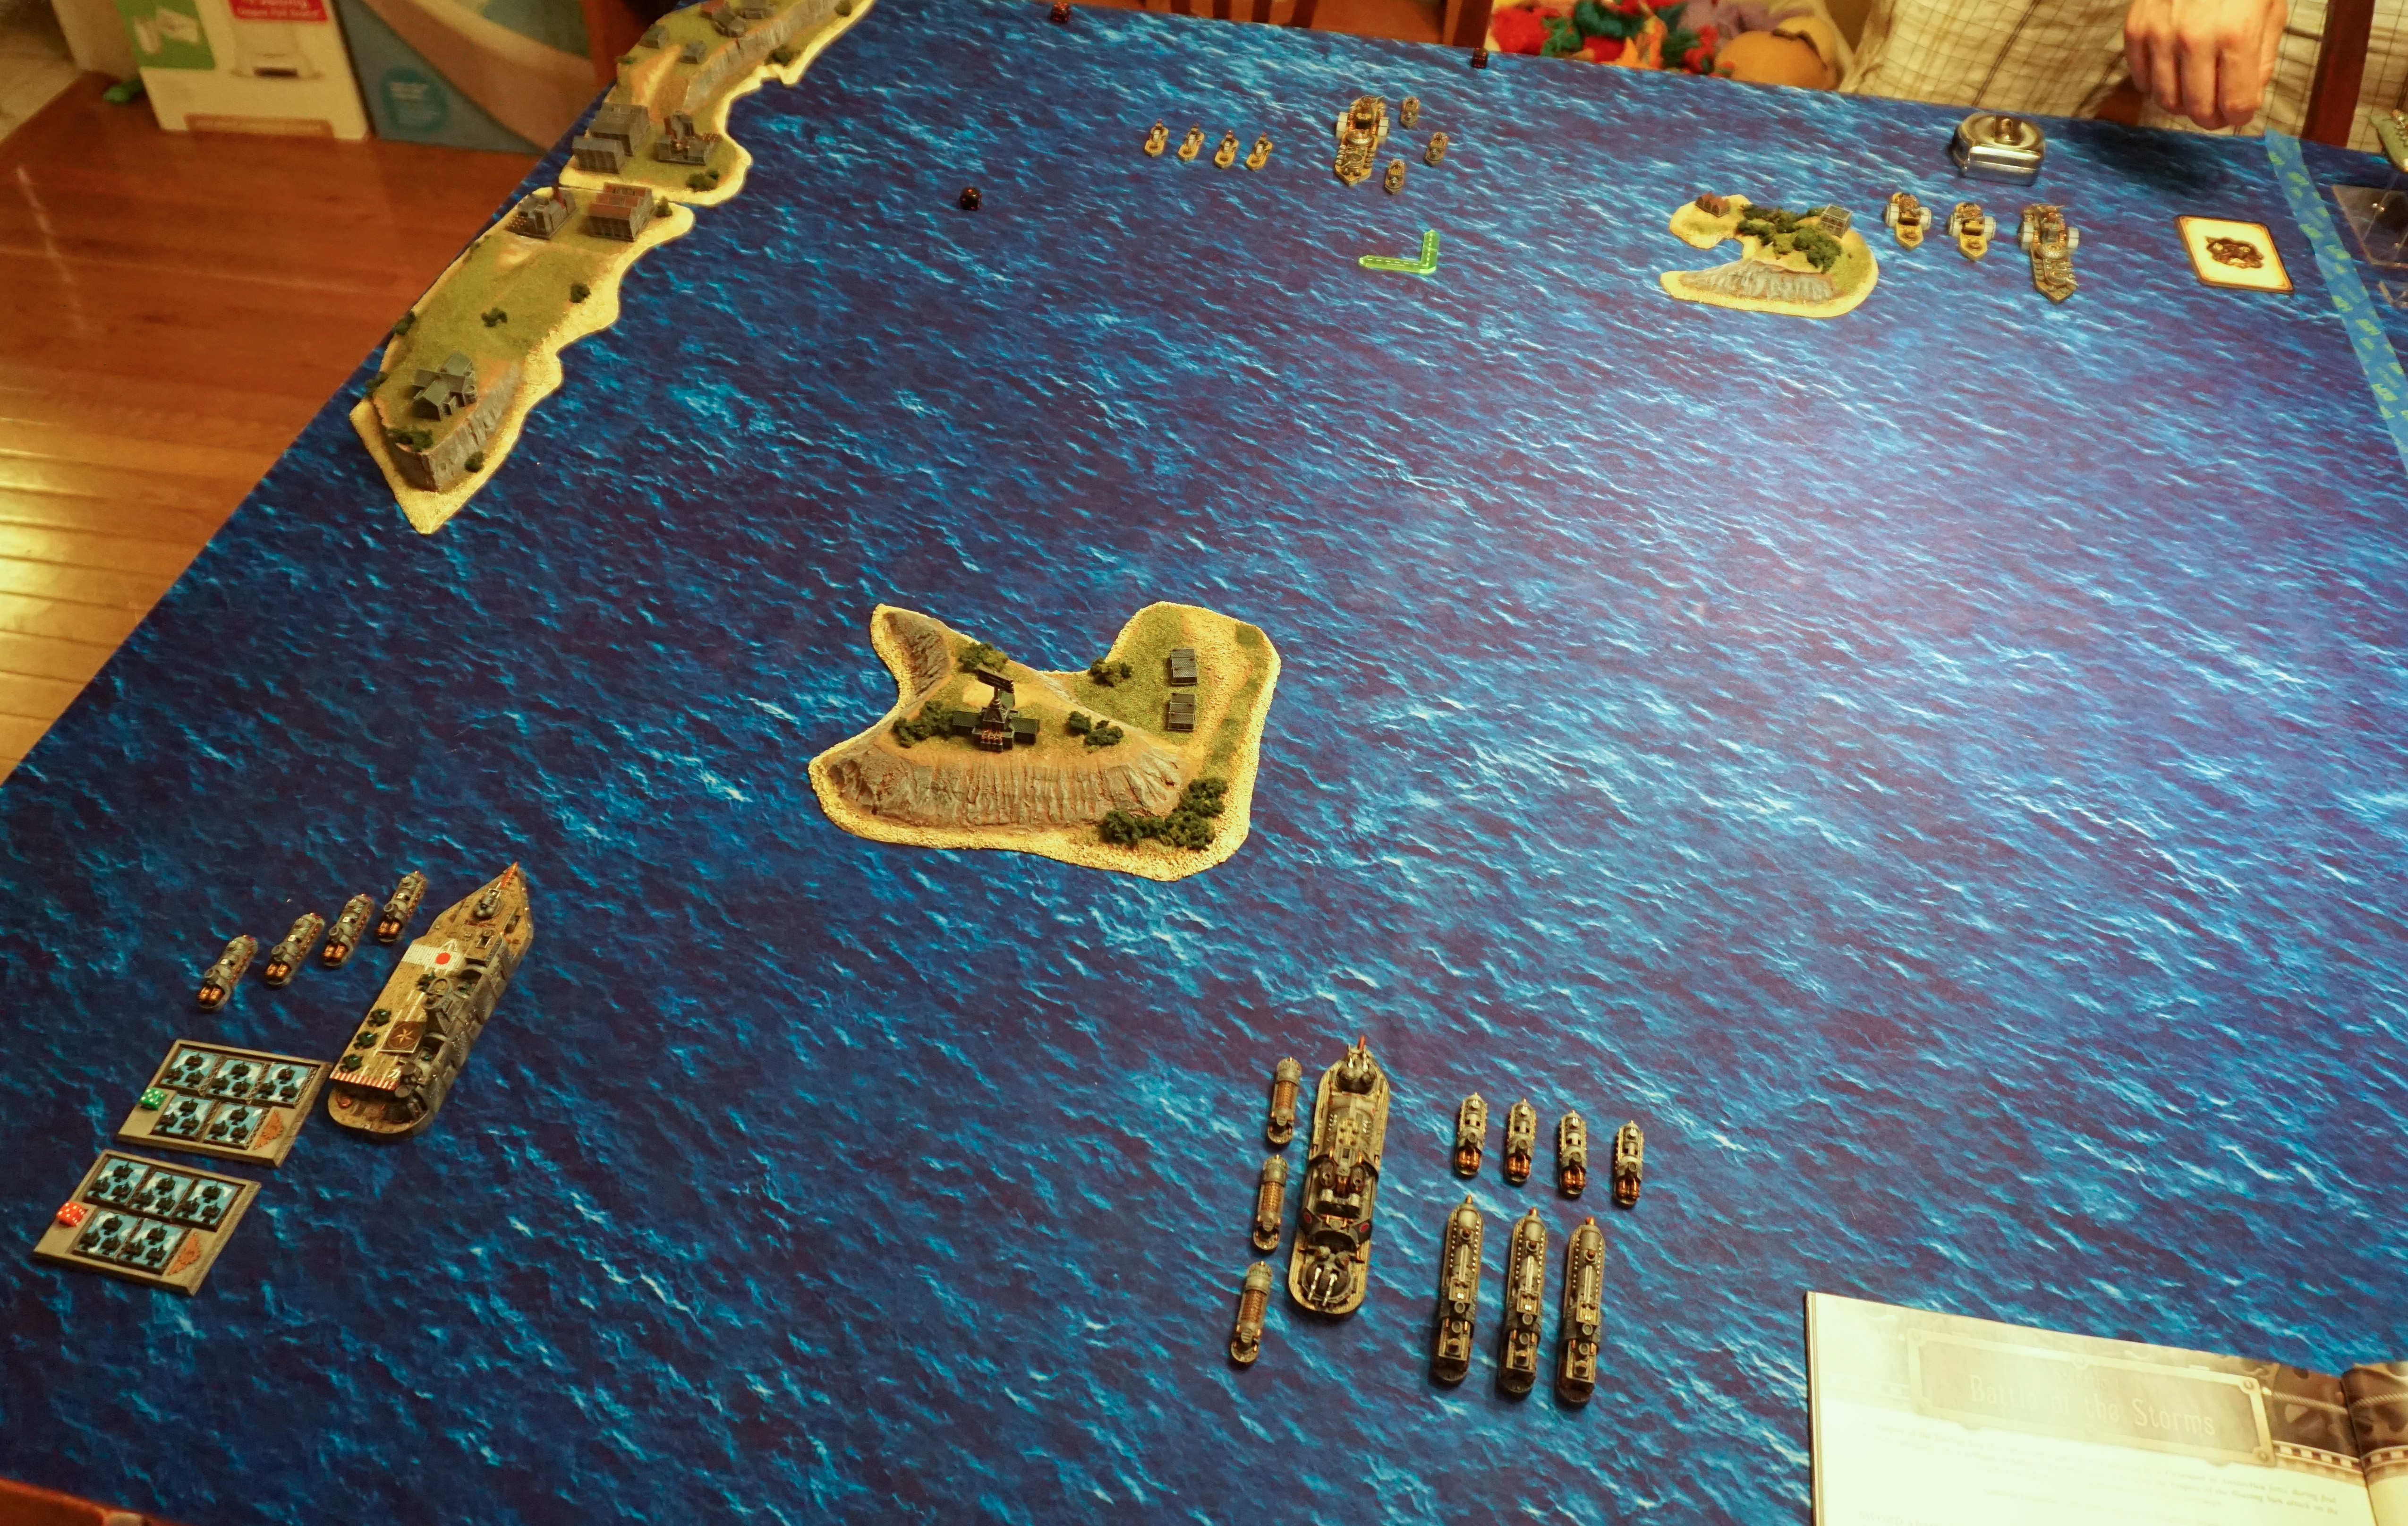
Turn 1
Weather: Storm
Initiative: Blazing Sun
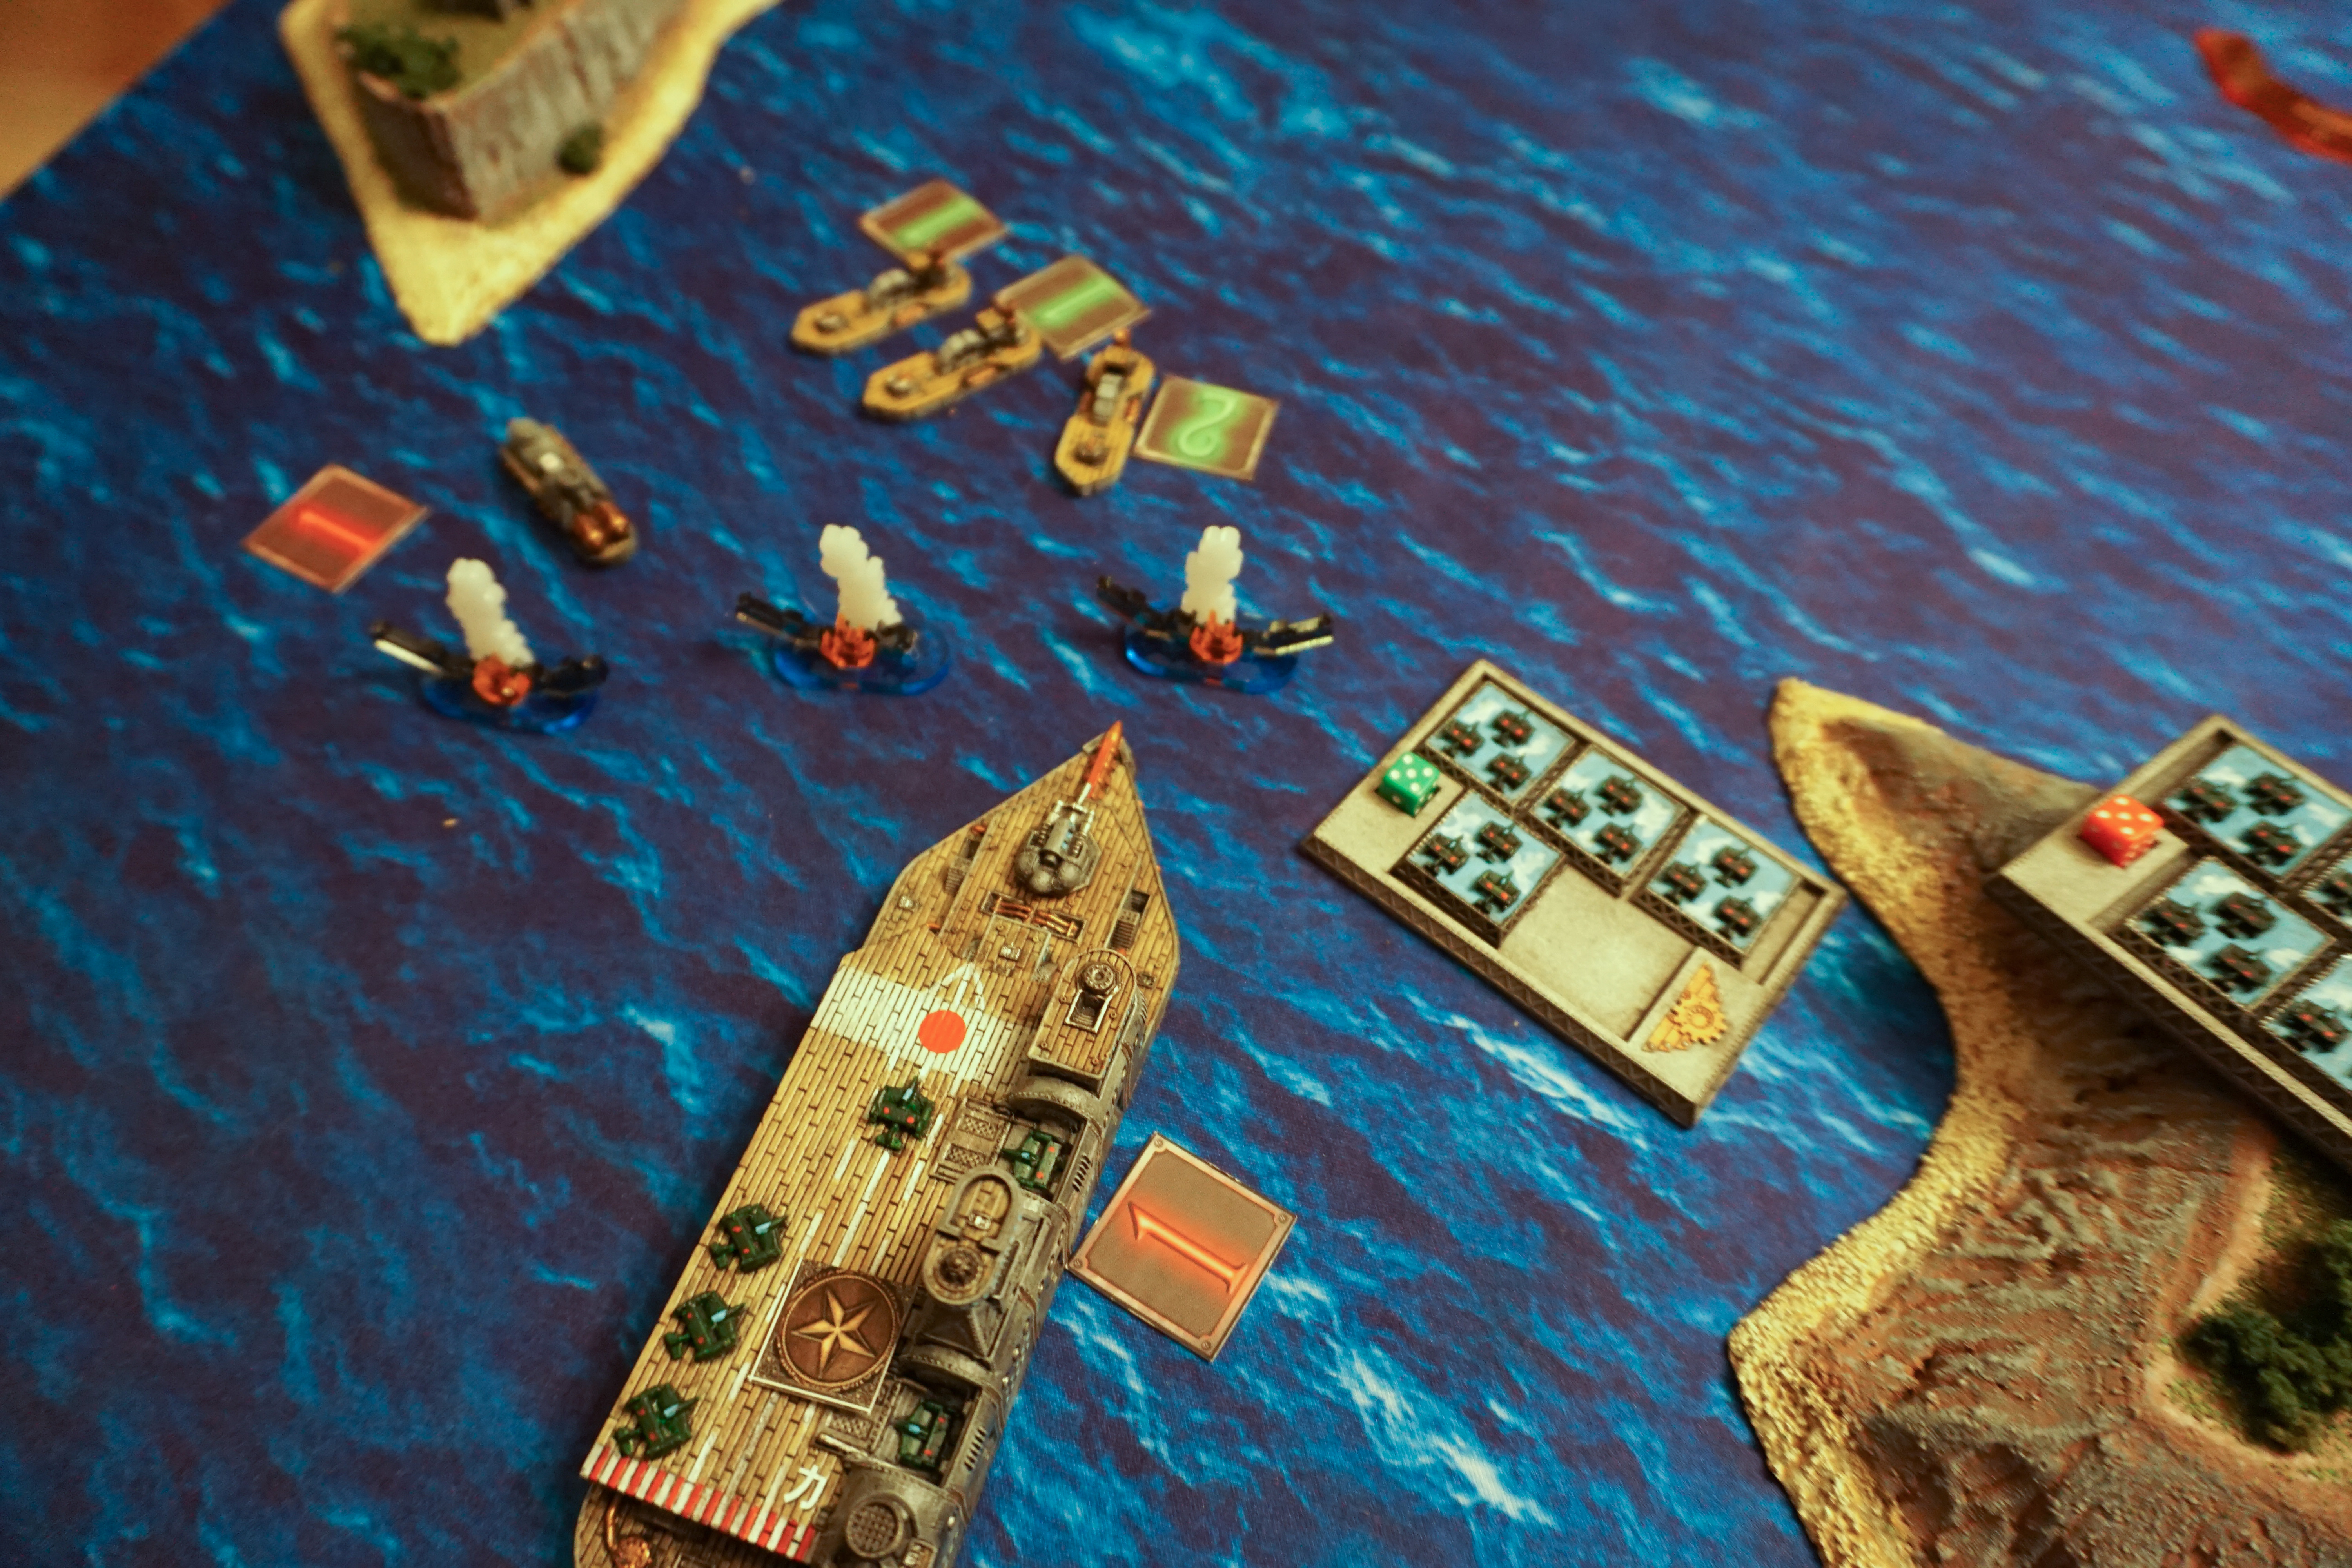
Andy: During the first turn, my forces surged forward. Matt was able to do a few points of damage to my fleet with his long-range gunnery, while in turn I had fantastic luck with a rocket attack on one of his gunships, doing 20 hits on 9 dice and causing two critical hits!
Matt: Pretty much what Andy said. I managed to put a single hit on 3 of the 4 Frigates on my left flank. I didn’t think it was a great turn considering I lost a Princeton out of the gate and couldn’t even sink a frigate.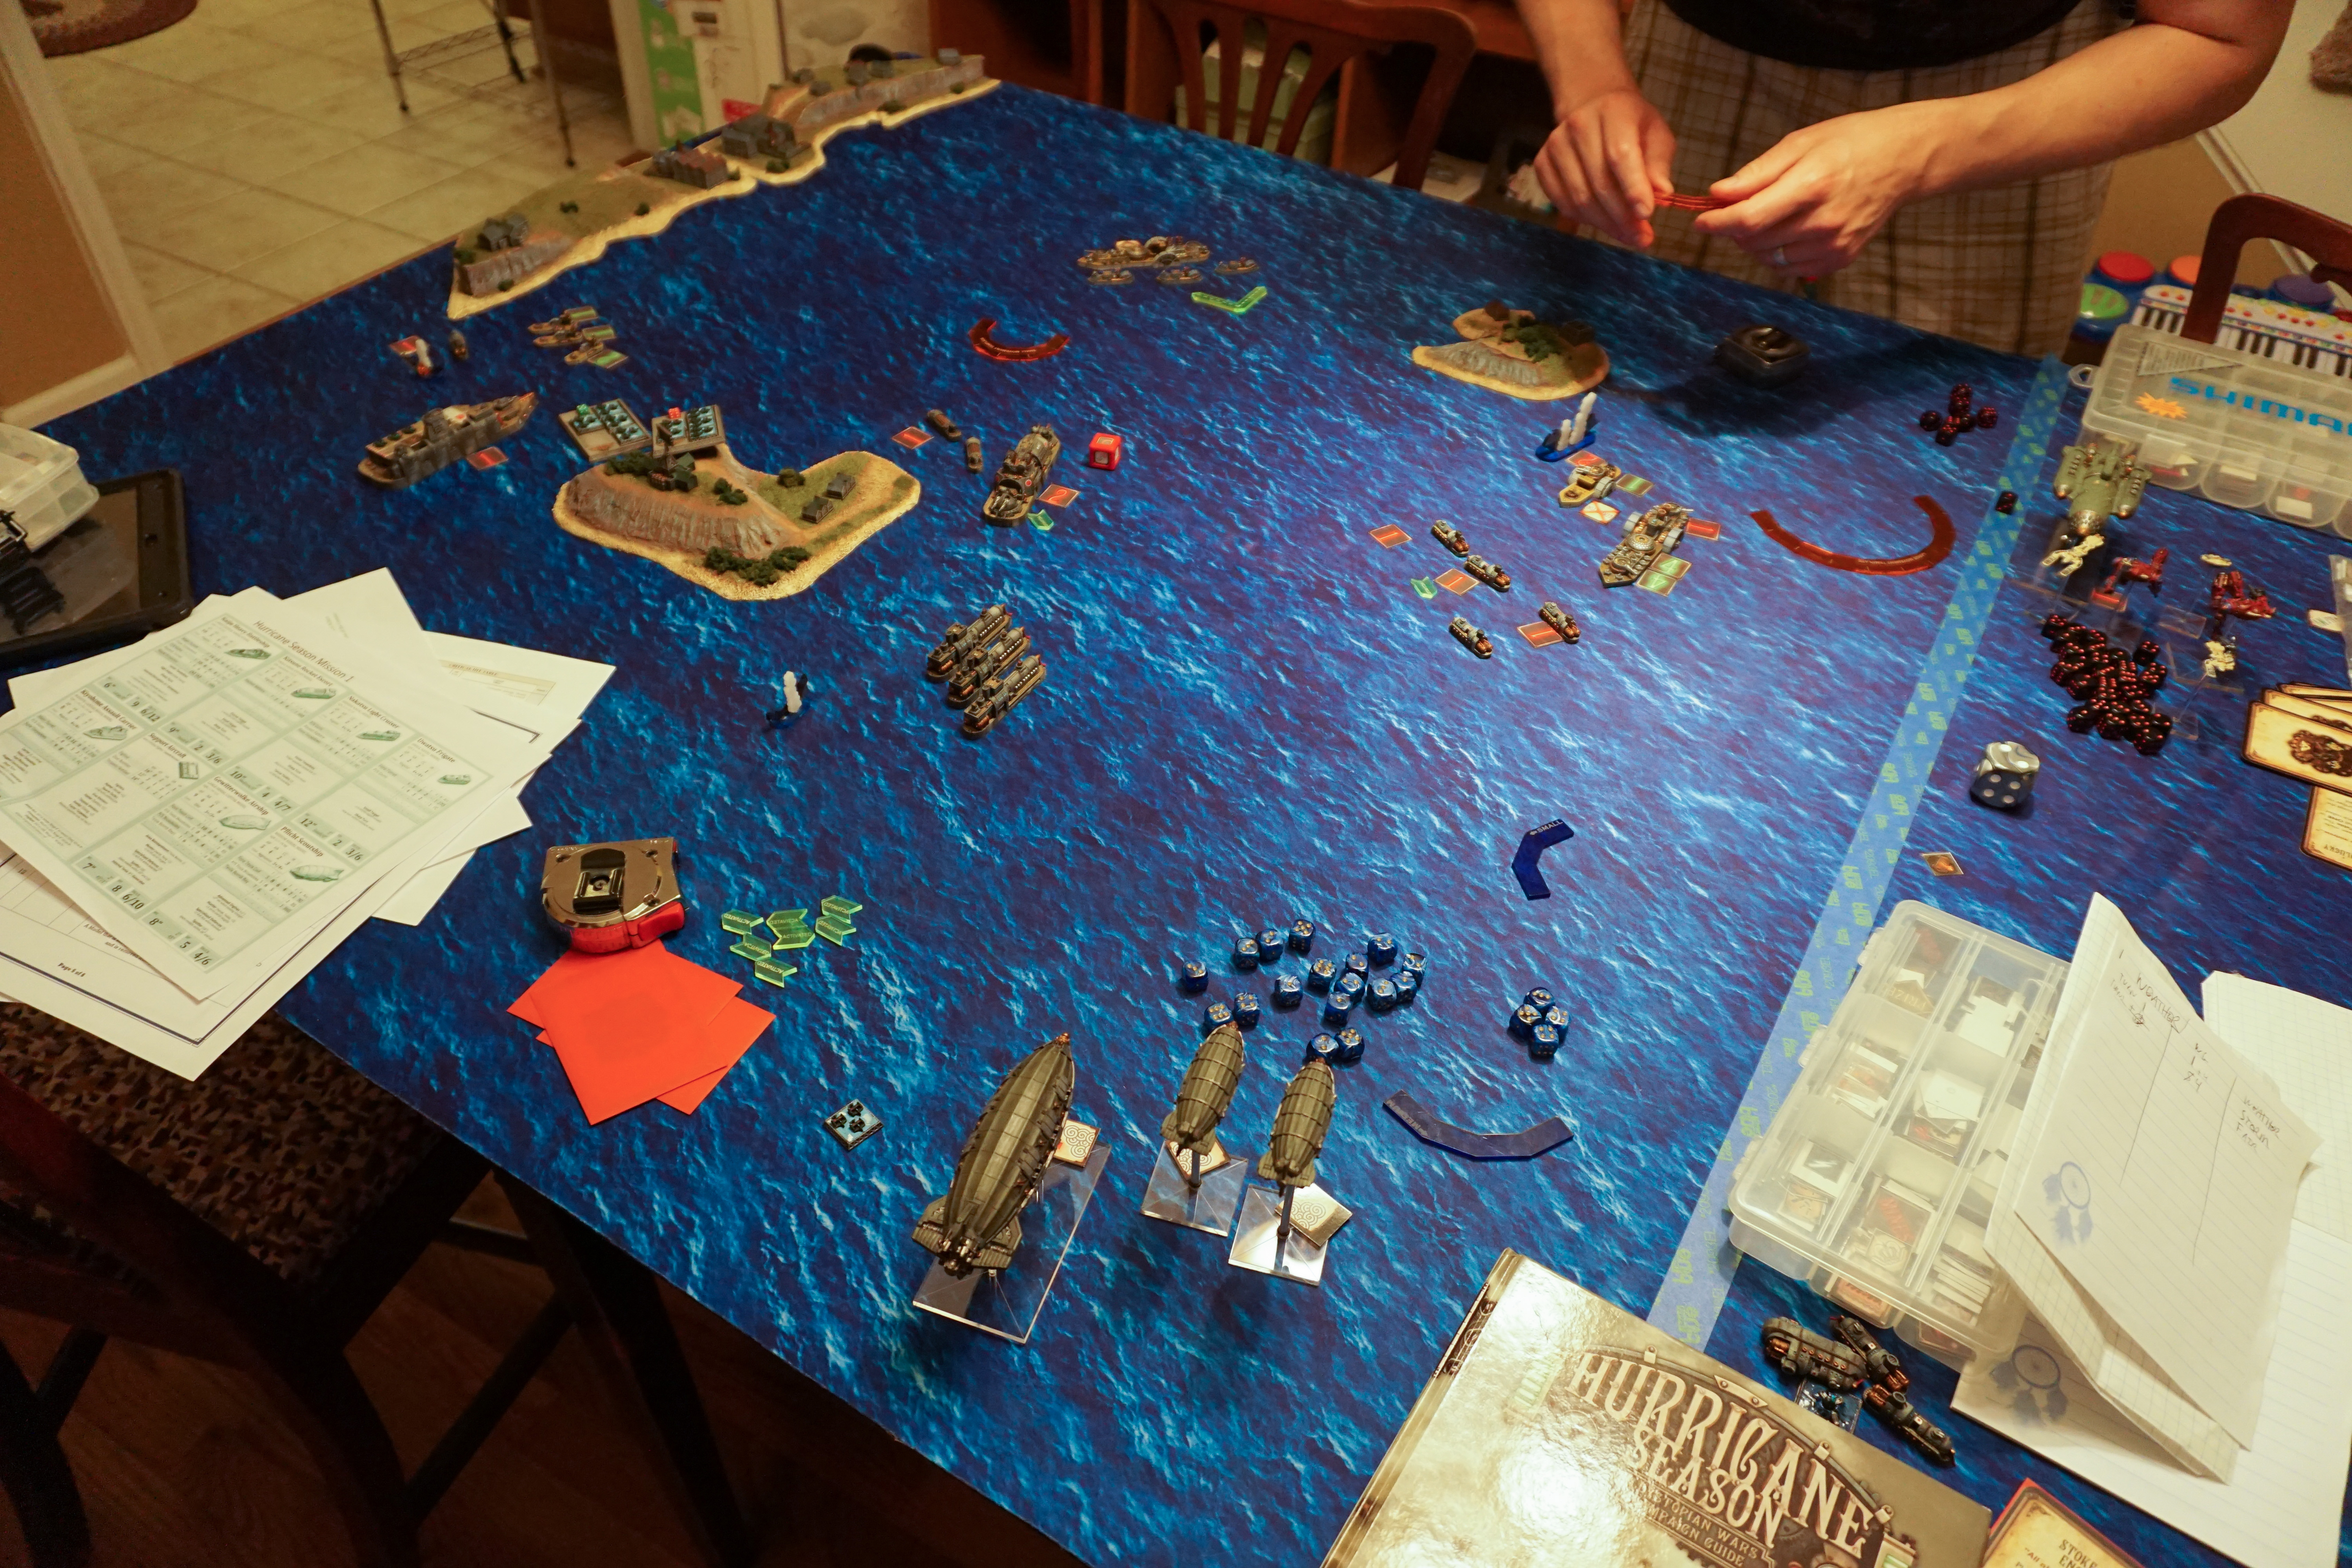
Turn 2
Weather: Fair
Initiative: Blazing Sun
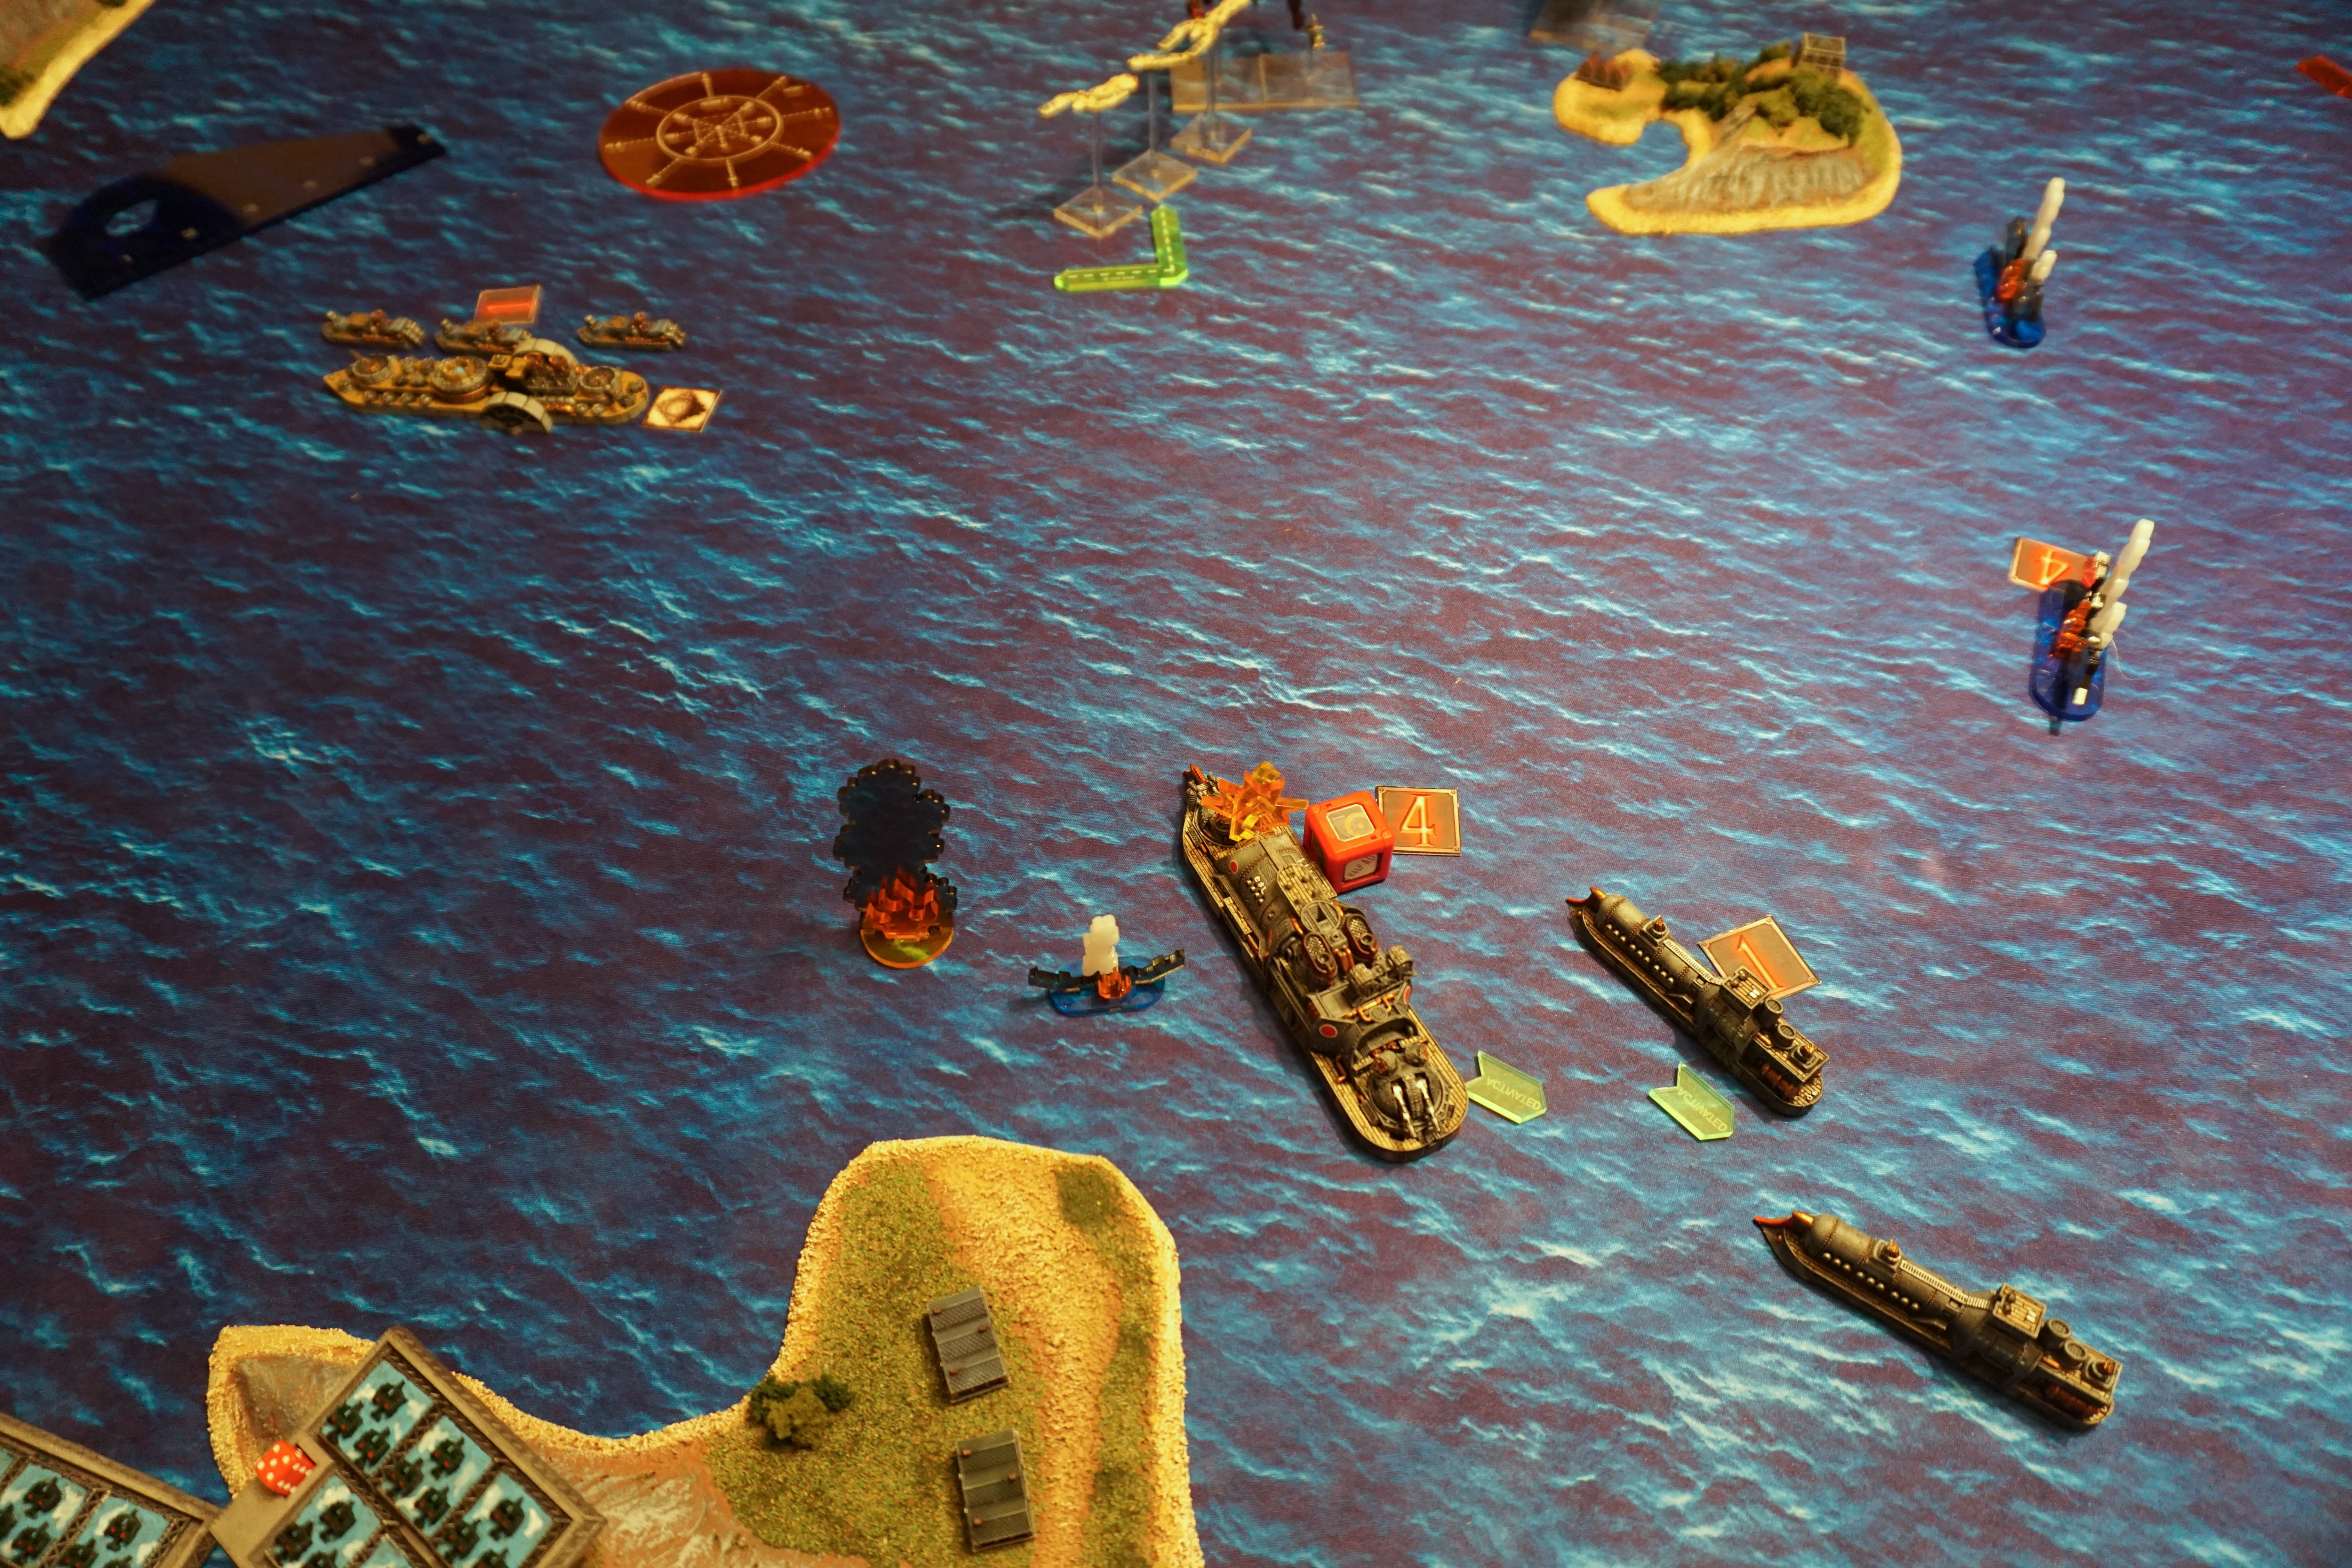
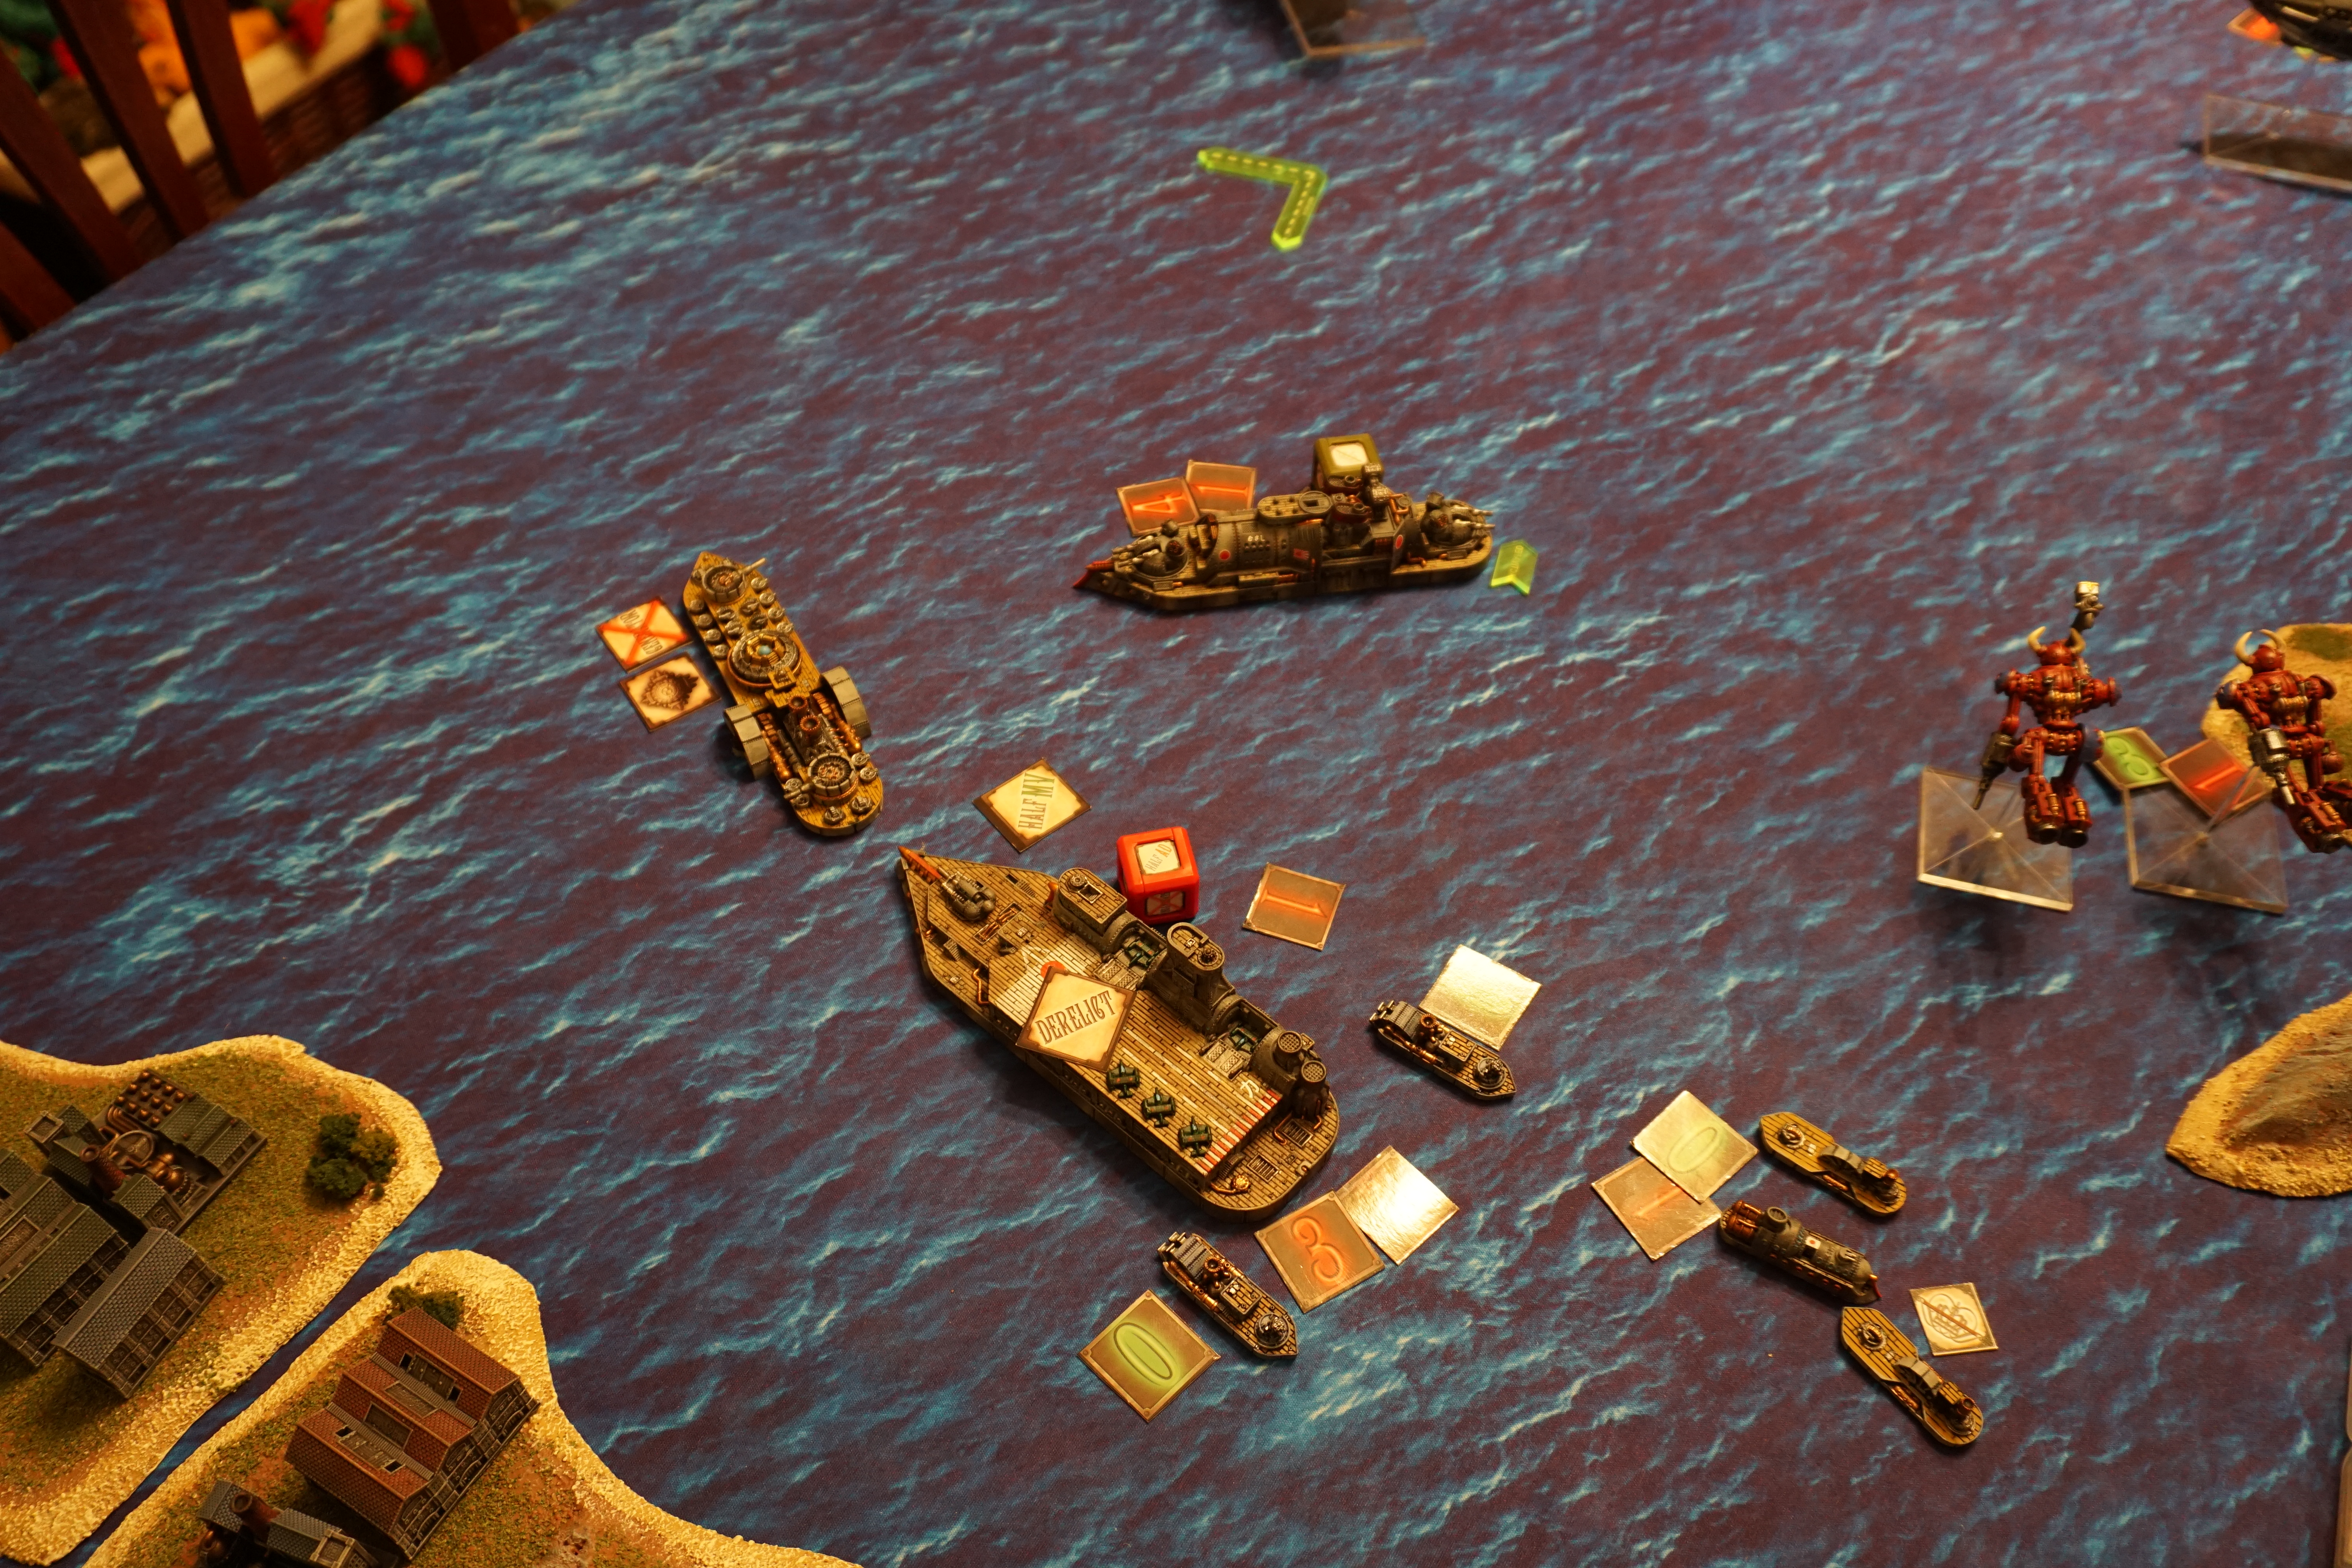
Andy: As is often the case, this proved to be the pivotal turn for the game. I activated my frigates that were part of Naval Group 2 first, surging them forward to try and give them an opportunity to do some damage before destruction. However, they ultimately managed to miss their targets! Matt used his corvettes to good effect, sinking 3 of the 4 frigates I had in company with my carrier. This opened the way for his northern battleship to punish my Commodre’s flagship, succeeding in causing a point of damage. I succeeded in destroying both the Princetons, but it required the combined shooting of my Heavy Battleship, my cruisers, and the Prussian aerial contingent. Matt’s other battleship returned fire, causing a Shredded Defenses result on my battleship and sinking a cruiser. Also, Matt’s aerial units arrived this turn, and promptly destroyed one of my escorts. That escort suffered a magazine explosion, which destroyed another escort and put a point of damage on my battleship! My Blazing Sun were clearly in trouble heading into Turn 3.
Matt: Turns out doing a single point of damage to the frigates was fairly handy, as Andy couldn’t link fire for full effect. I lost the 2nd Princeton, but she went down fighting: destroyed a frigate with a ram, landed a crit on one of Andy’s Pflichts and did a point of damage to the Heavy BB with gunnery.
I knew my main goal was to stop the Assault Carrier, so my aerial group moved as quickly as it could that direction. I had a bit of a lead on his fliers due to his aerial deployment and I wanted to keep my dudes away as long as possible. My Commodore BB pushed out of the EoBS exit zone and lined up for gunnery and blocking his path to the exit, Andy was going to have to work for it.
I am a big fan of the FSA corvettes, fast and a solid boarding threat if they are ignored.
Turn 3
Weather: Fair
Initiative: Blazing Sun
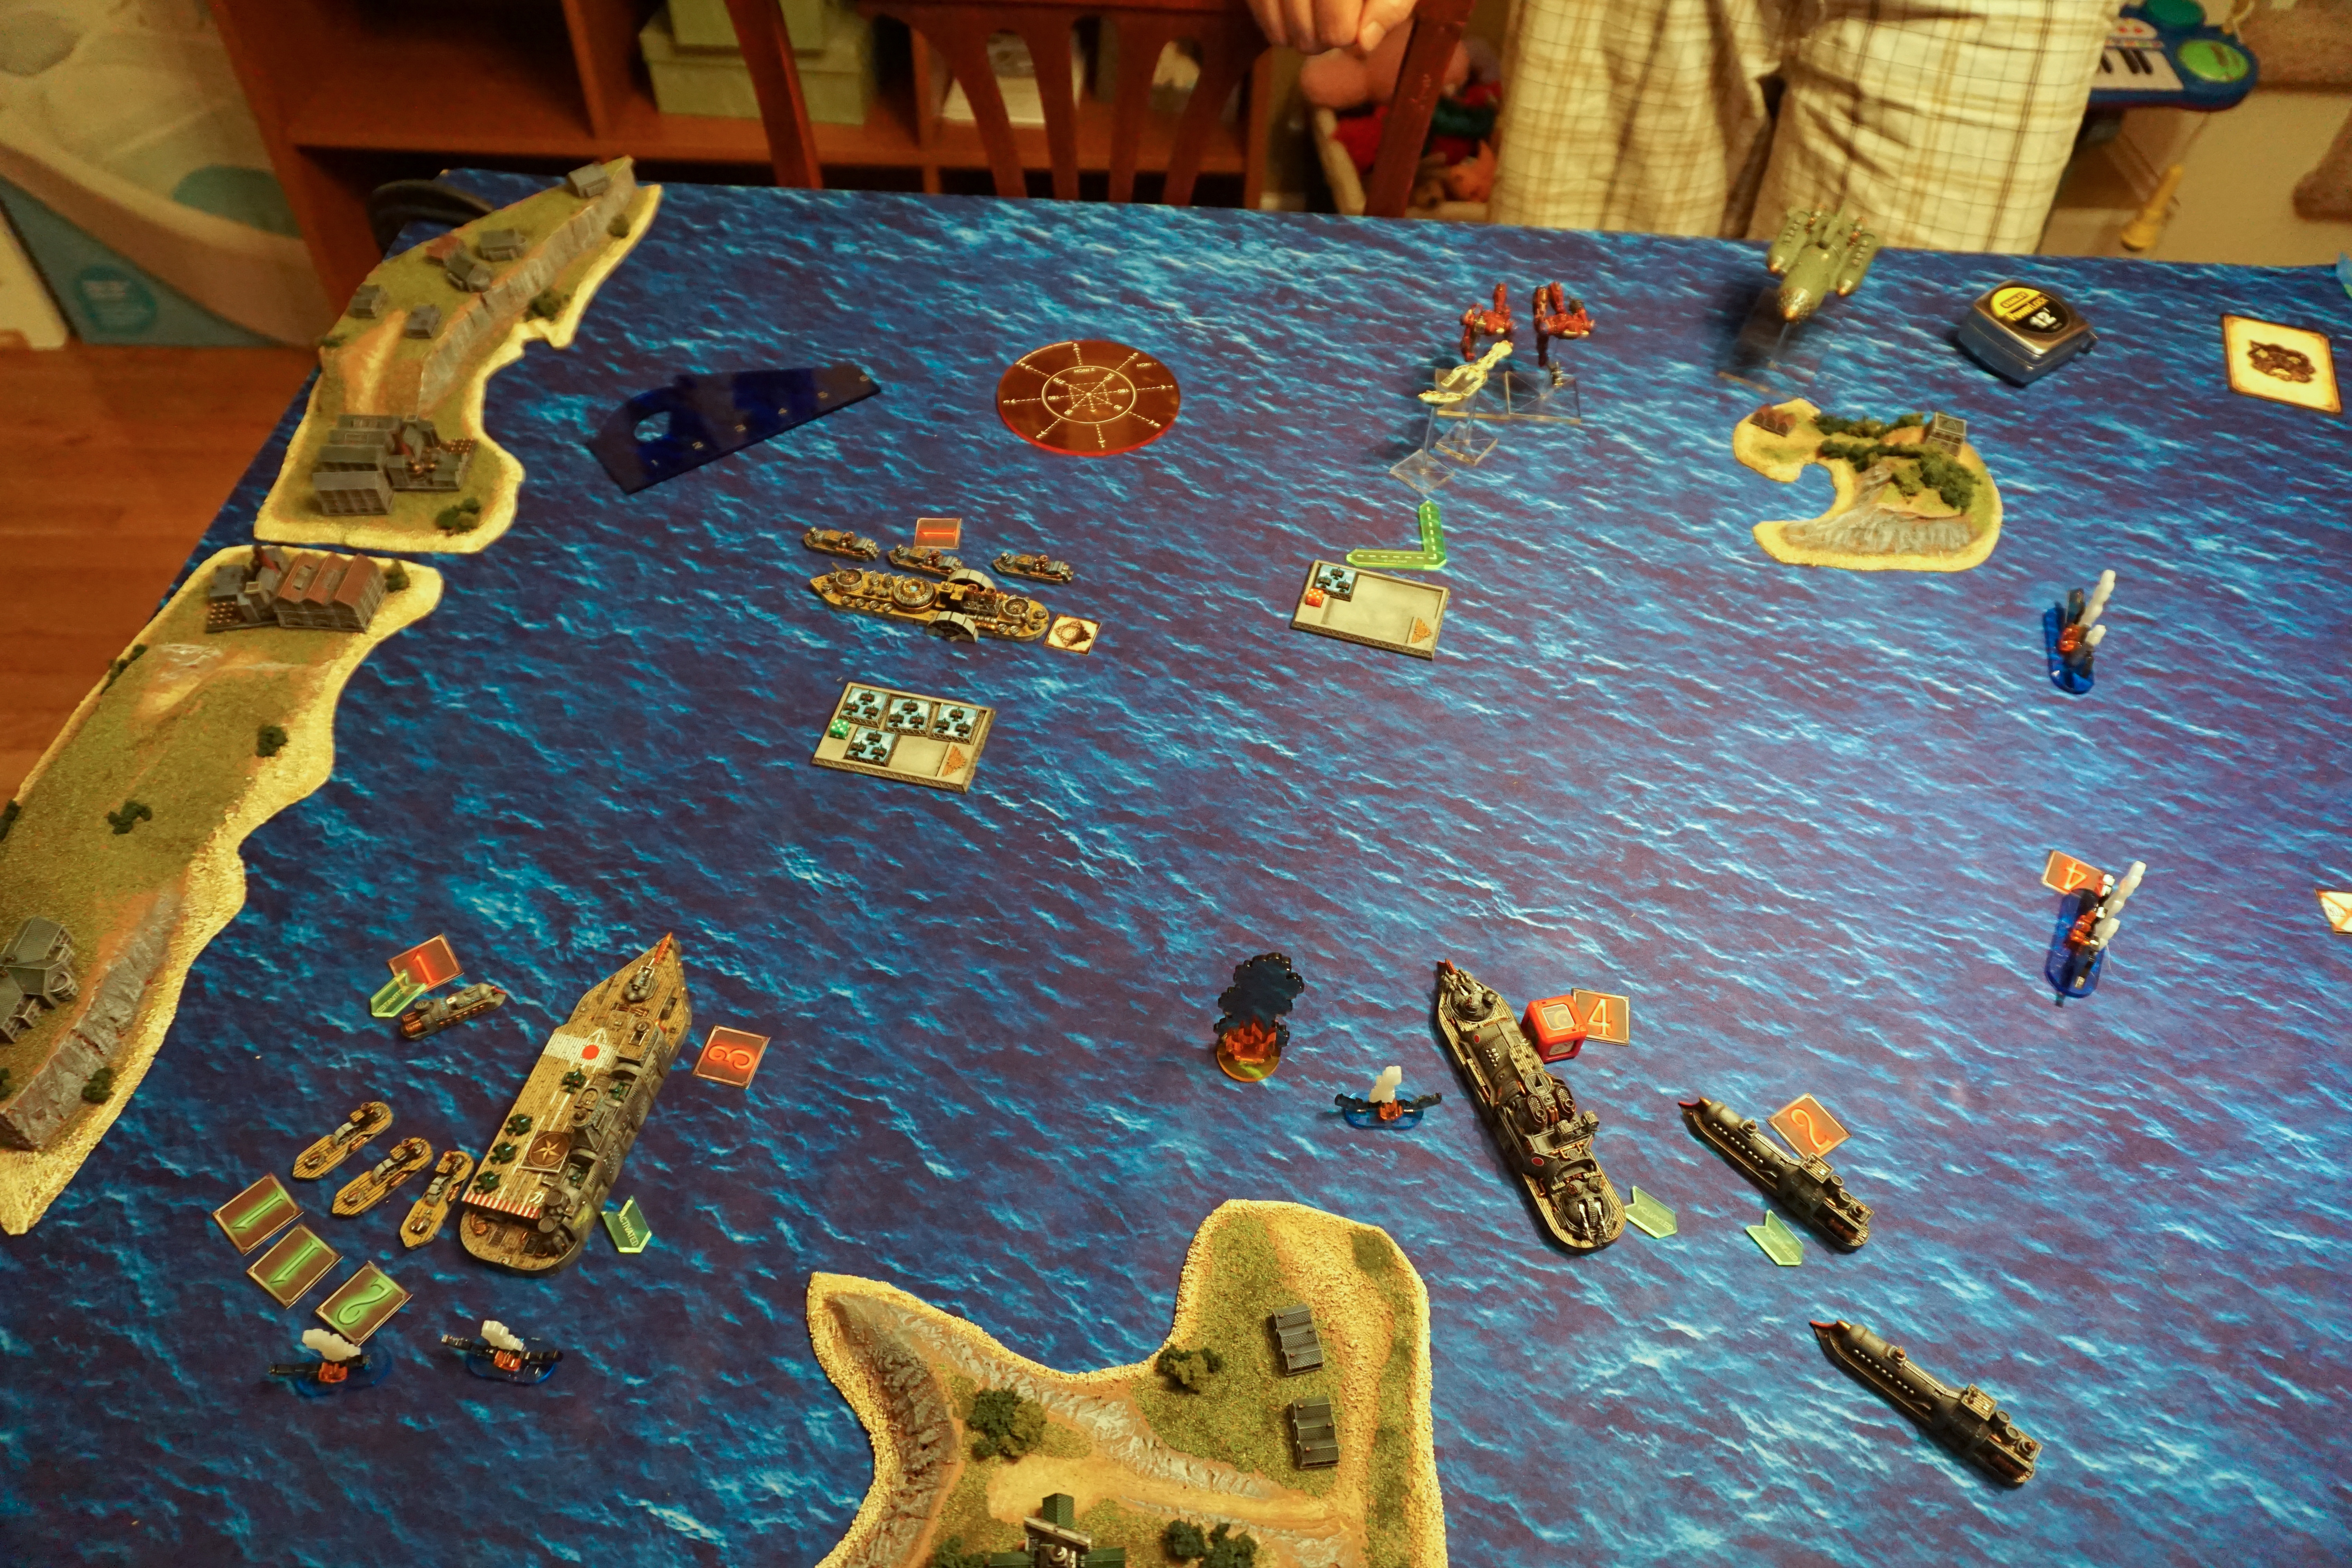
Andy: I continued to push forward on Turn 3, with my carrier planes making a torpedo attack on the FSA flagship that resulted in a single point of damage. His battleship continued to pound my flagship, causing a critical hit that reduced the ship’s movement by half. My battleship, in concert with the Prussian flying units, managed to take a toll on Matt’s small flying robots, shooting down all three. However, Matt’s other battleship caused a Shredded Defenses on my battleship, sank a second cruiser, and finished off my other squadron of frigates.
Matt: I don’t think I used my John Henry’s to great effect, kept firing them at boats because of being super focused on the Carrier/Heavy BB. The former due to the to mission, the latter due the pain it can dish out.
Turn 4
Weather: Storm
Initiative: Blazing Sun
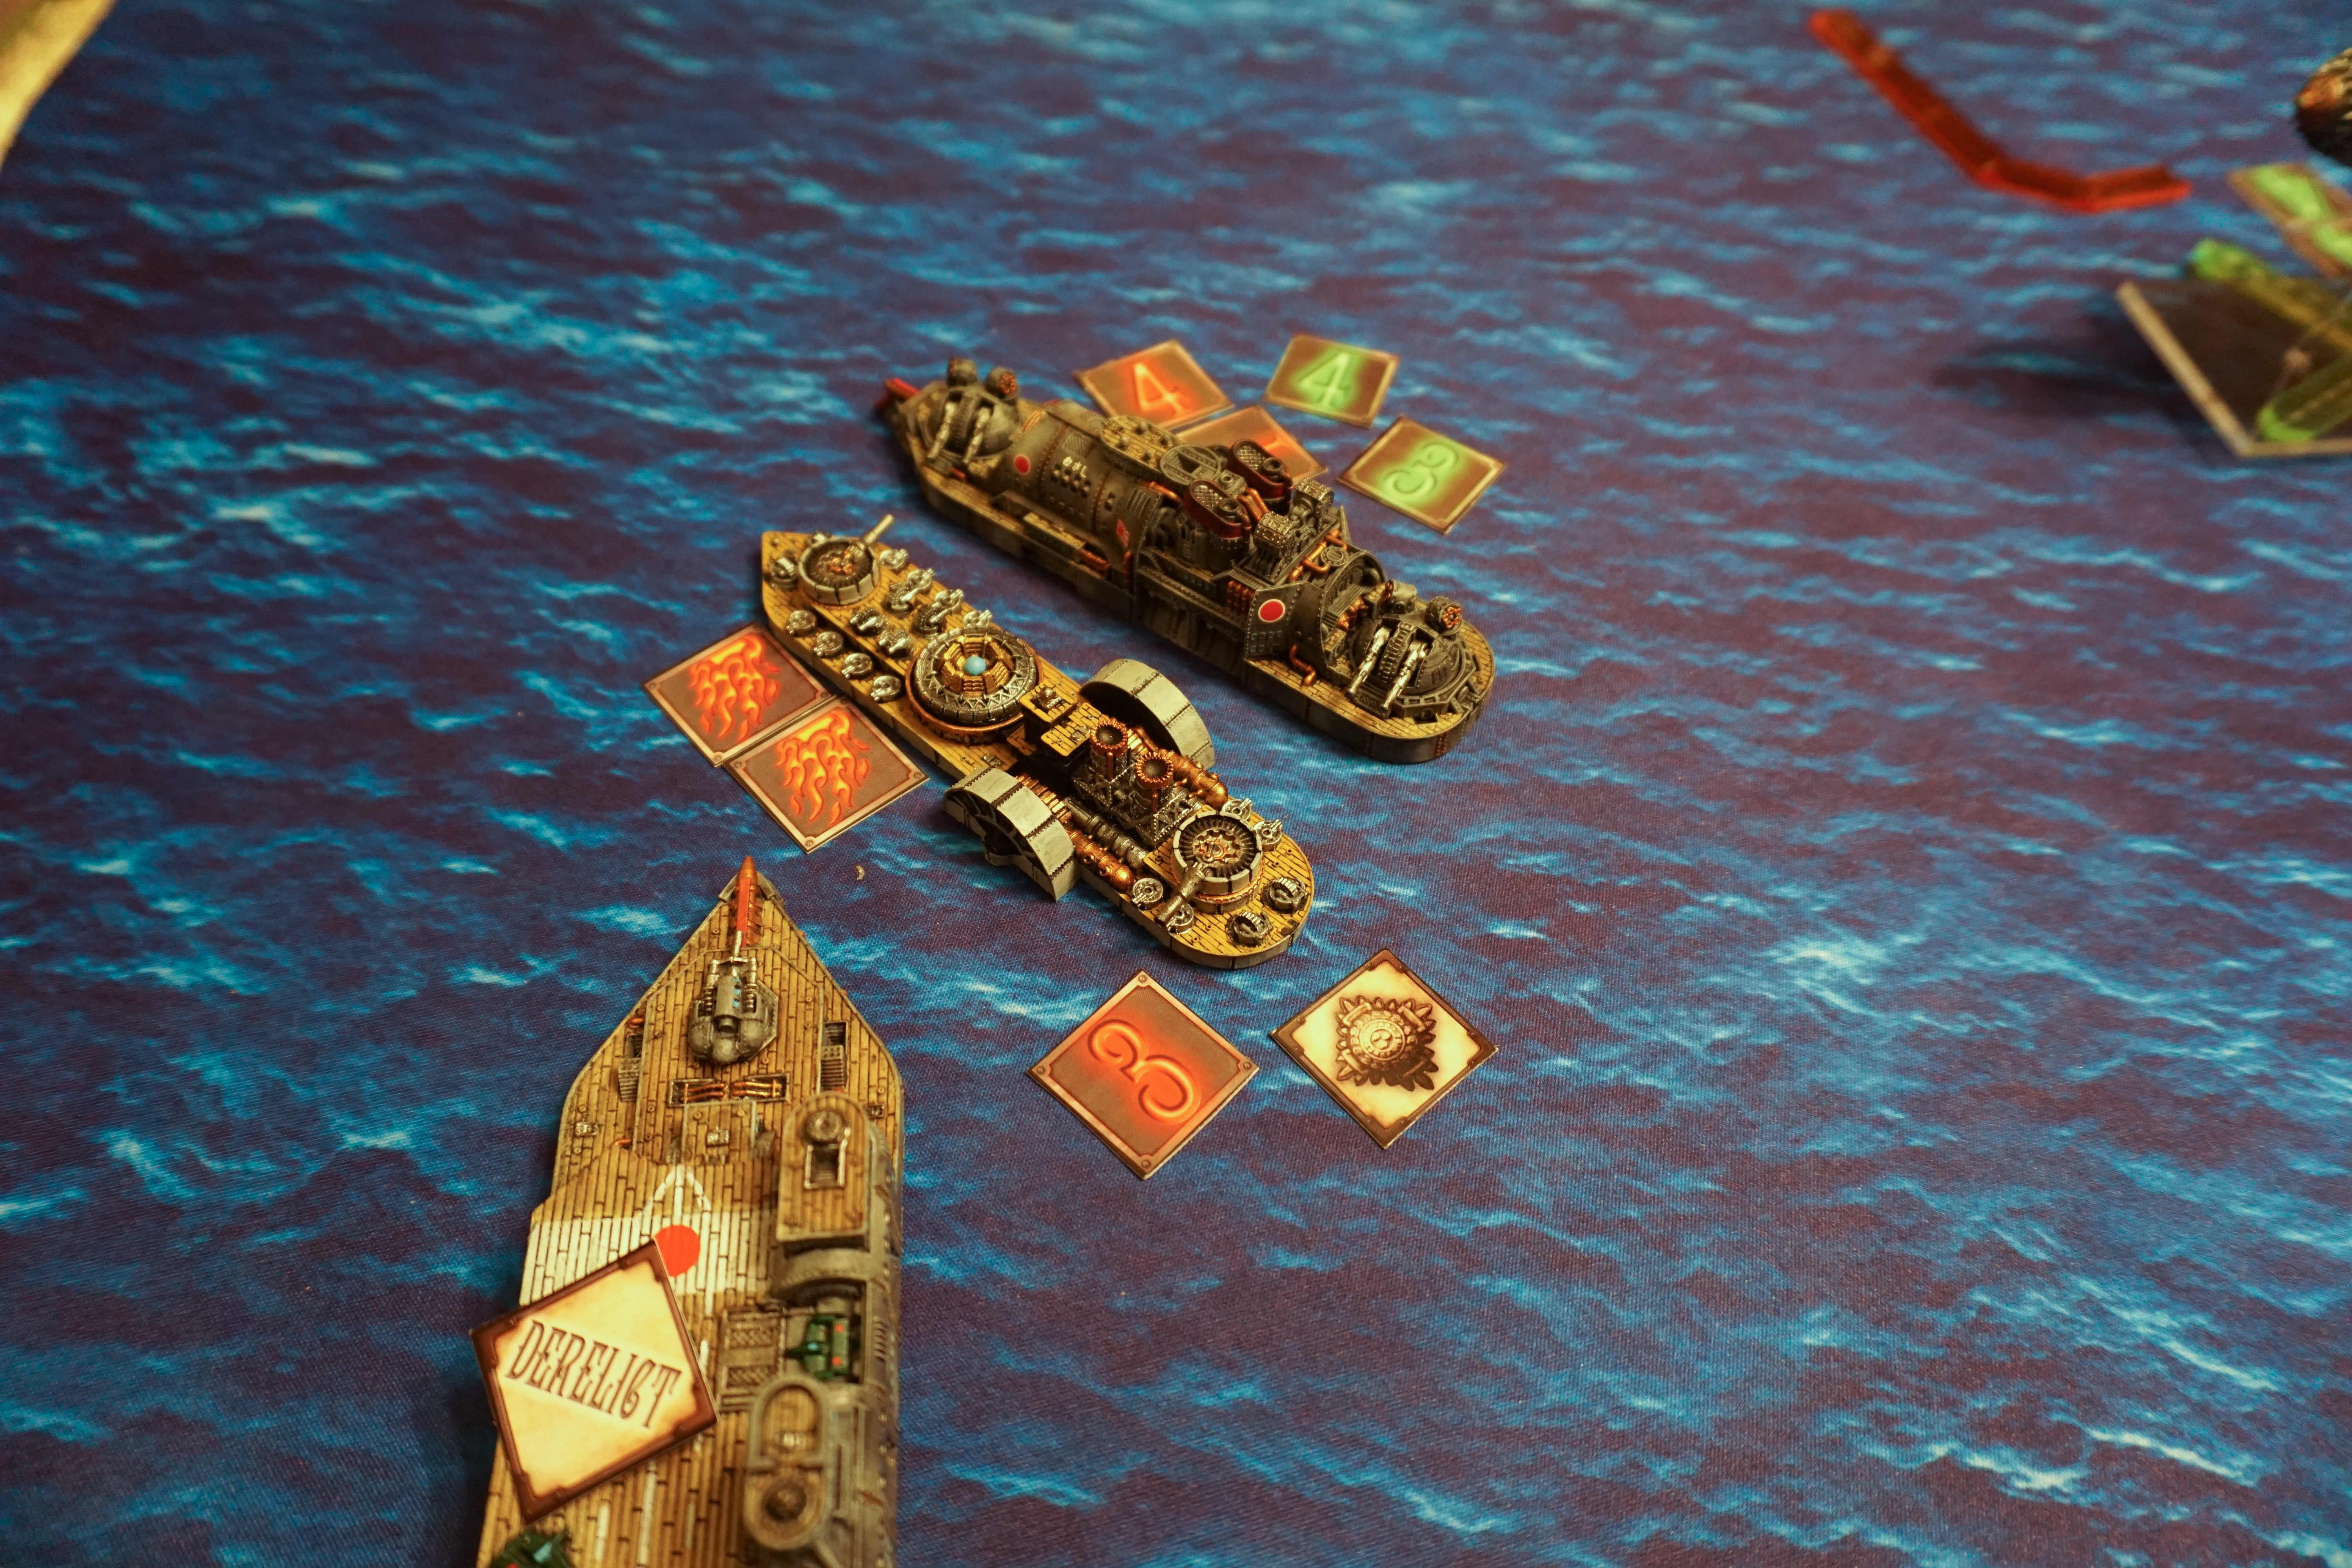
Andy: At the start of the turn, I succeeded in using my Repair TAC to restore some of the Kaga’s lost HP, but that would ultimately prove to be futile as Matt was able to reduce its defenses once again with his aerial units. The Kaga was now close enough to the American flagship that I attempted a ram, though I failed to do any damage. Later, he was able to use his battleship to successfully board and derelict my flagship, with Admiral Tanouchi barely escaping in a personal fighter pulse-jet at the last minute! My heavy battleship closed with the now triumphant FSA battleship, and engaged in an intense close-range firefight. However, my fire proved ineffective against the might of American armor, and I caused no damage! On the other side of the board, Matt’s other battleship finished off my last cruiser, and my airship began to land telling blows on Matt’s airship.
Matt: That carrier kept running into my Independence, after a bunch of damaged paint and the crews “Keeping up foreign relations” with each other I decided the AA and crew of the Kaga were low enough to board thanks to a couple of sharpshooter kills and the 4 marines left on my Reveres selling their lives in a reckless boarding action. I had considered pricing it, but that would leave my Commodore open to a assault from the Gewitterwolke so brought all of my marines back.
Turn 5
Weather: Fair
Initiative: Federated States
Andy: With my forces rapidly dwindling, the turns were definitely starting to go faster. Between his flagship and a successful bombing run by the Valley airship, Matt managed to finish off my heavy BB this turn, and his corvettes sank my last frigate. His flying robots and his other battleship downed the last of my two Pflict scoutships as well. In retaliation, my Gewitterwolke successfully finished off the Valley with a boarding assault, but by doing so it was left wide open for a counter boarding.
Turn 6
Weather: Storm
Initiative: Federated States
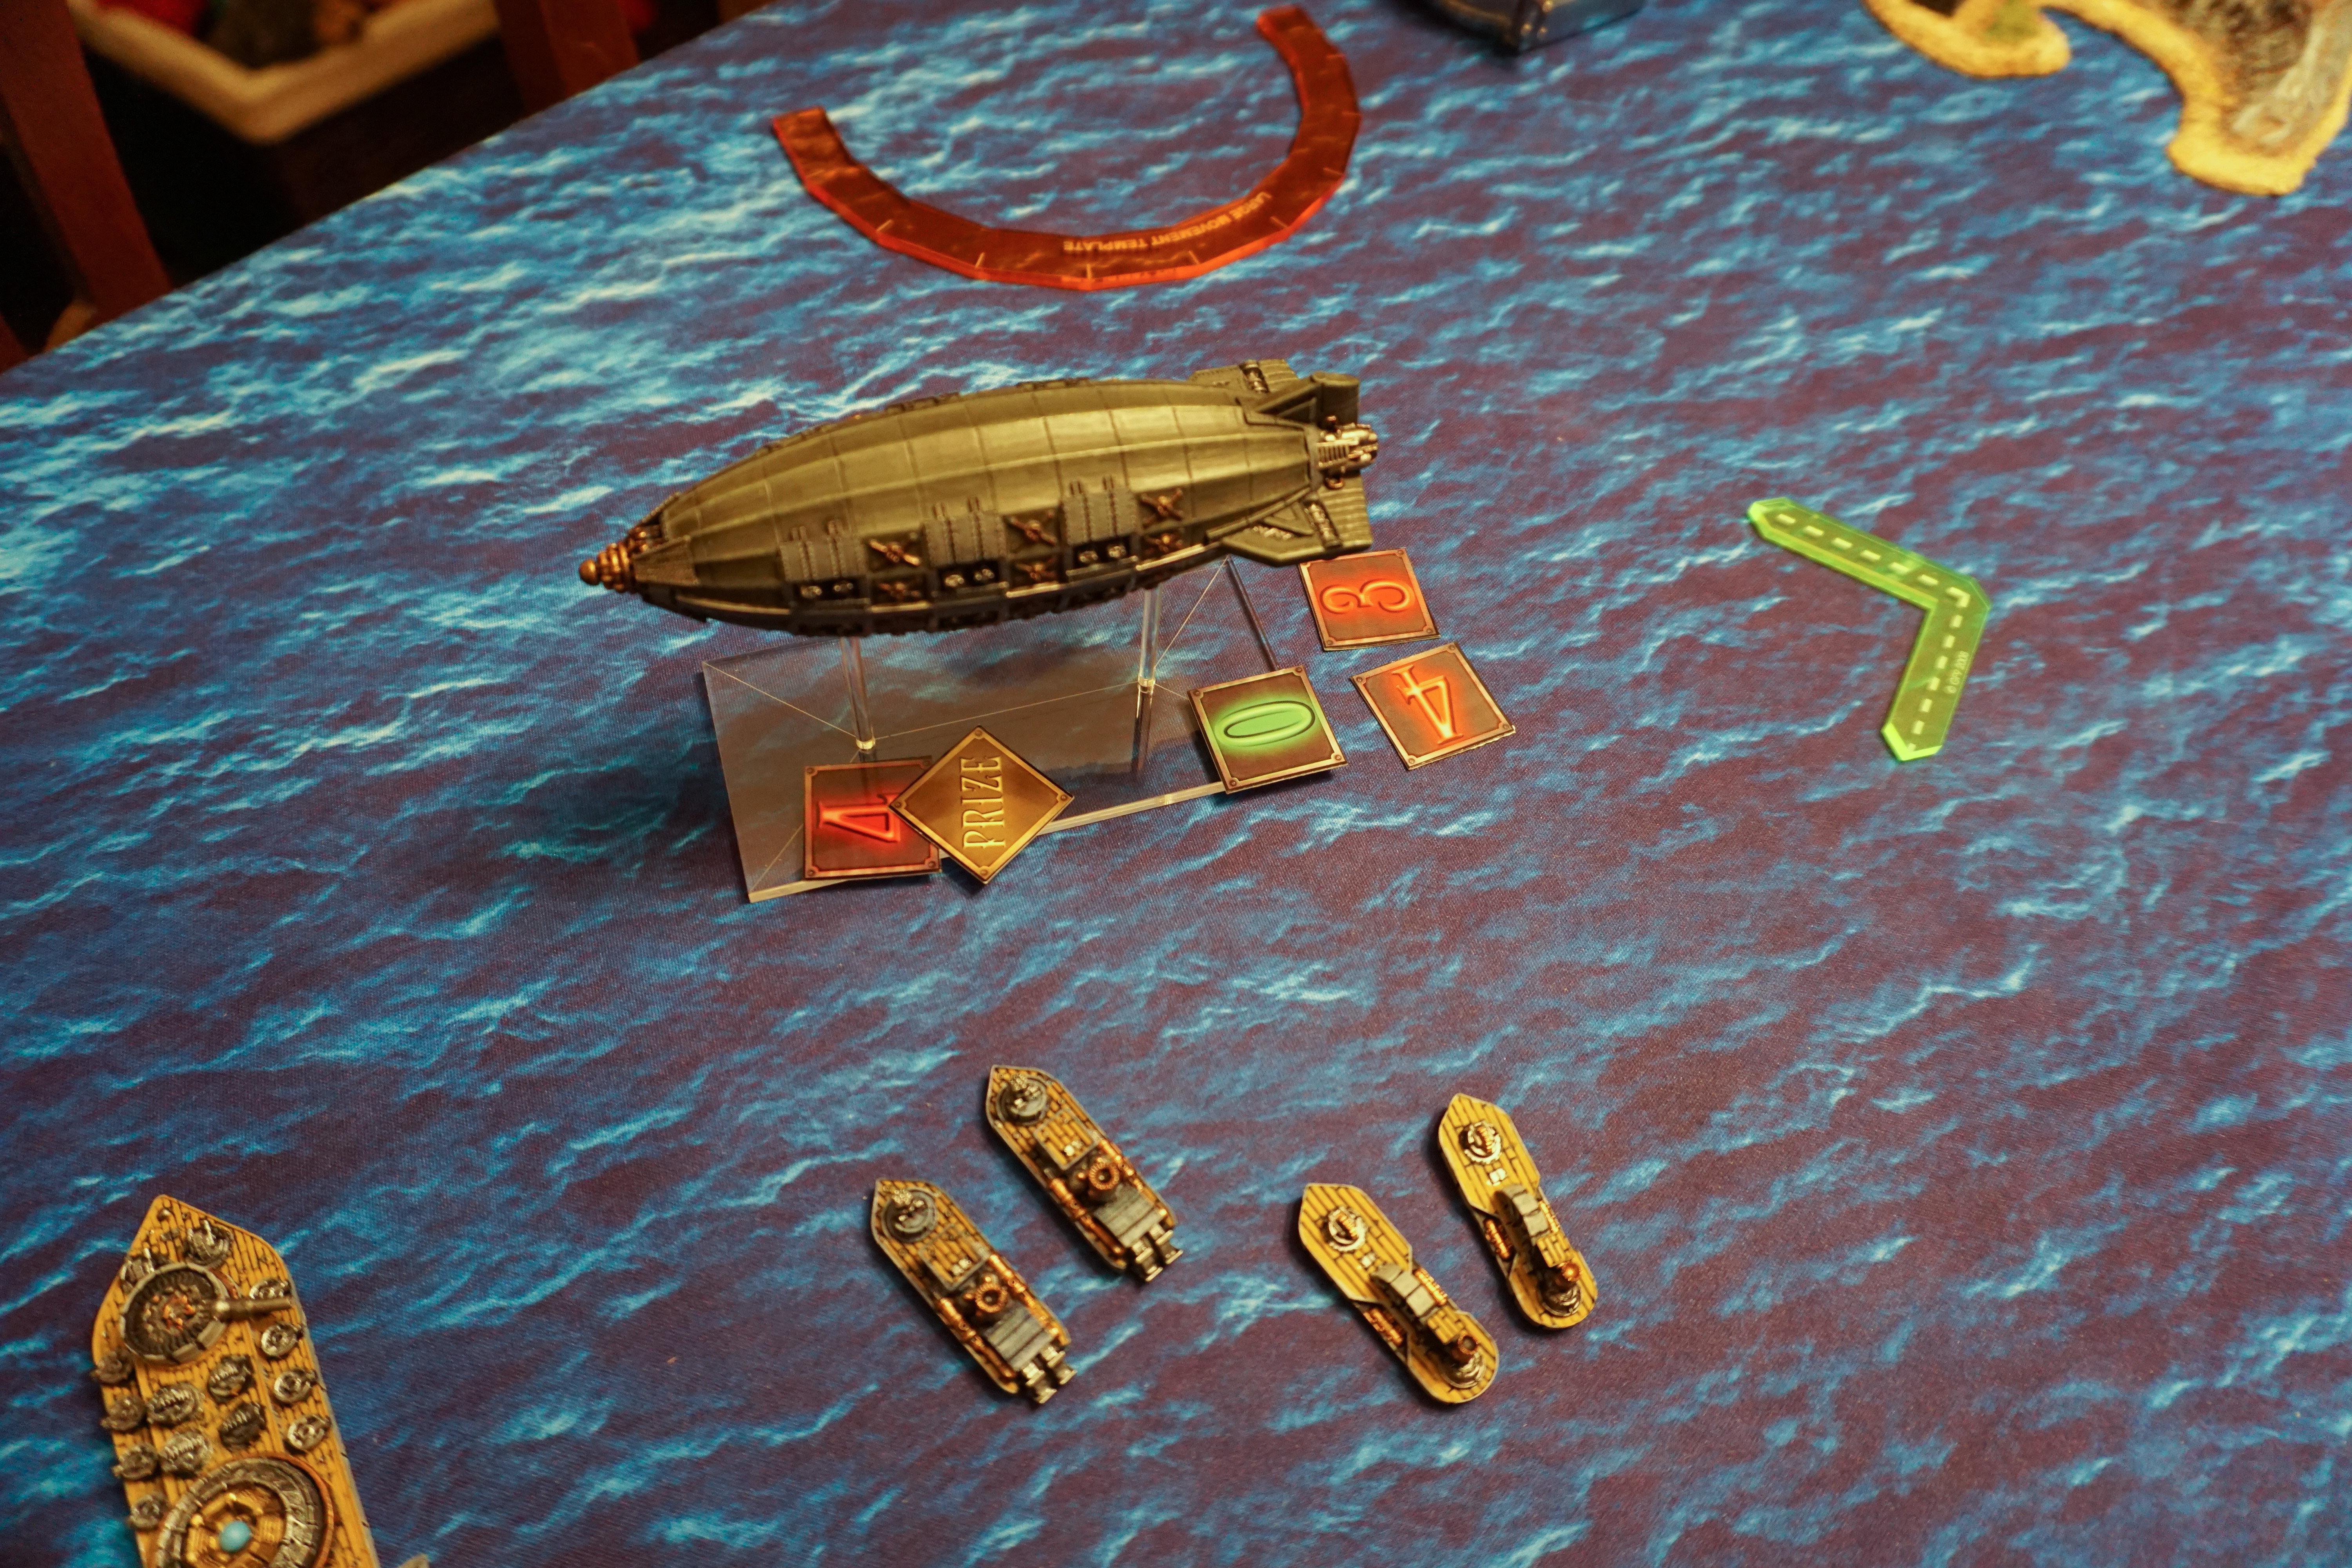
Andy: At the start of Turn 6, the only unit of mine left on the board was the Prussian airship, and I only managed a few ineffectual gunnery and Tesla attacks with it before Matt successfully boarded and prized it, ending the game.
Result
With a final Campaign Point total of 39 to 16, this was a Crushing Triumph for the FSA! As the smoke cleared, MacCannon’s Squall’s Stormriders emerged battered, but victorious, having destroying the entirety of the Blazing Sun fleet and their allies and prizing the Gewitterwolke in the process. The Americans have dealt a heavy blow to the leading elements of the Blazing Sun strike force, with the Blazing Sun commander barely escaping to fight another day.
Post-battle Thoughts
Andy: Even before deployment, I knew this battle would be a challenge for my Blazing Sun forces, as the objectives required me to stream at full speed into the teeth of Matt’s forces; with a game length of 6 turns, and with a movement of 6″ for my Heavy Battleship and 7″ for my Assault Carrier, (before accounting for damage and weather effects!), I was going to need to make a bee-line straight for the opposite board edge if I was going to have any chance of completing the objective. Randomly selecting the carrier as my commodore vessel was an added complication, as it is a far softer target than the battleship. I think what really sealed my fate though was some lopsided luck in Turn 2; Matt had more rolls go his way than I had go my way, and I was in a serious hole that I was just unable to dig my way out of. That’s just how it goes sometimes, though, and all in all it was a fun game and I had a blast! My Blazing Sun forces are now heading for the Falklands at full speed to exact their revenge!
Matt: I pretty much summed up my thoughts in the turn-by-turn. I definitely had a great time, and forgot how fun/terrifying the exploding 6s can be (depending on which end you are on 😃). Looking forward to the next game and I’ll see what else I can find to slap some paint on to change up the fleet comp a bit. Cheers!
Conclusion
Andy: There you have it! The first game of our Hurricane Season play-through. The Imperial Bond definitely came out on the losing side of this one, but the FSA has succeeded only in blunting the tip of the Blazing Sun’s spear, rather than turn aside the operation in its entirety. This battle may be done, but the campaign is far from over!
Epilogue
RADM Matthias MacCannon, FSN
Personal Log Entry:
“President Adams isn’t going to be very pleased that we lost a Valley, but hopefully ‘Grand Gerti’ (as the lads have begun calling her) will be useful for our scientists. It took her a minute, but once she got going…let’s just say I do not want to be the Clown in that rodeo. Hopefully, the spectacles can learn a thing or two about propulsion from the engines, and if the speed of JRS Viking Prime is anything to go by, a coat of red paint on our airships couldn’t hurt either…”
Matthias sat down, finally able to enjoy what was now his afternoon coffee. By any measure, his day had been a resounding success, but couldn’t shake the nagging feeling that he hadn’t seen the last of Admiral Tanouchi….
TO BE CONTINUED!
Pingback: Episode 30 | Man Battlestations Blog