
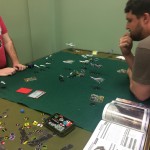
Greetings! Yesterday, I played in a Dropfleet Commander tournament that was held at Huzzah Hobbies in Northern Virginia. This was my first opportunity to play DFC, and I was eager to get my newly painted United Colonies of Mankind (UCM) fleet to the table! How did I do? Read on to find out!
The Event
The tournament consisted of three 2-hour rounds, and was played at the Skirmish Fleet level (999 points max). This meant that our fleet selections were a bit more limited in terms of the heavy ships we could bring. The scenarios used for the rounds came straight out of the DFC rule book; we played Scenario 1 for Round 1, Scenario 3 for Round 2, and Scenario 5 for the third and final round.
My List
Here is what my UCM list consisted of:
1/28 Tournament List – 975pts
UCM – 6 launch assets
SR20 Vanguard battlegroup (400pts)
1 x Avalon – 195pts – H
1 x Atlantis – 205pts – H
SR7 Line battlegroup (196pts)
1 x Seattle – 132pts – M
2 x New Orleans – 64pts – L
SR7 Line battlegroup (169pts)
1 x Rio – 105pts – M
2 x New Orleans – 64pts – L
SR8 Pathfinder battlegroup (210pts)
1 x Berlin – 105pts – M
3 x Toulon – 105pts – L
————- dflist.com ————-
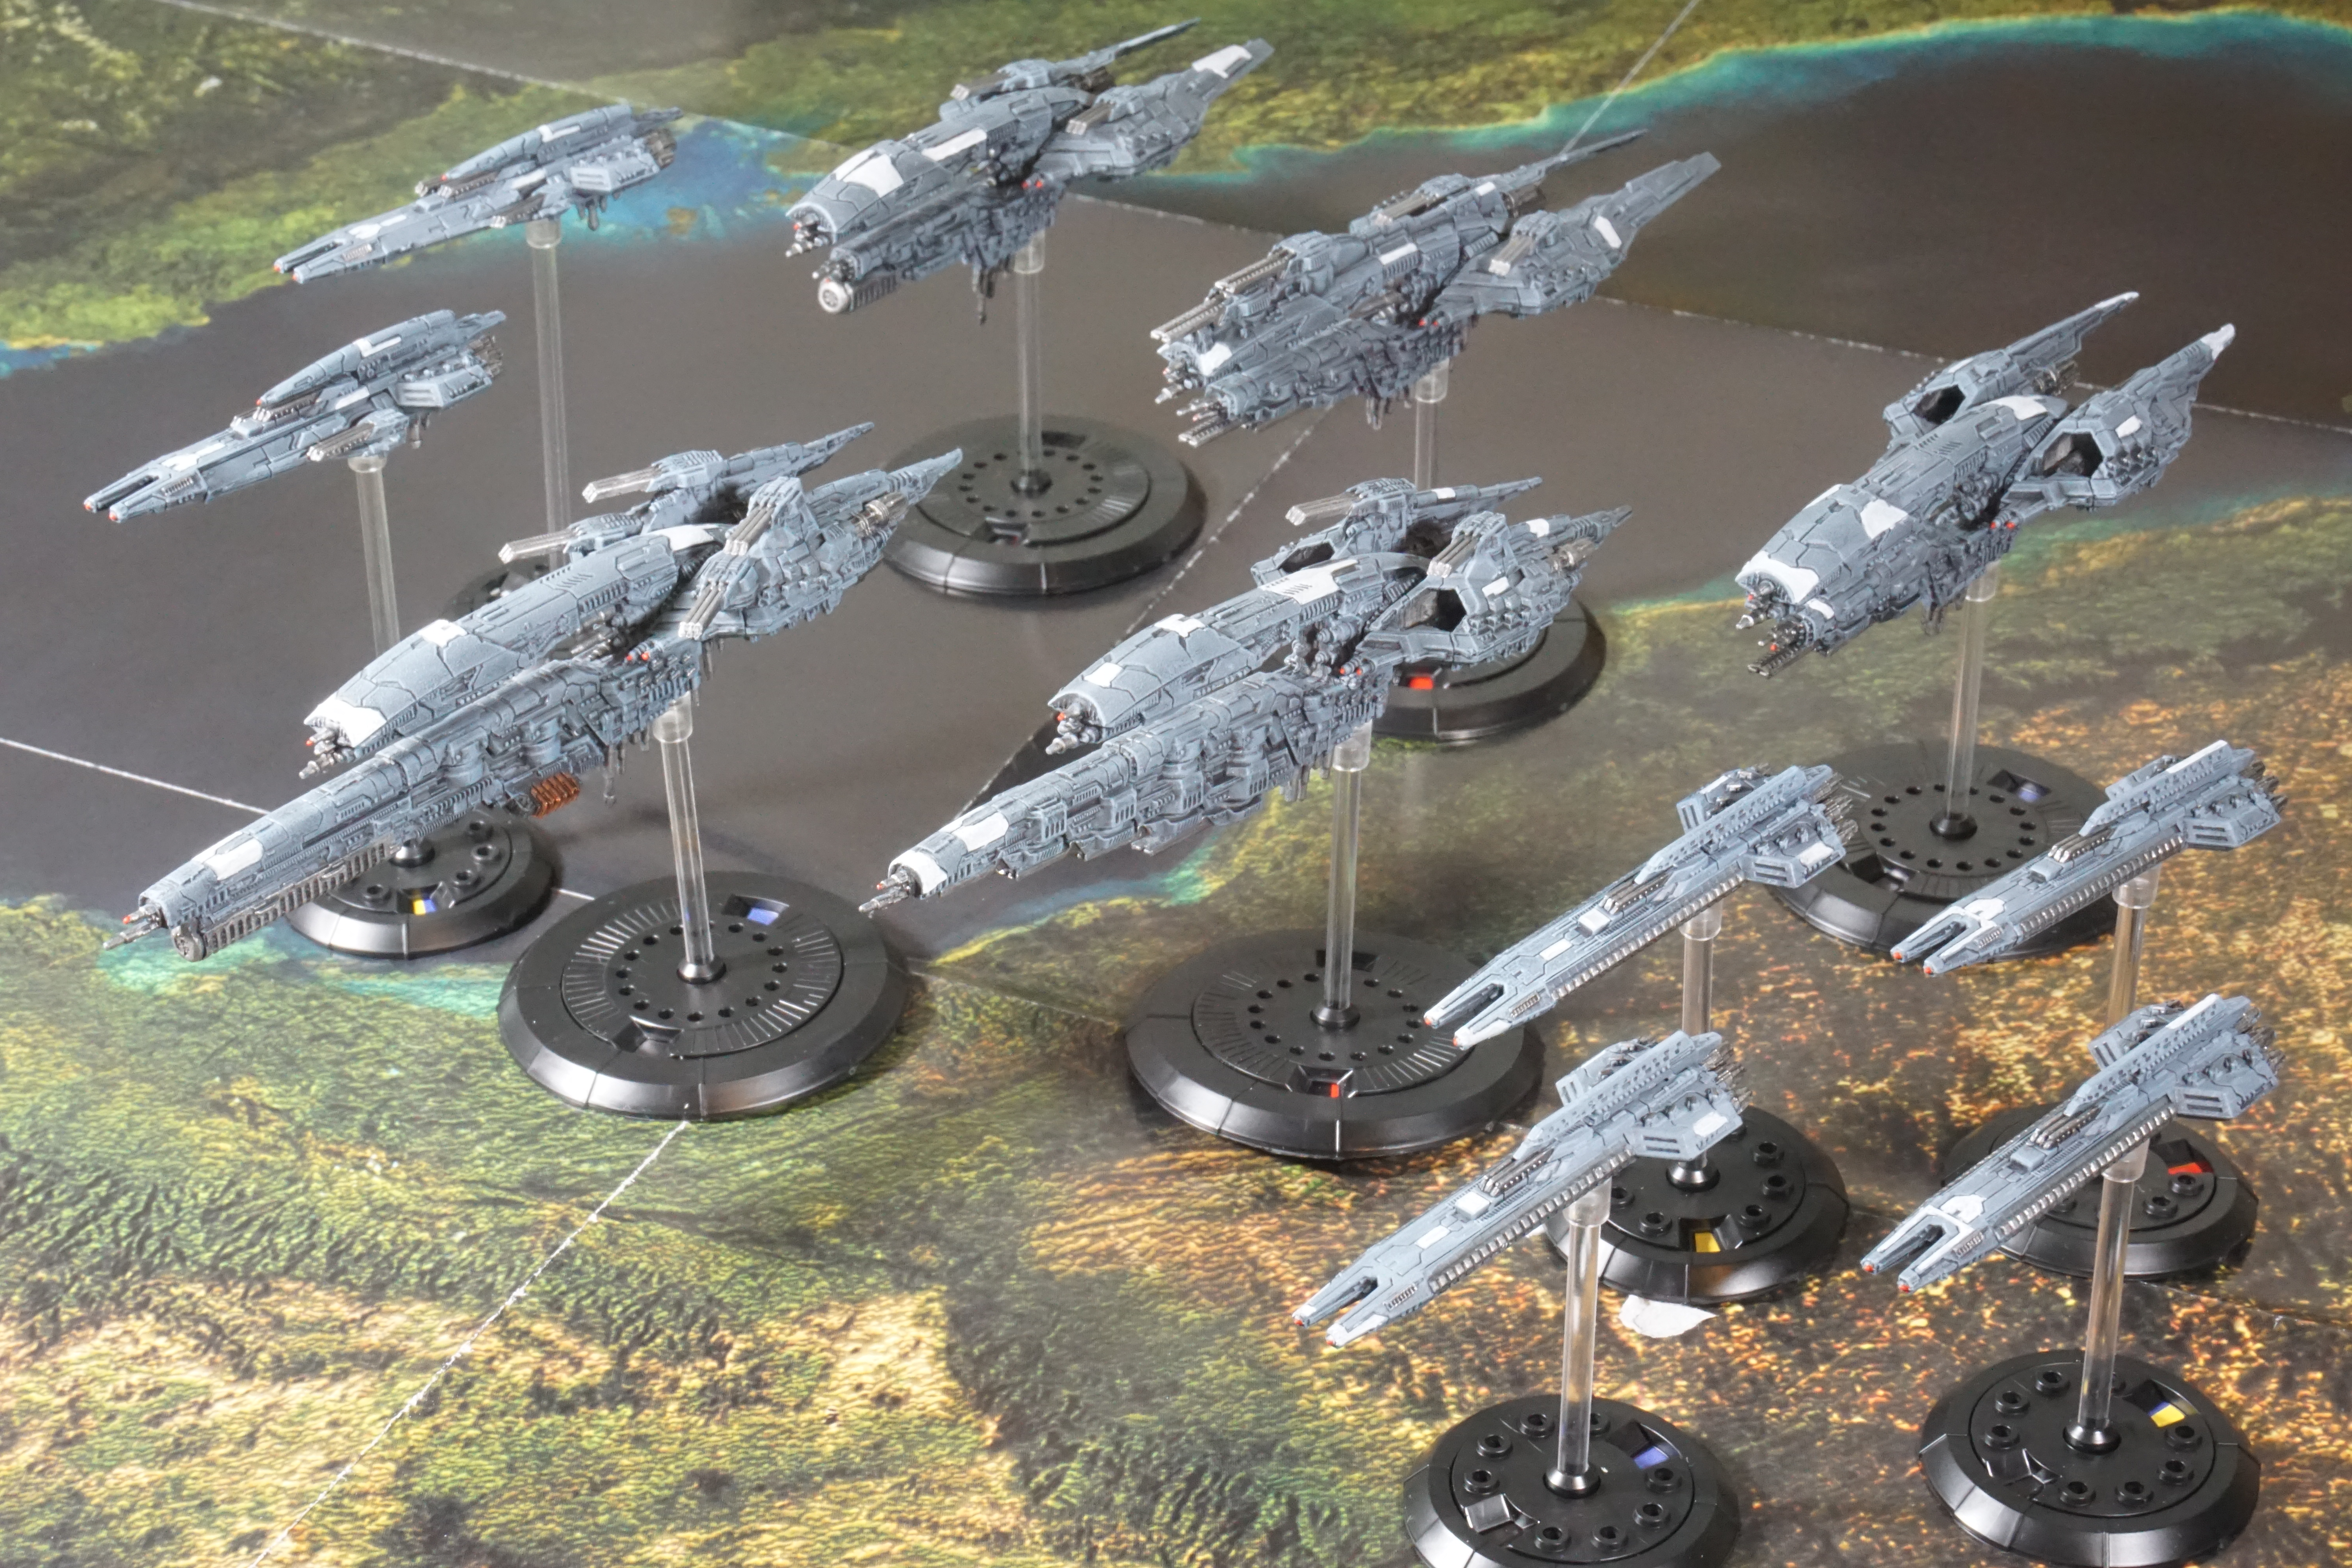
This was the list I put together with the stuff I got in my Kickstarter pledge. I recognized before hand that this list is quite top-heavy, given that I’m running two battlecruisers. However, I really liked the looks of the models, and wanted to build/paint them first.
Round 1
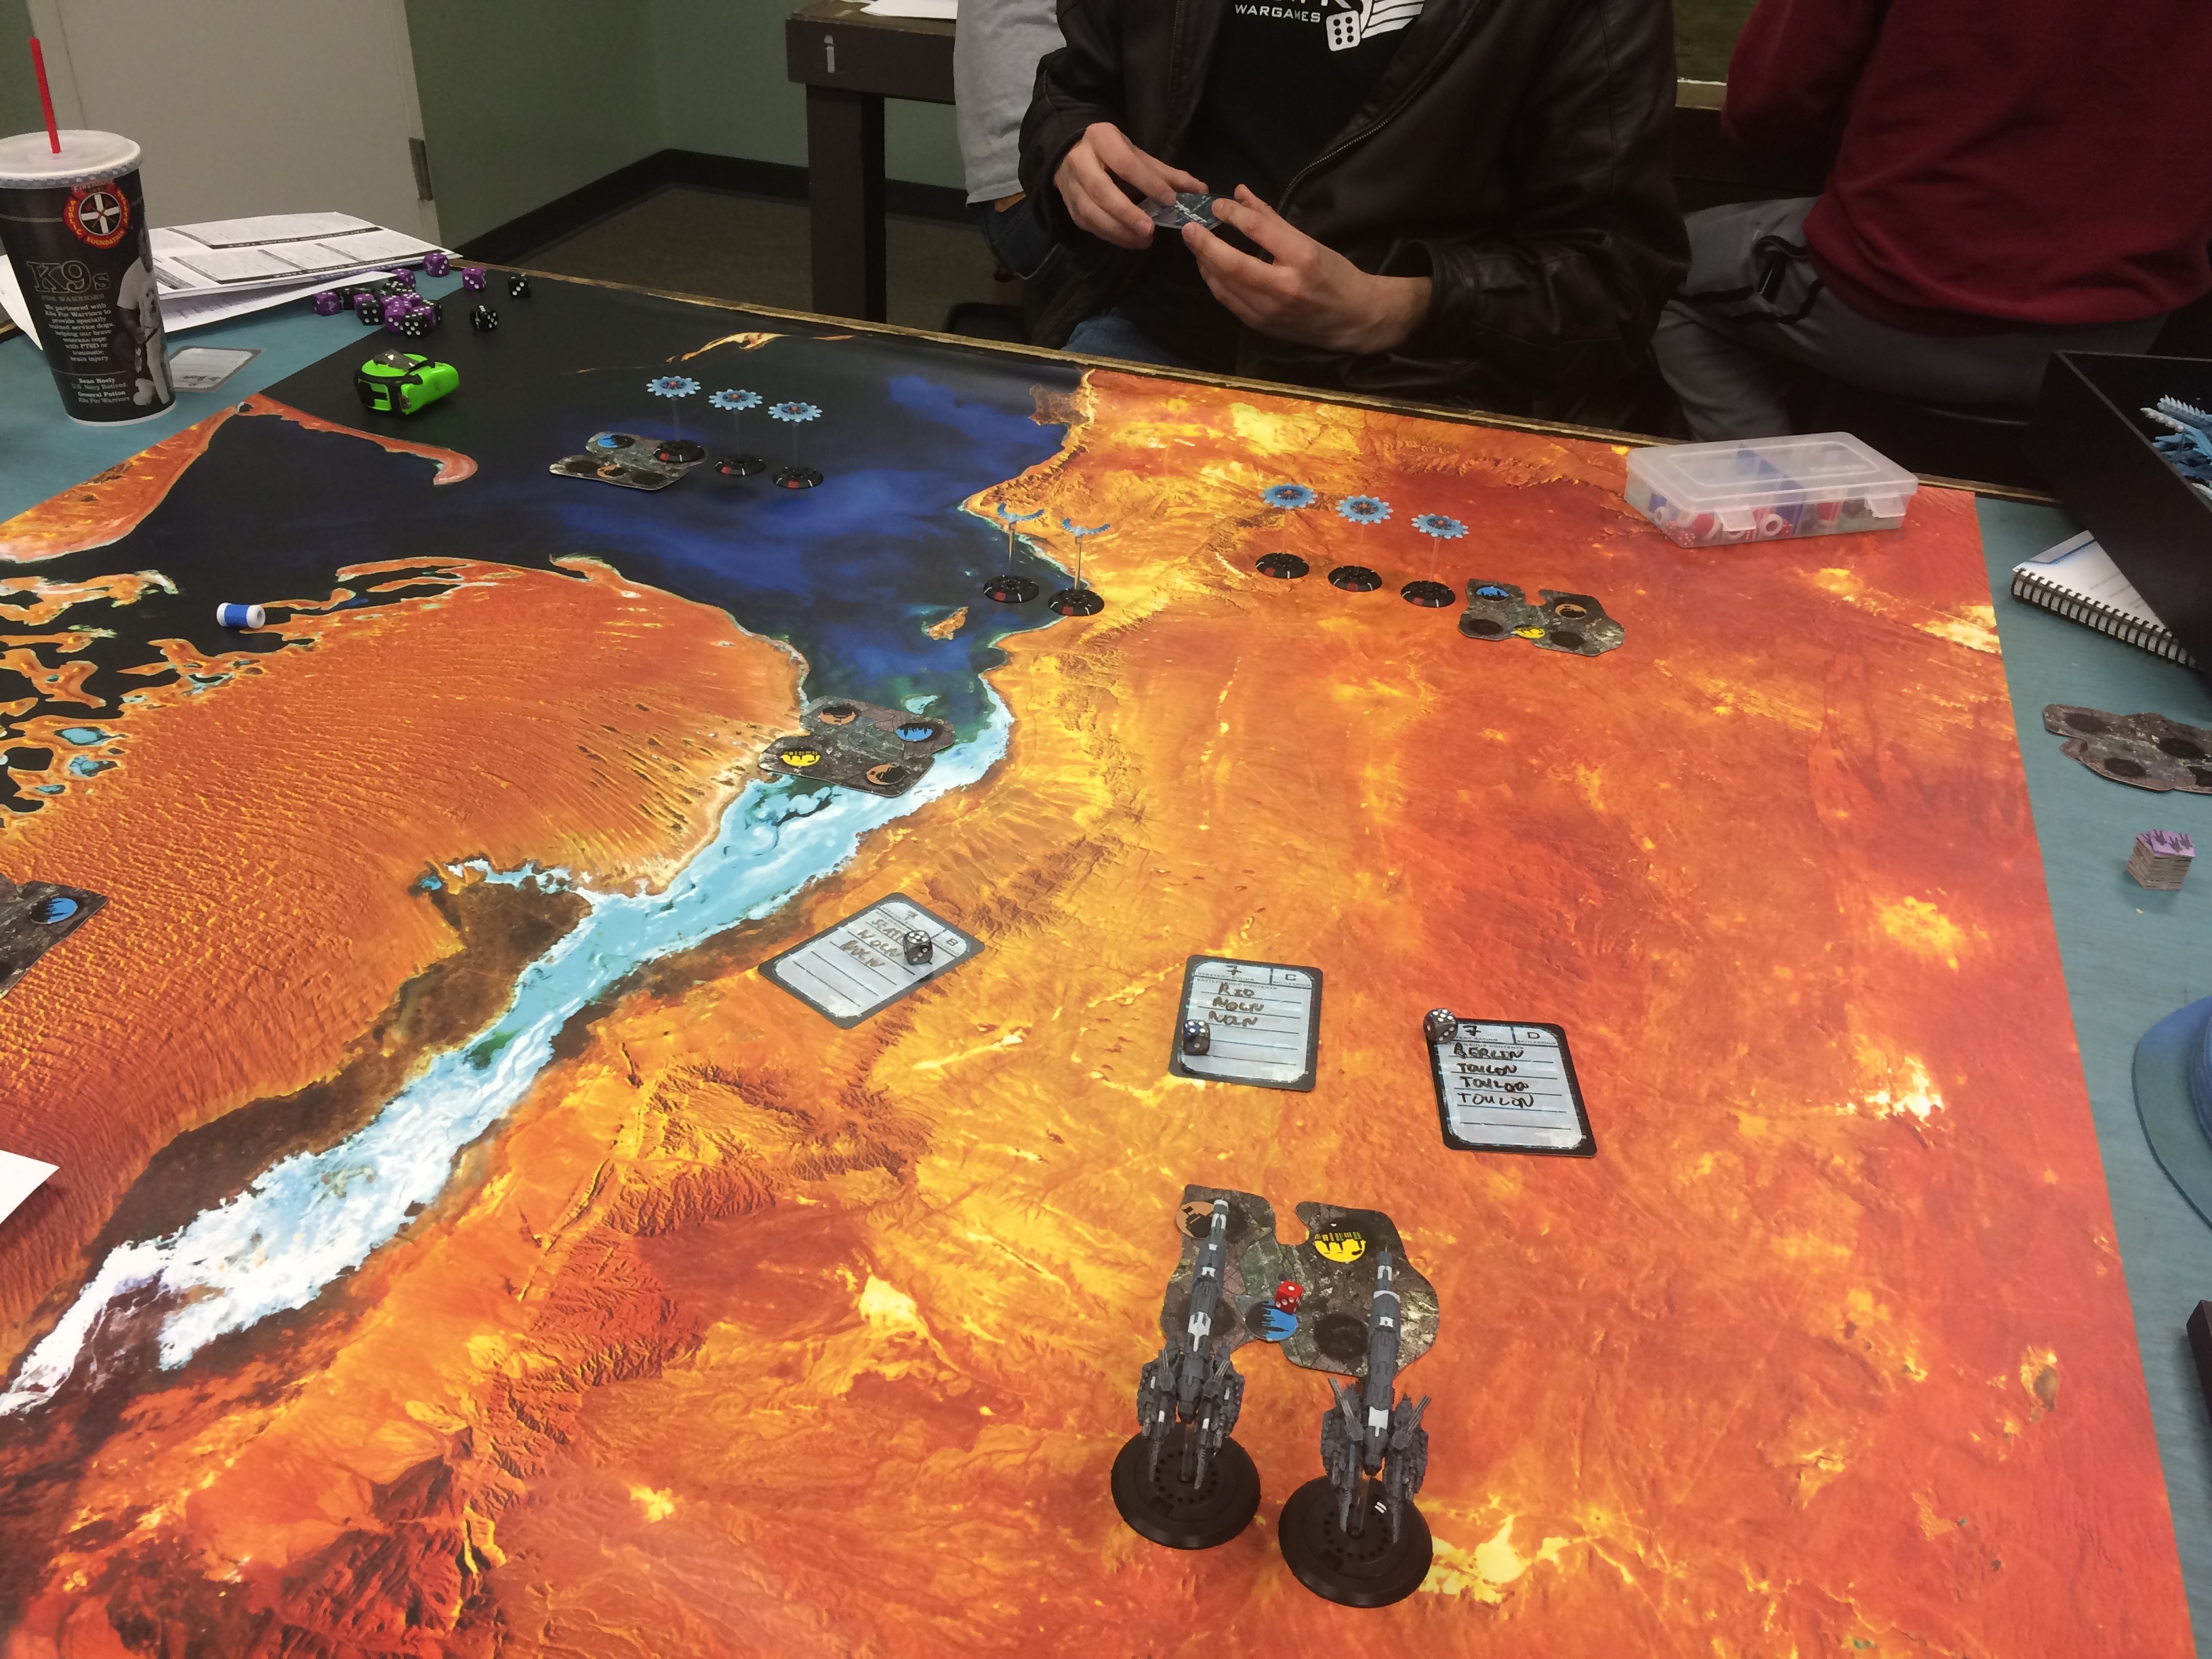
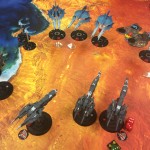
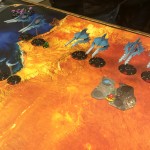
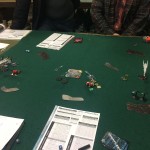
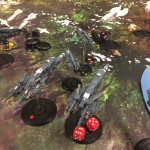
As I previously mentioned, we were playing Scenario 1 from the rulebook, entitled Take & Hold, for the first round. I would be playing Jon and his Post-Human Republic fleet. This was my first game, and so I was pretty rough on the rules. This mission used Column approach, which meant that our fleet came on the board in two parts. At the end of Turn 2, I had managed to move up two of my New Orleans strike carriers, while Jon had taken the right flank with two of his and three corvettes.
The next turn I started moving my battlecruisers towards the left objective, since that seemed to be where Jon was moving most of his fleet. On the right, my fleet carrier and the Rio were attempting to hold off Jon’s two carriers, and my other pair of New Orleans moved to the center objective.
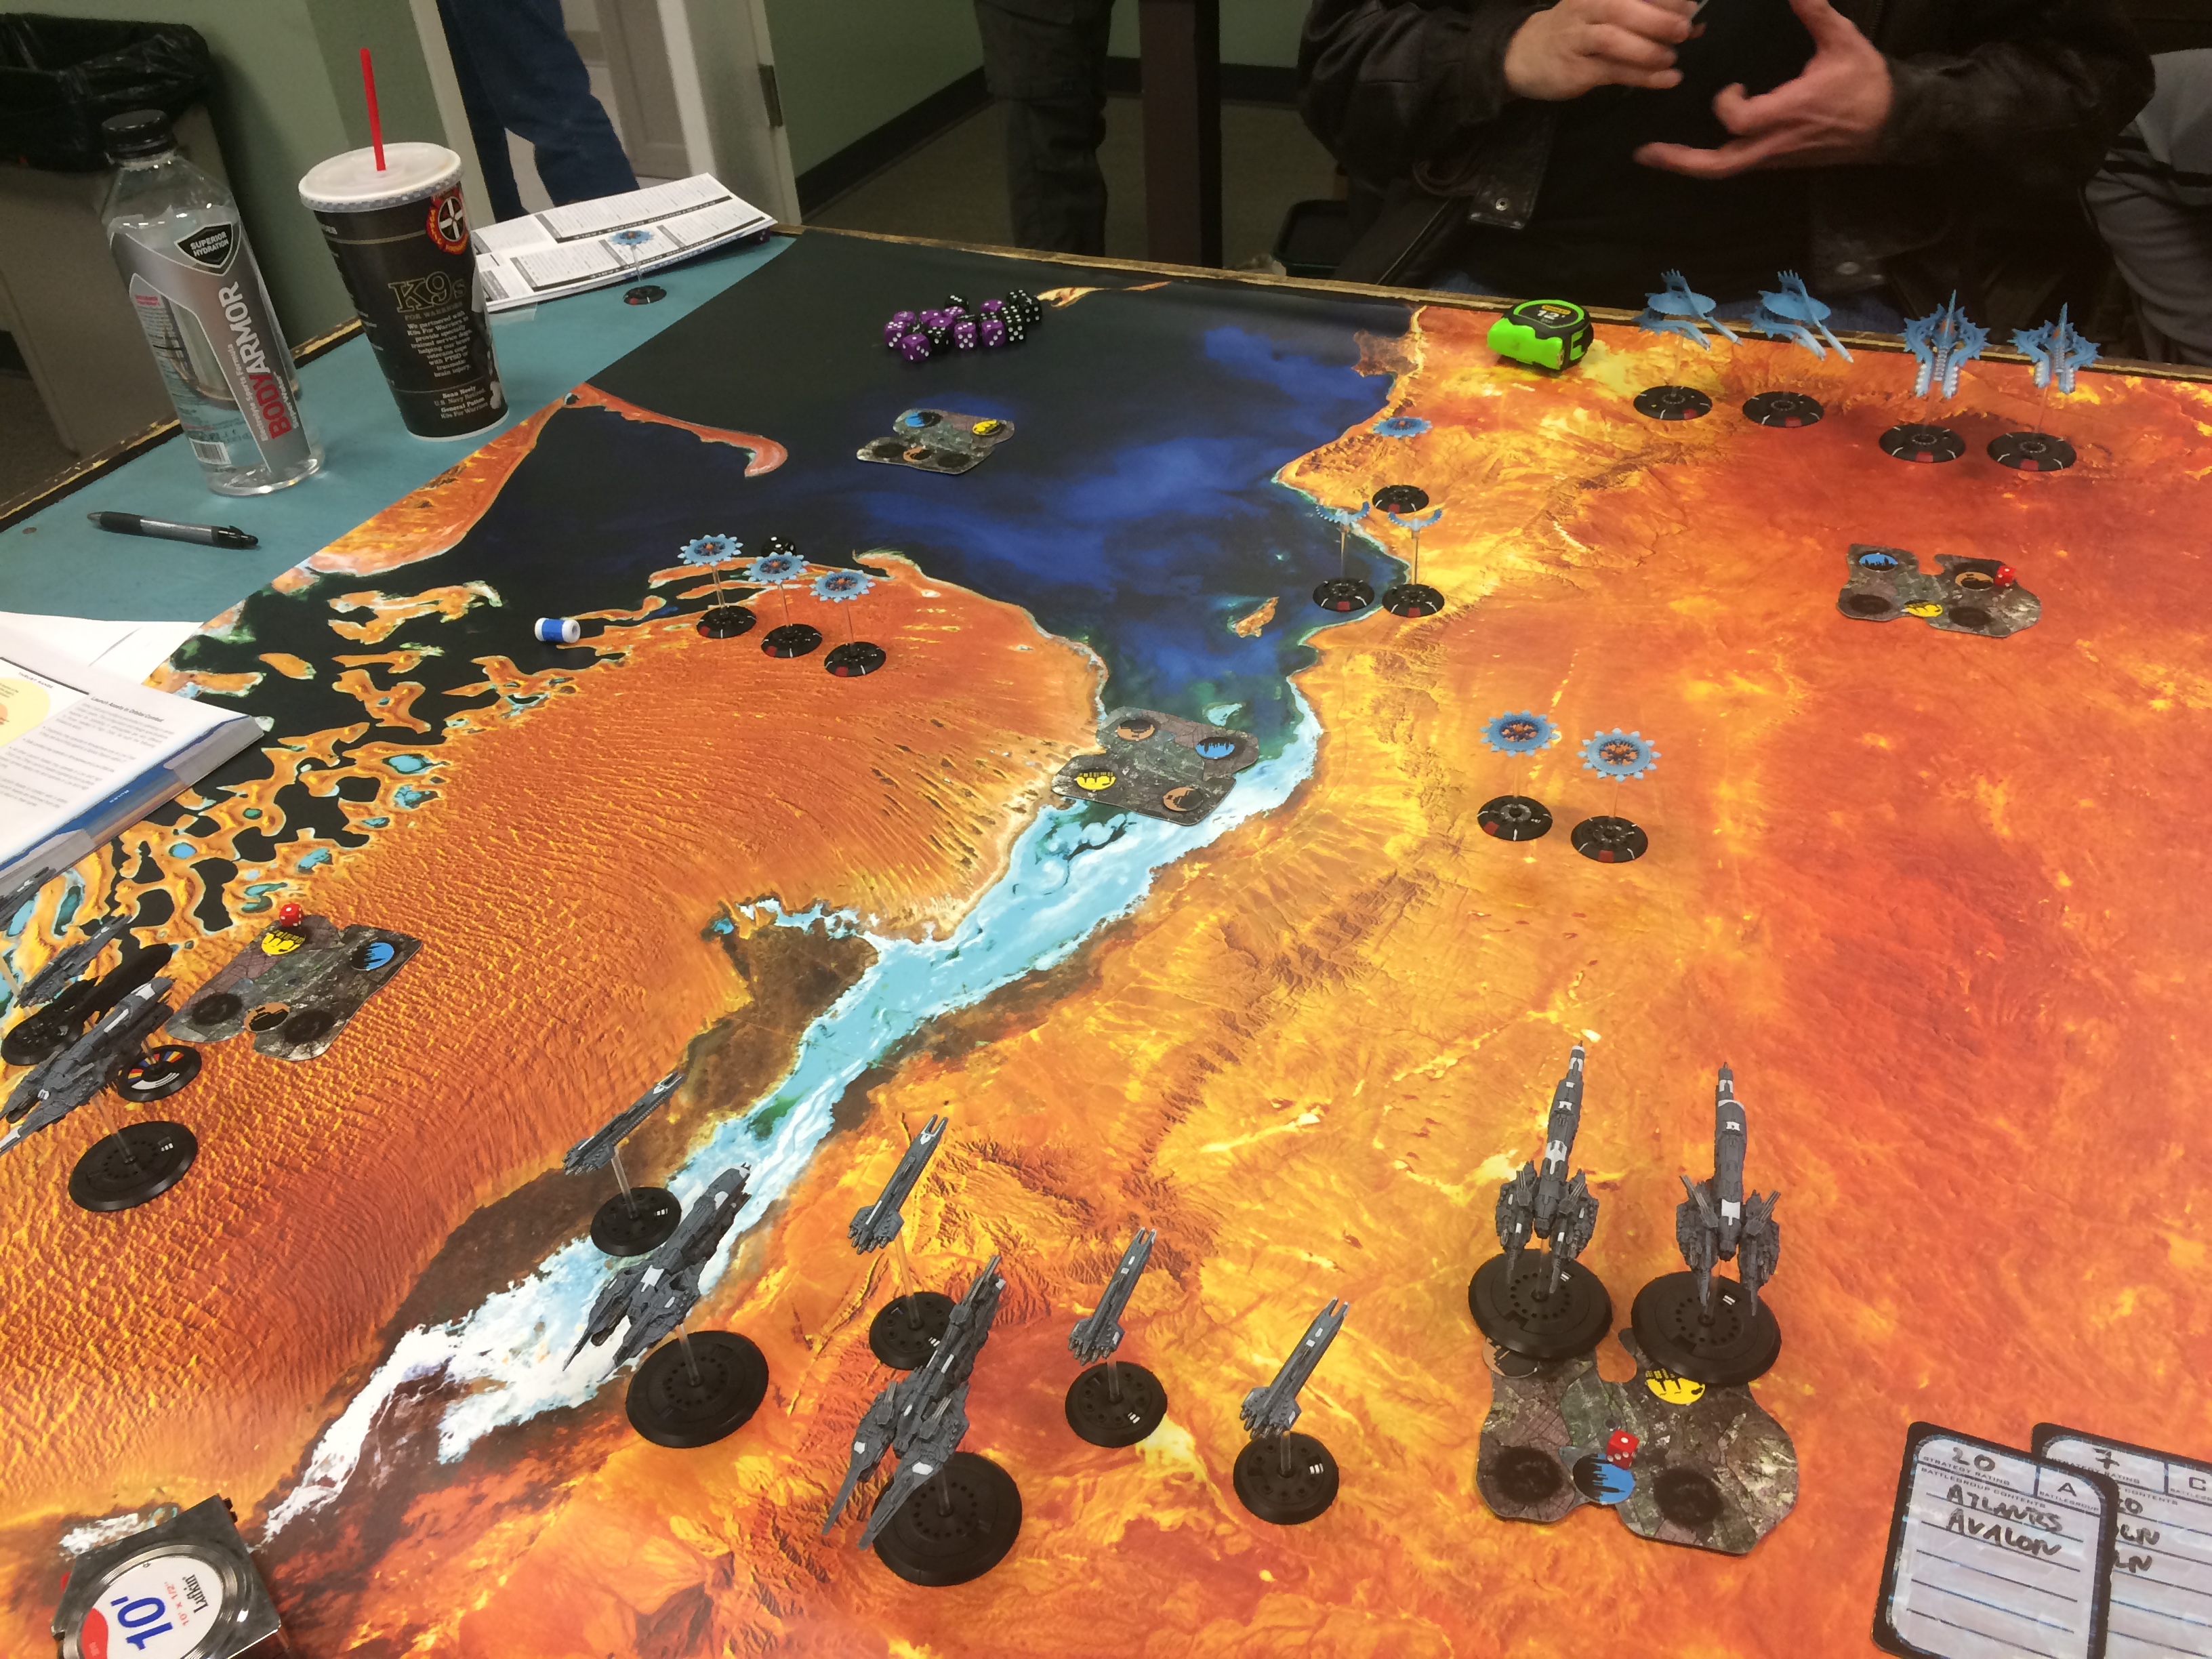
 Since this was my first game, and Jon had only played a couple himself, we were playing quite slow. As a result, Turn 4 ended up being the last turn. My battlecruisers ended up taking a heavy toll on Jon’s forces on my left flank, but were hit heavily in return by the Theseus light cruisers he had concentrated there. His corvettes also managed to take out my New Orleans on that side. I was able to get my other strike carriers to the middle objective, claiming that, and I was able to contest the space above the right objective. In the end, I lost this game 6 points to 10.
Round 2
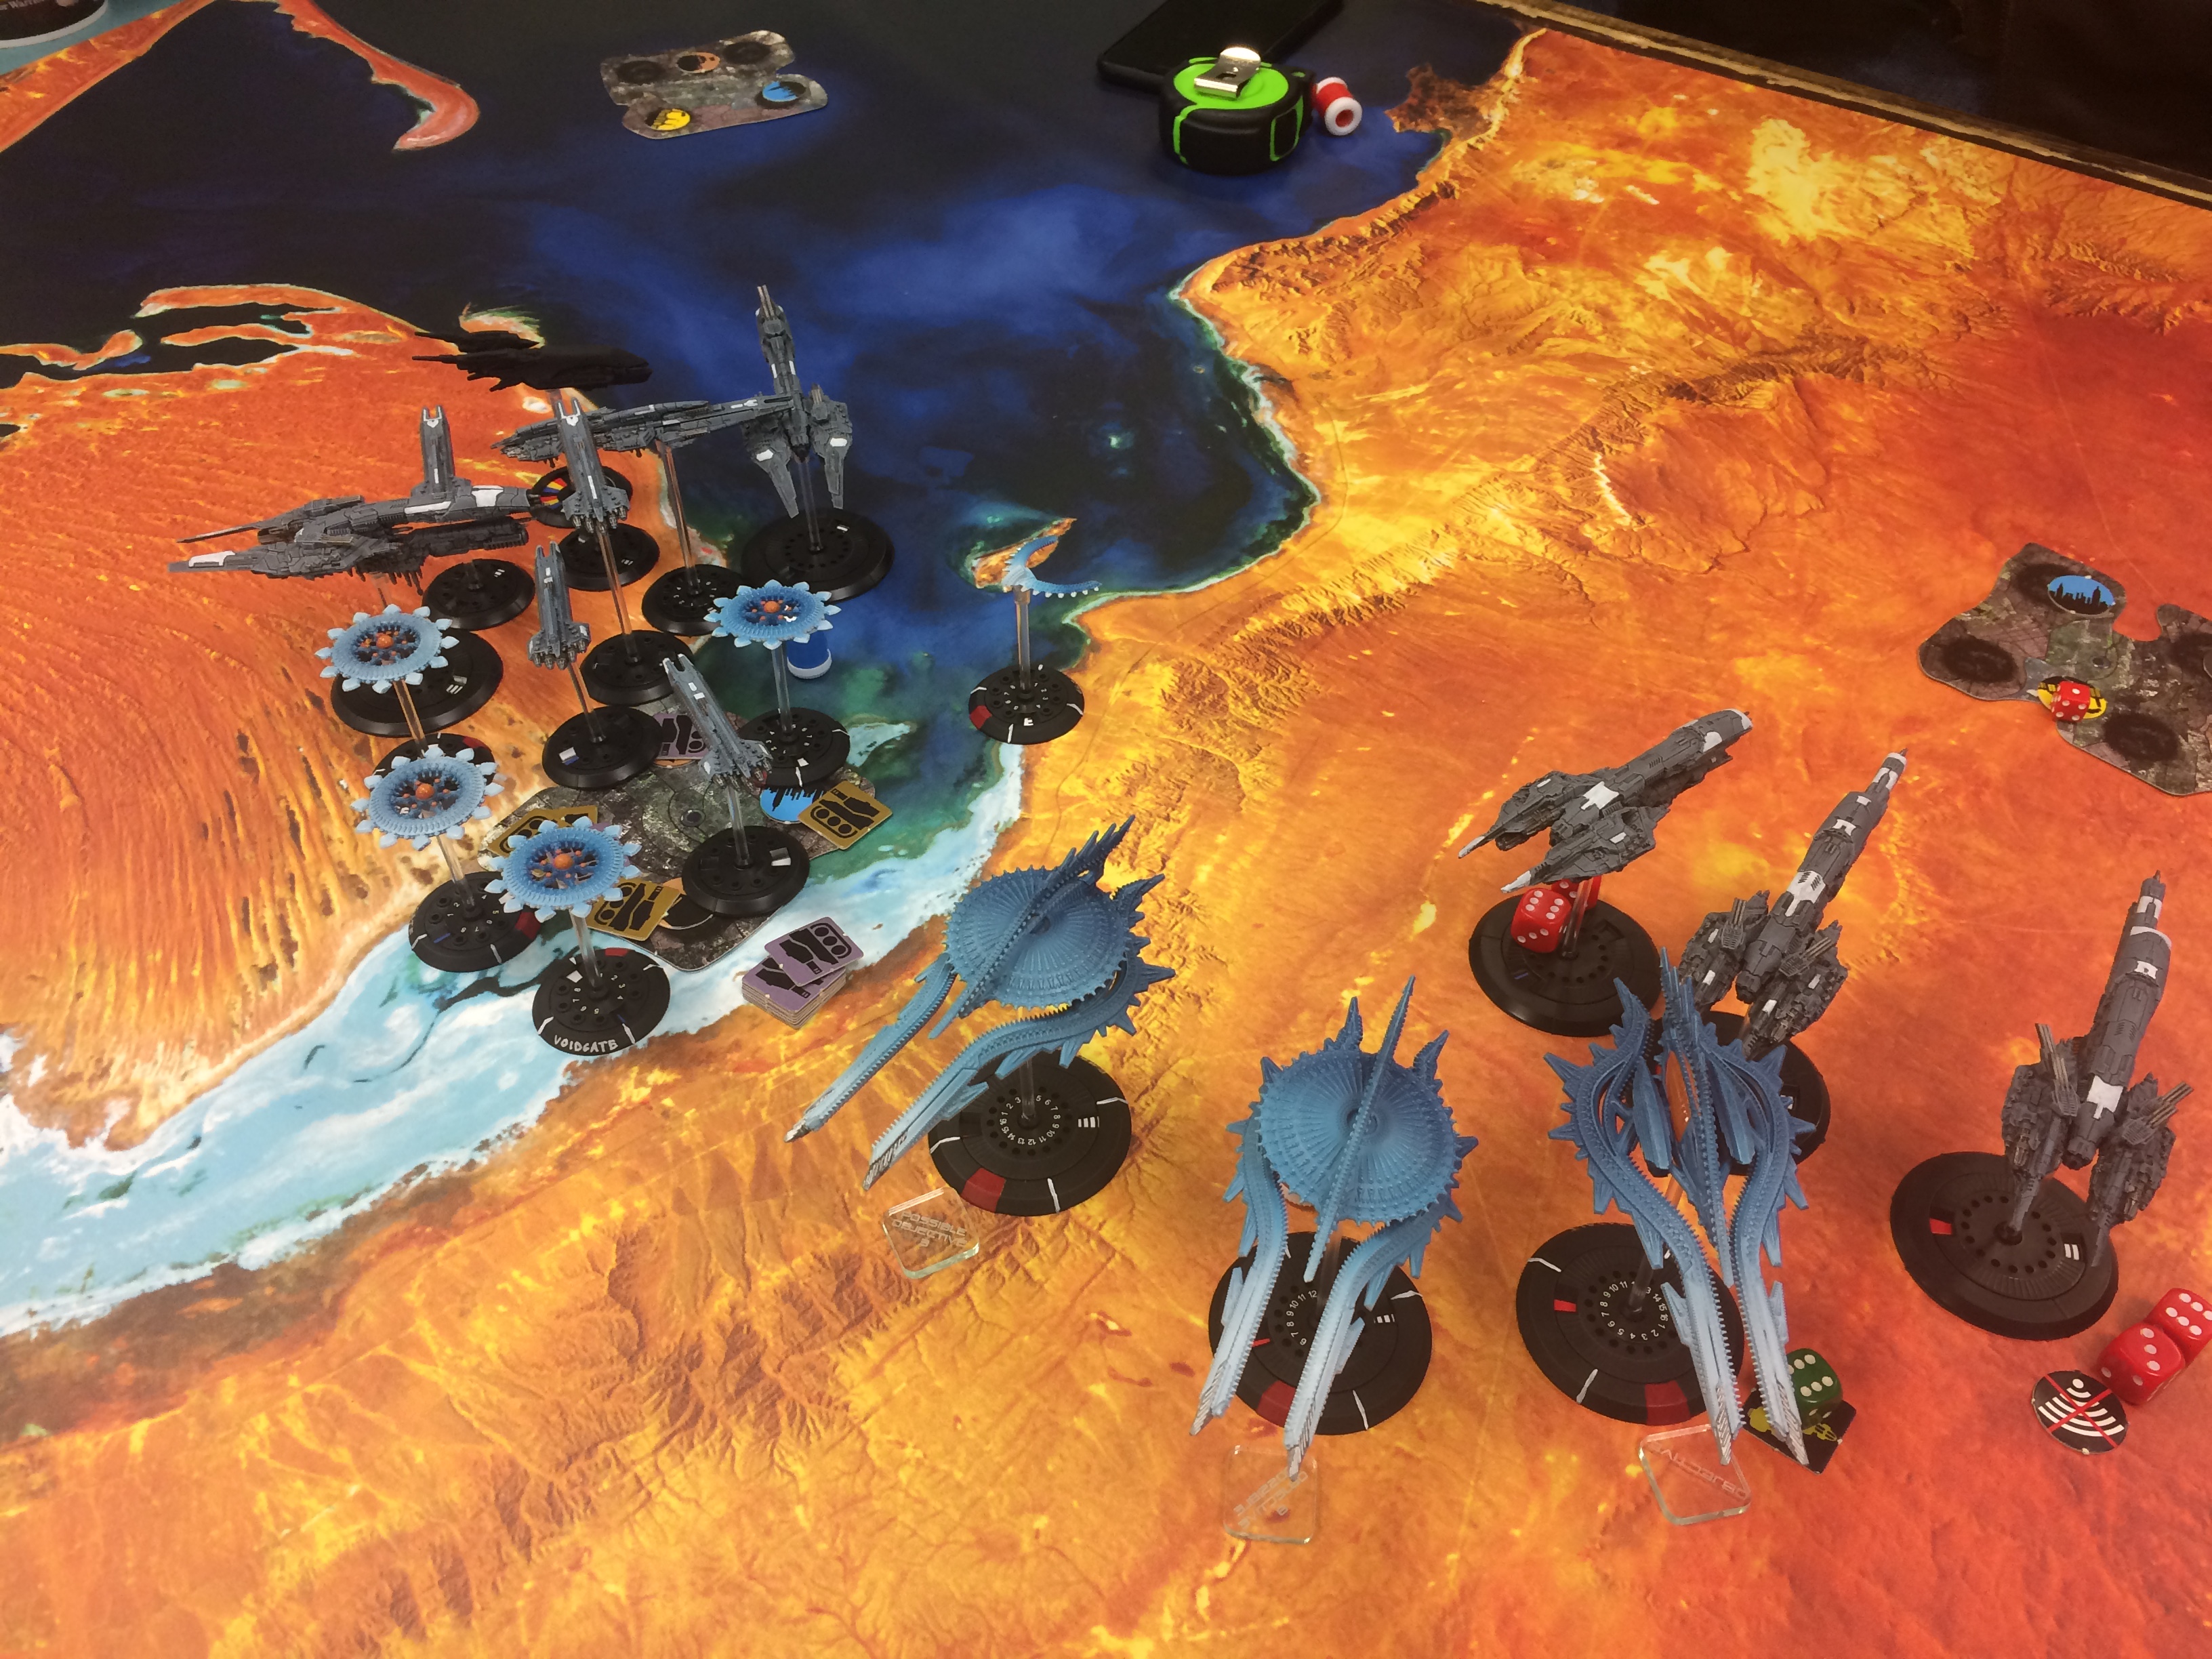
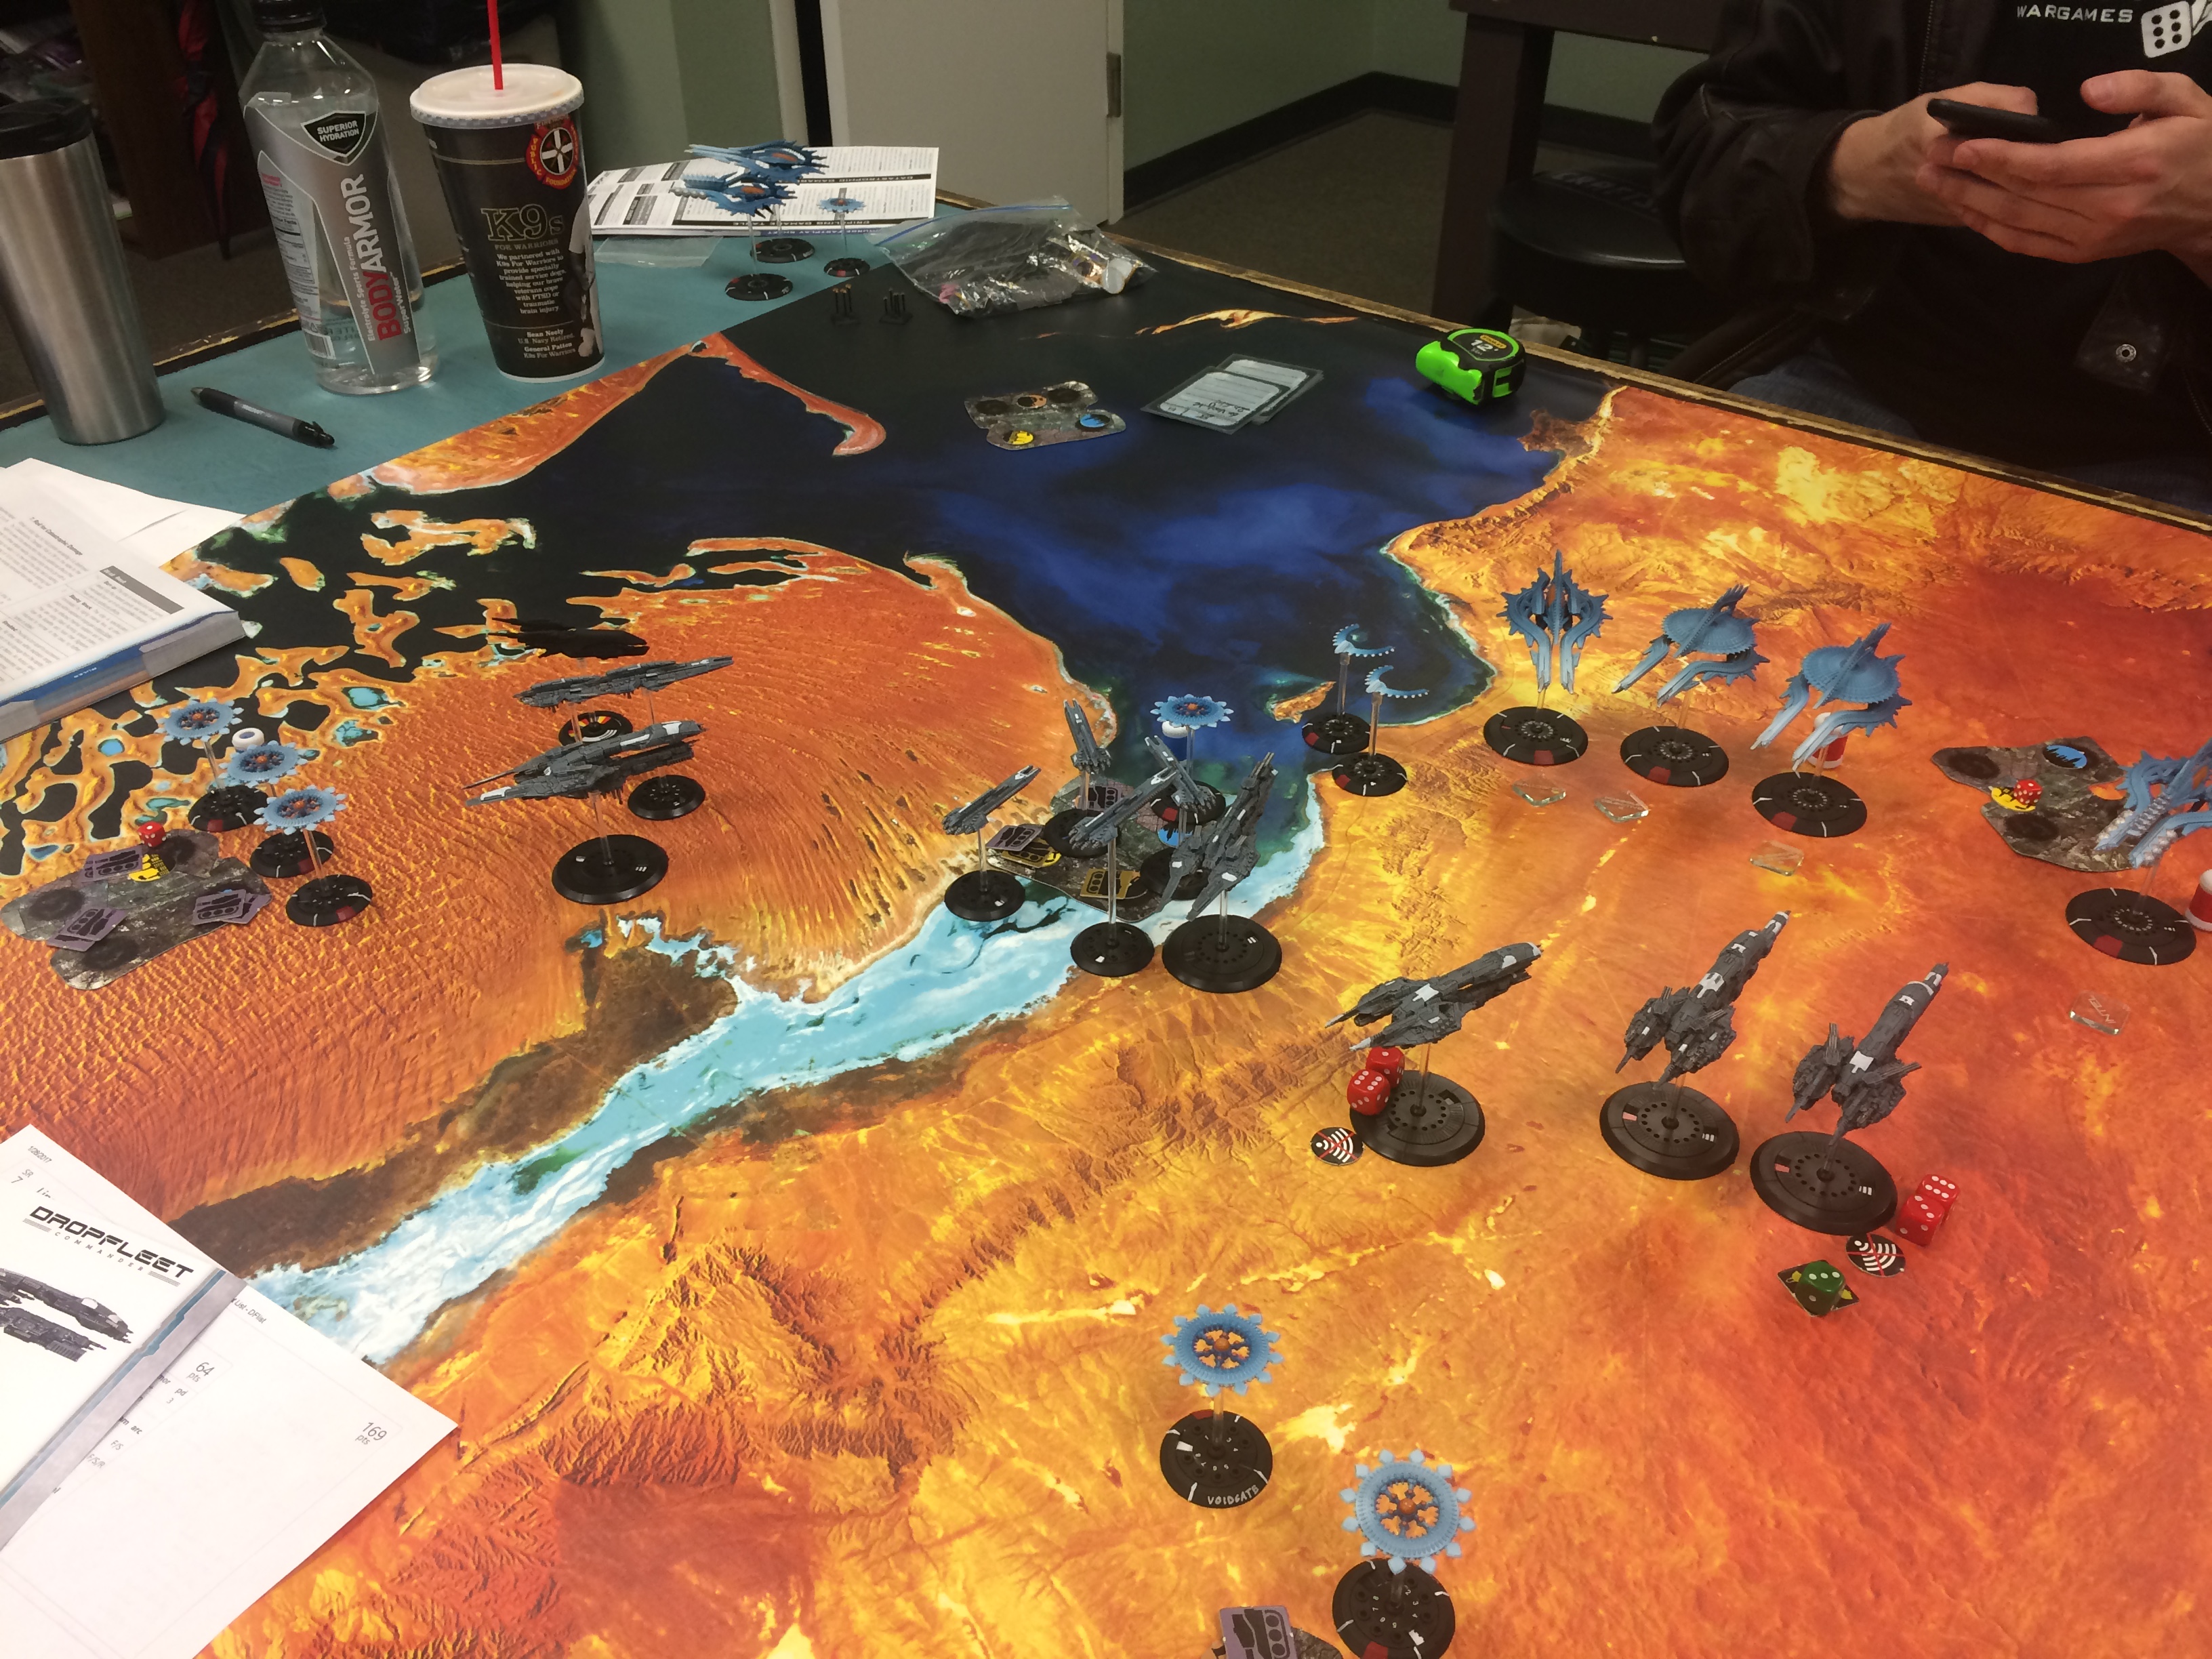
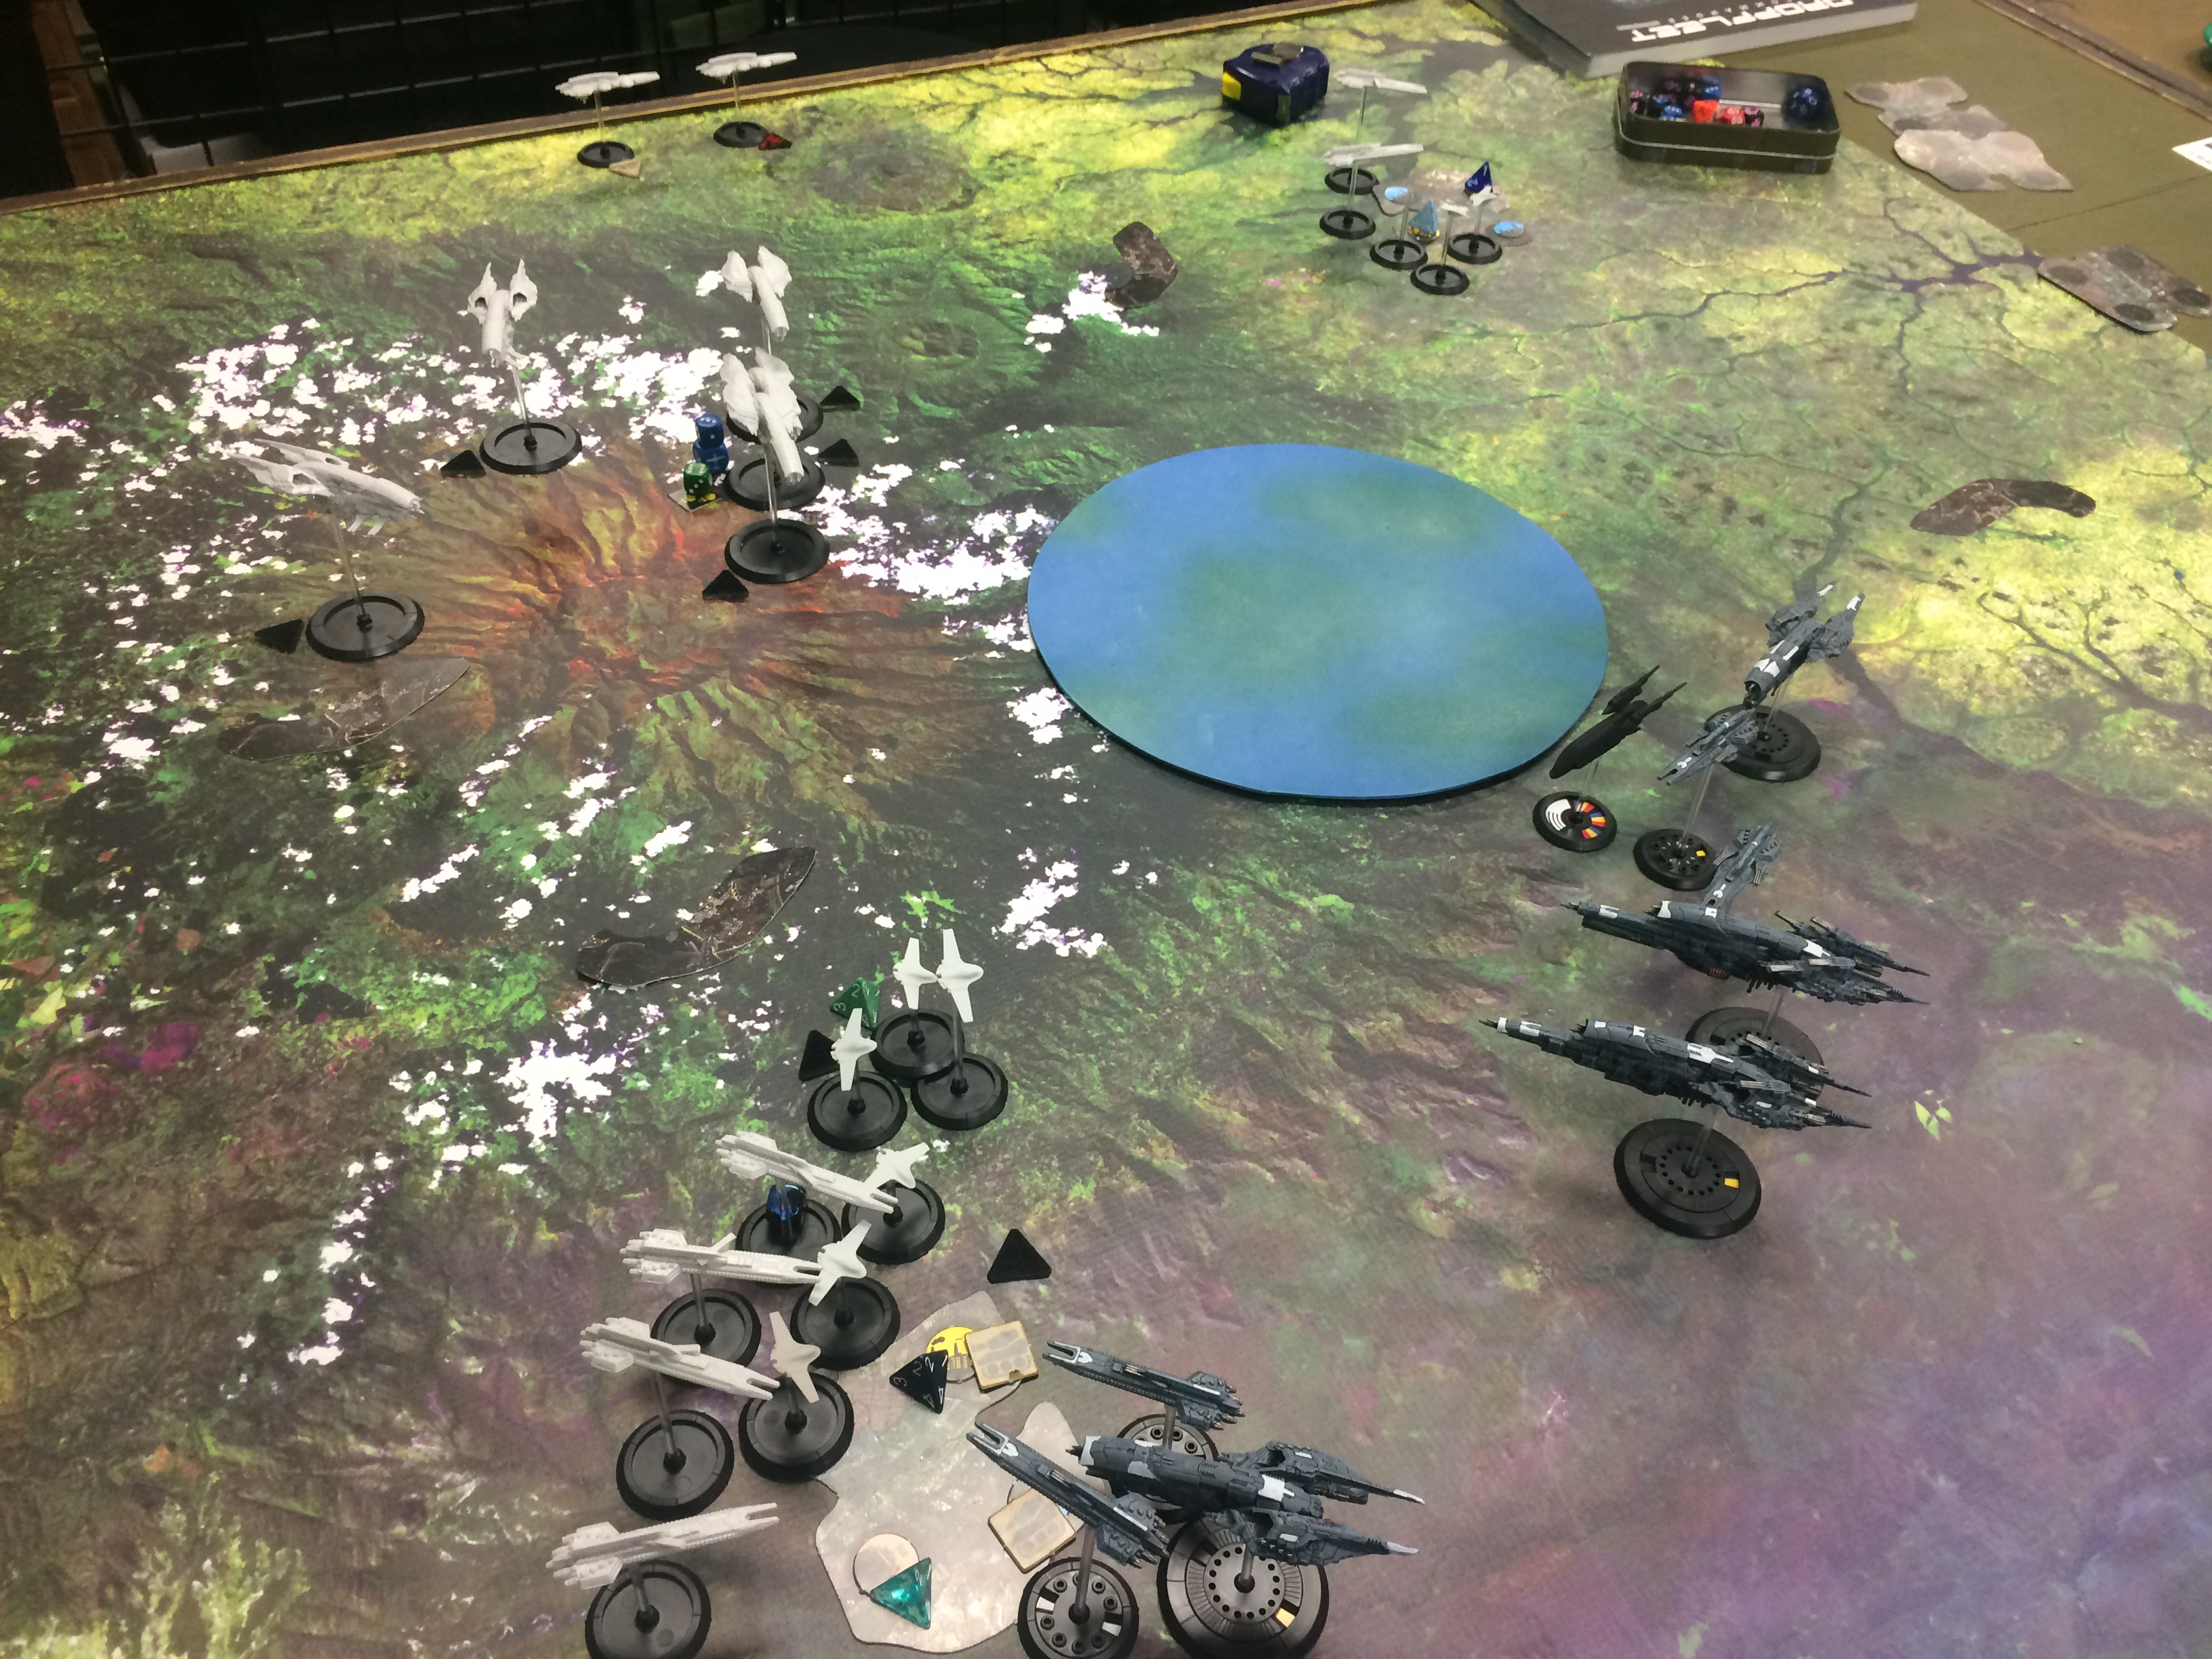
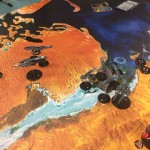
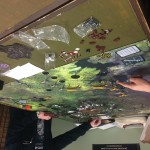
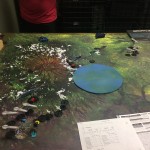
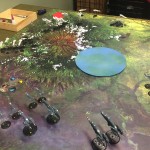
For the second game, I would be facing Scott, the organizer of the event, and his Shaltari. This time around it was Scenario 3, Erupting Battlefront. There were two things I found interesting about this scenario: First, there was a planetary ring bisecting the battlefield. Second, the Rapid Reaction approach added a lot of uncertainty as to when our battlegroups would arrive. This game awarded points for bombarding the sectors on our starting side of the board, but I quickly discovered that destroying a sector without dedicated bombardment weapons was very difficult!
Turn 1, I brought on my Vanguard group with its two battlecruisers, while Scott brought on a total of 6 void gates and 2 corvettes in a Pathfinder group.
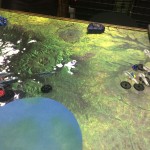
For turn 2, I had better luck than Scott and was able to bring in all three of my remaining battlegroups, while he was limited to 2 more.I was able to kill one void gate on the right flank, while his heavy cruisers were able to severely damage one of the sectors on his side of the table.
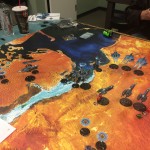
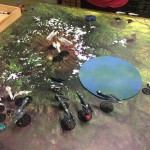
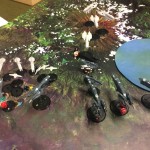
 Turn 3 is when things got interesting. Scott was able to get the three void gates on my left flank to the cluster there and drop them to atmosphere before I could get a shot at them. I quickly discovered that trying to take out gates once they got into atmosphere with a Rio and three Toulons was a losing game! This meant that the Shaltari wold quickly have a big numbers advantage on that cluster. Our carriers exchanged waves of bombers, without a lot of damage either way. Both of us were able to get ground assets onto the center objective, and Scott finished off the damaged sector on his side of the board.
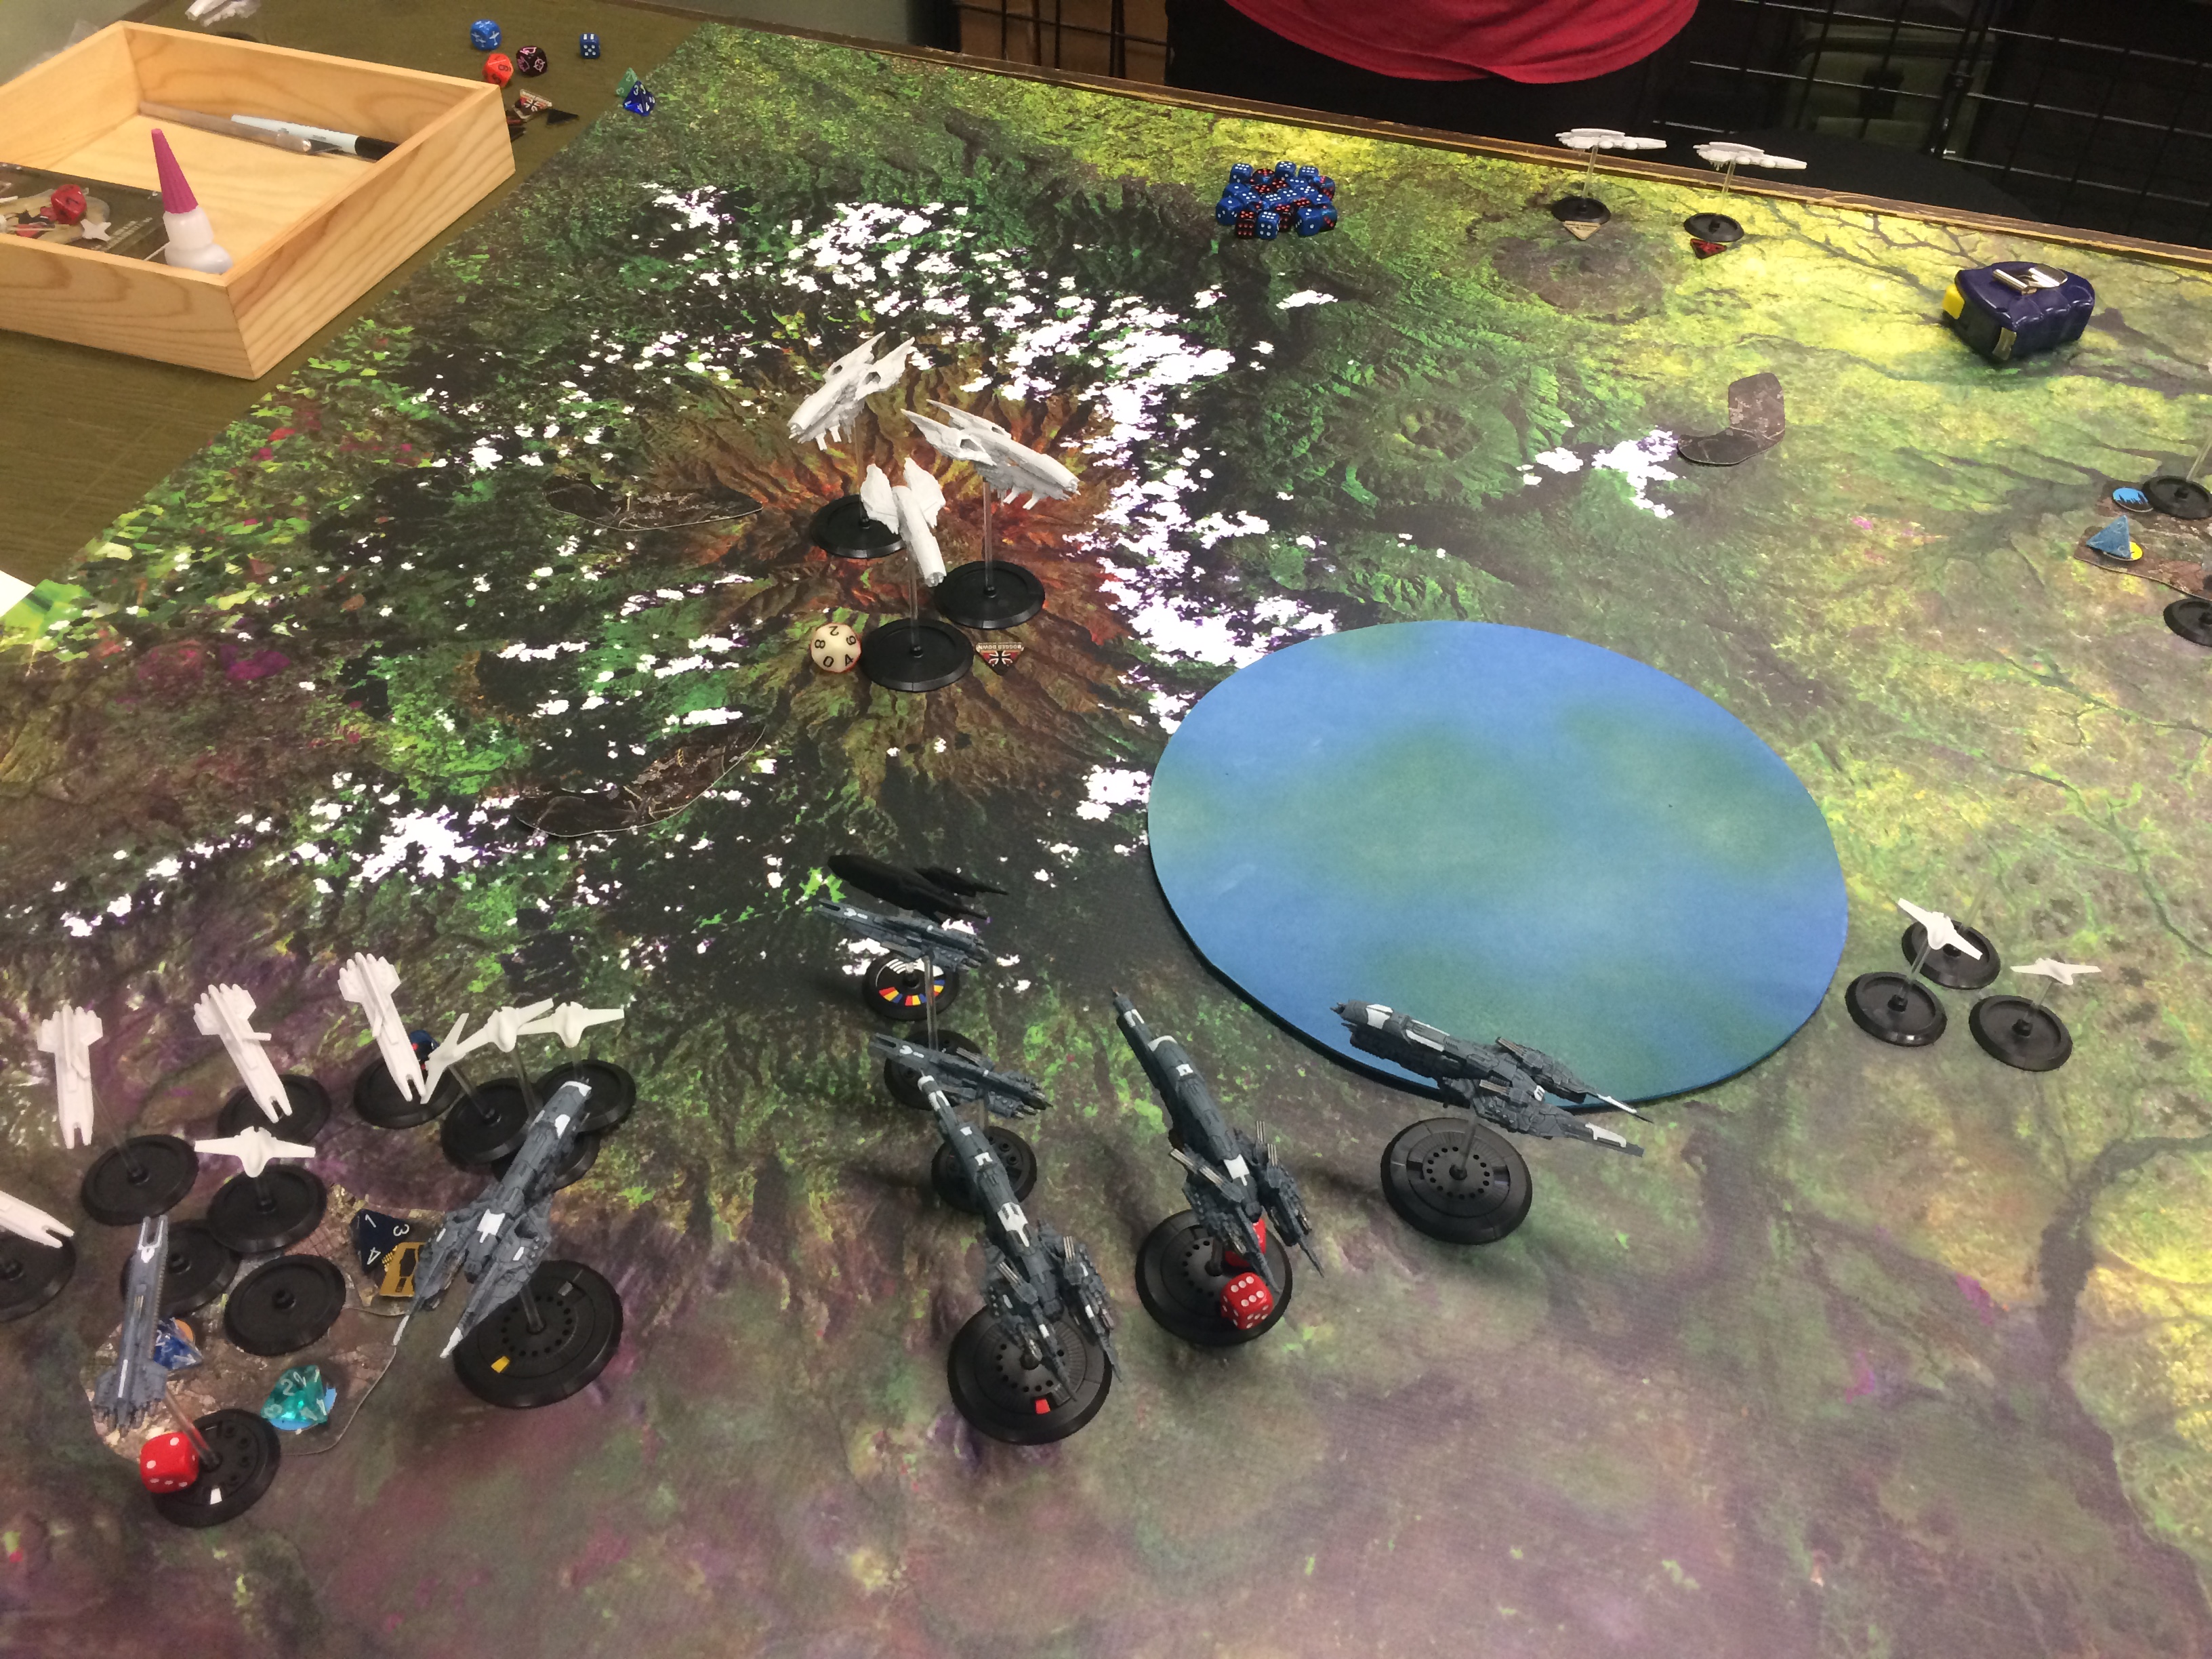
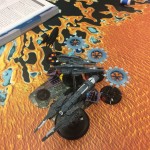
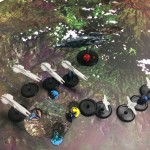
 Turn 4, I was introduced to the impressive range of Shaltari “close” action weapons, as the two main parts of our fleets met on my right flank. Lots of shots were exchanged, and Scott activated his shields to protect as much of his fleet as possible. My Avalon BC and Seattle CV took the brunt of the return fire, but were still in the action at the end of the turn. Meanwhile, the trickle of Shaltari ground units became a flood, as Scott’s voidgates began disgorging hordes of Shaltari armor.
Turn 5, I was able to finish off both of Scott’s cruisers and one carrier, and started heading towards the left rear objective with my Pathfinder group in preparation for scoring next turn. This was where I was introduced to the full force of “Shaltnanigans,” As Scott managed to overwhelm the central objective by teleporting in most of the ground units he had landed on the two objectives on my side of the table.
Turn 6, I managed to finish off the other Shaltari carrier, but both mother ships survived. Ultimately, Scott drastically outscored me on the ground, though I had destroyed much of his fleet and didn’t lose a single ship in return! I lost the game with a final score of 16 to 23.
Round 3
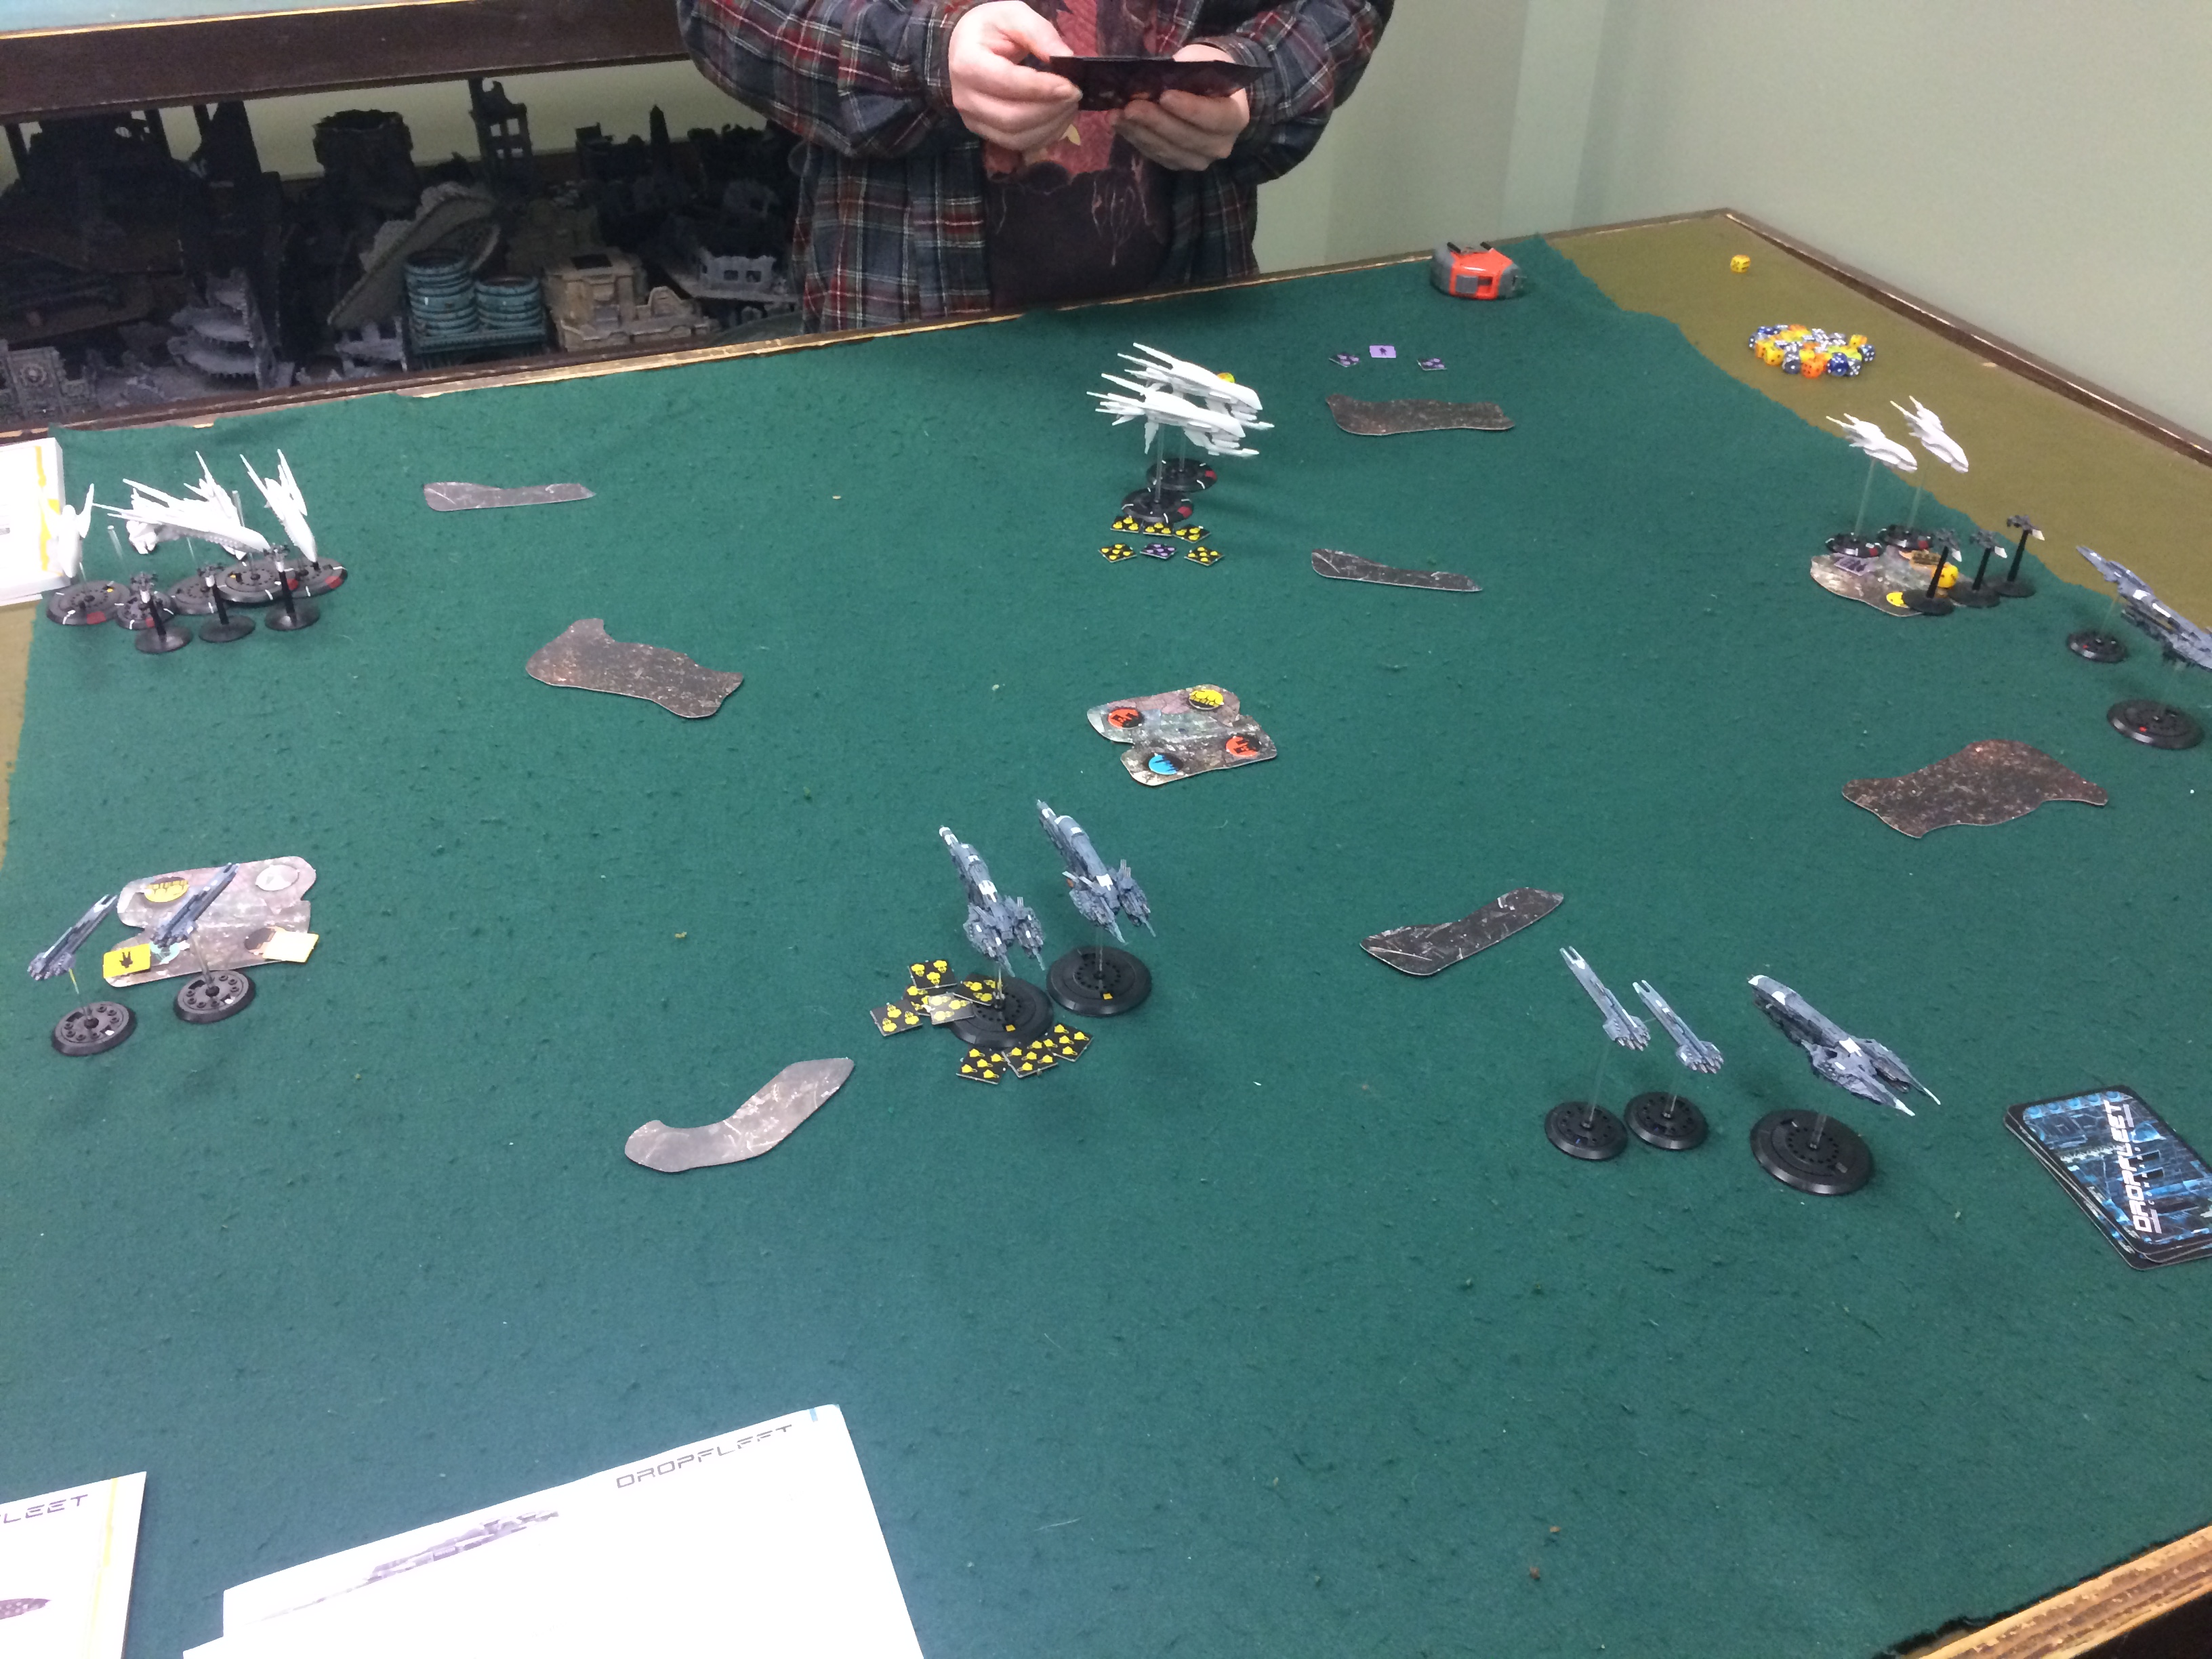
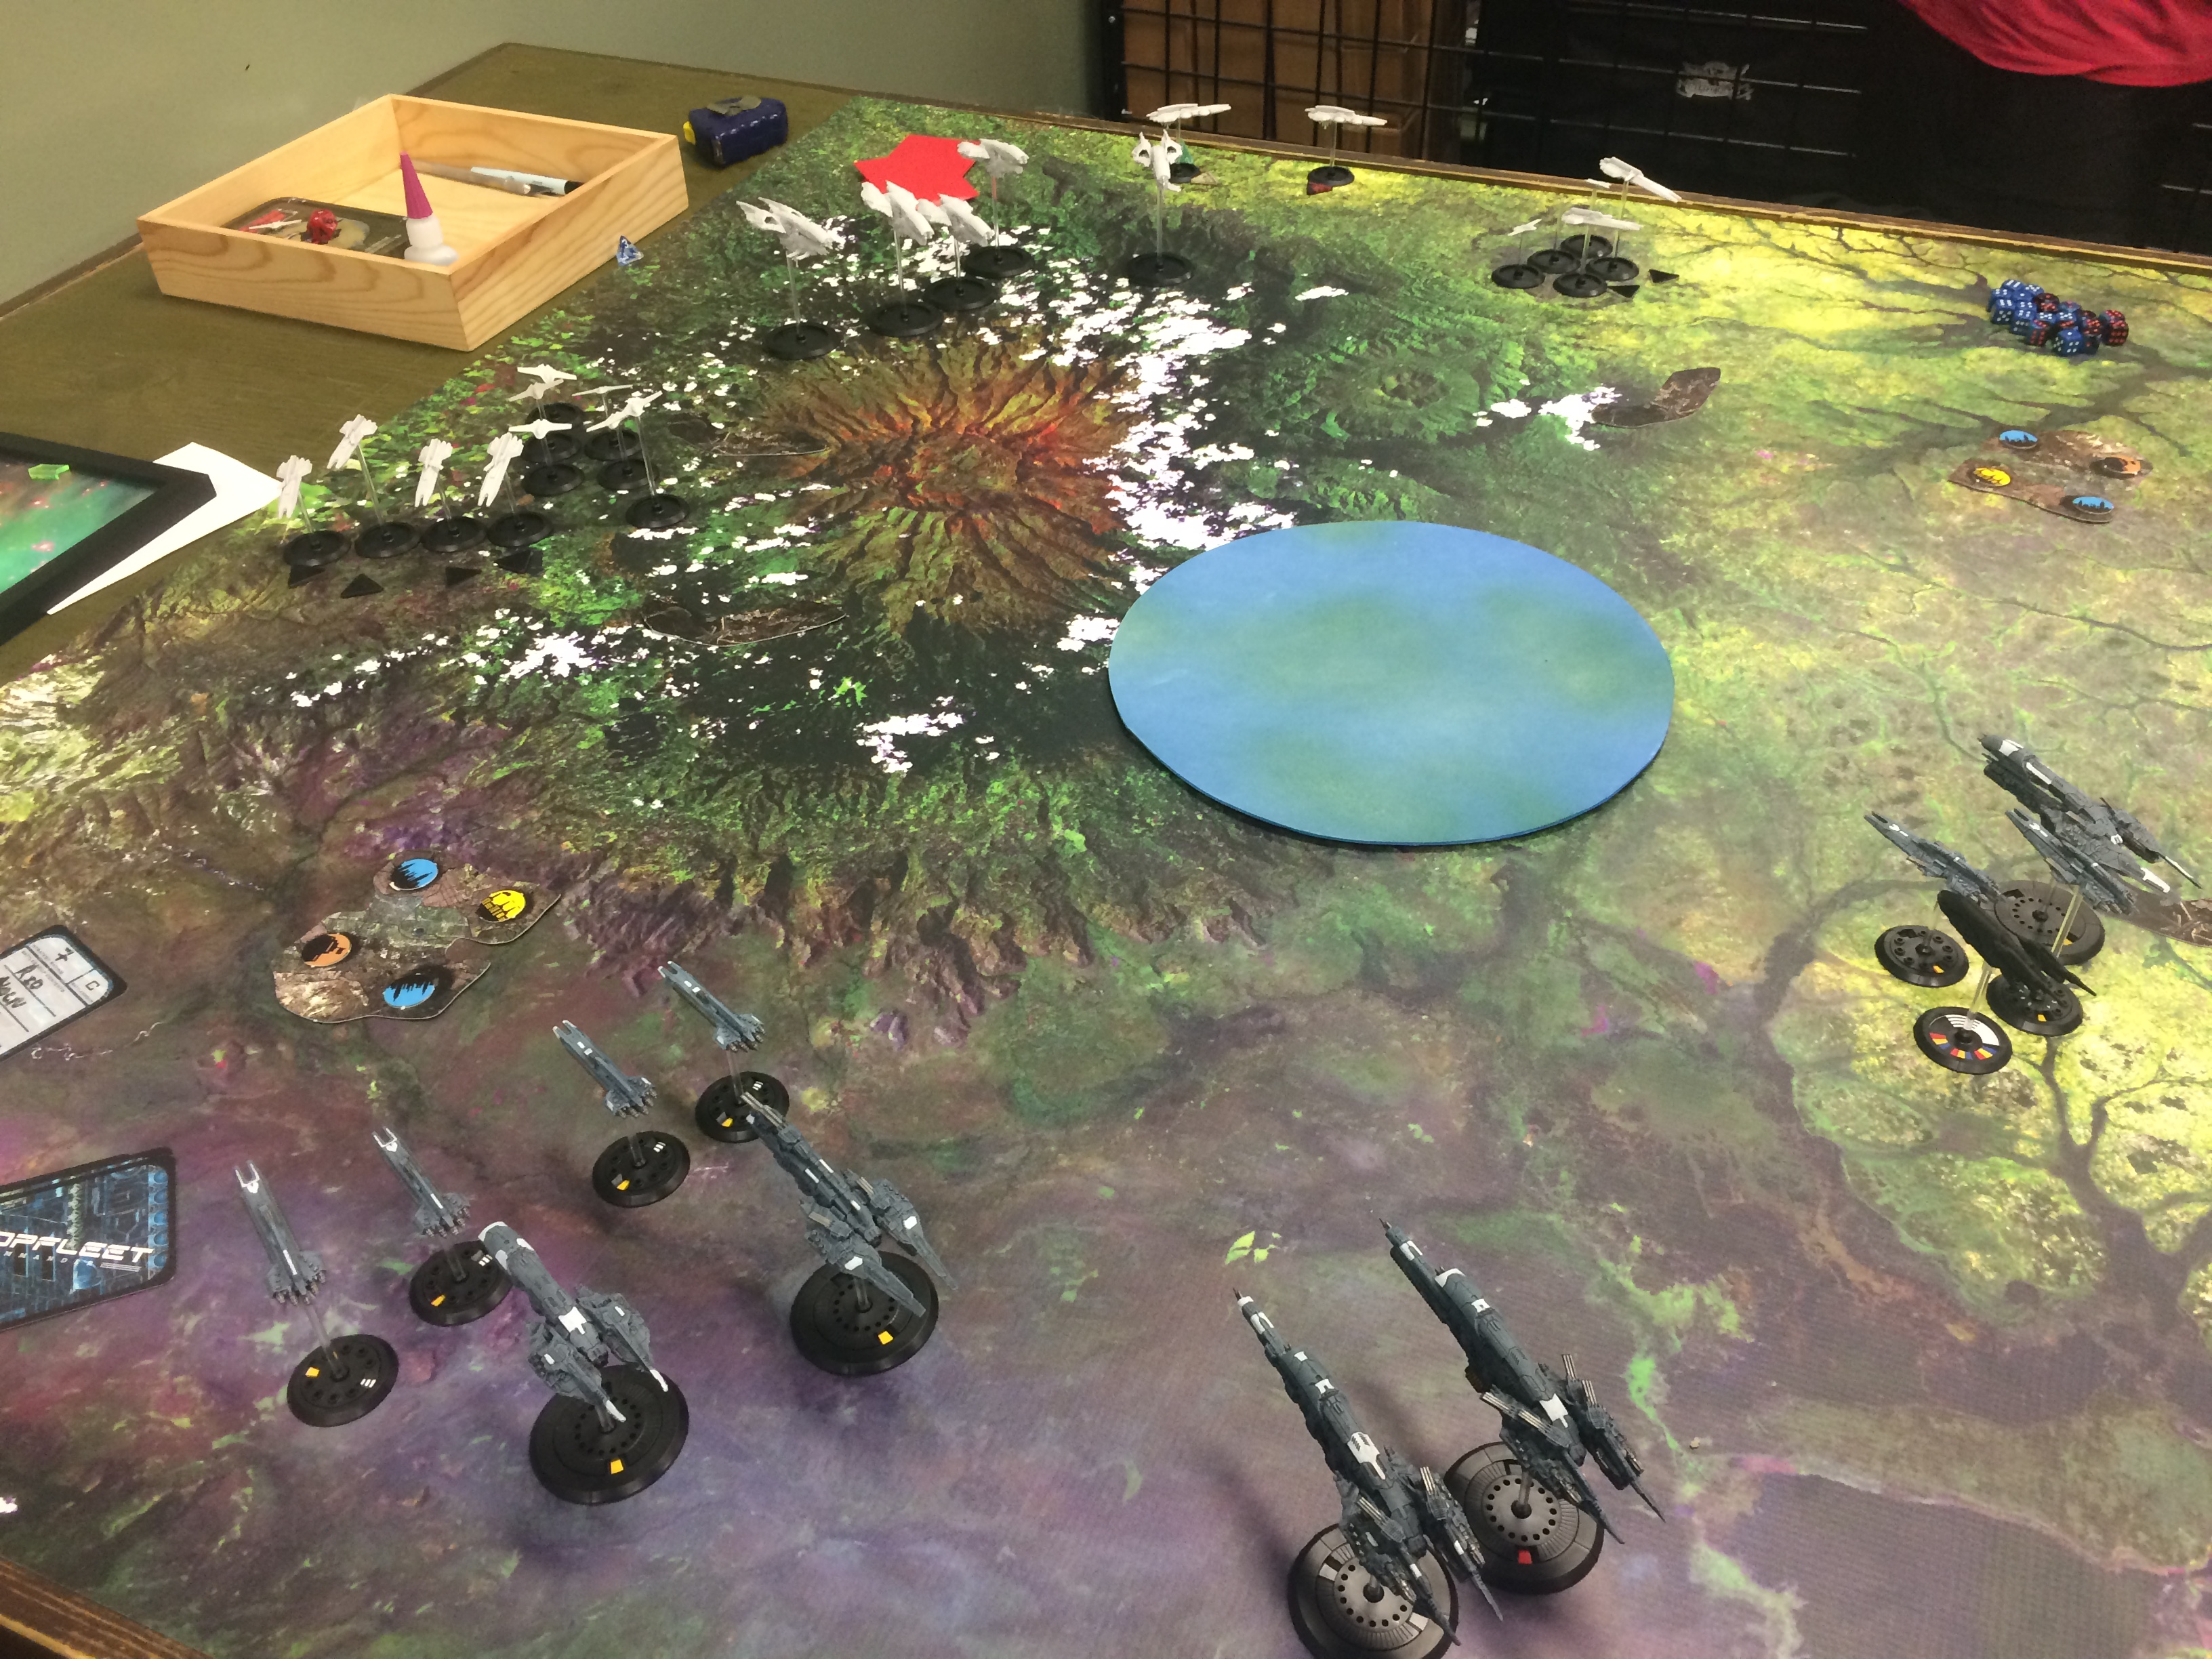
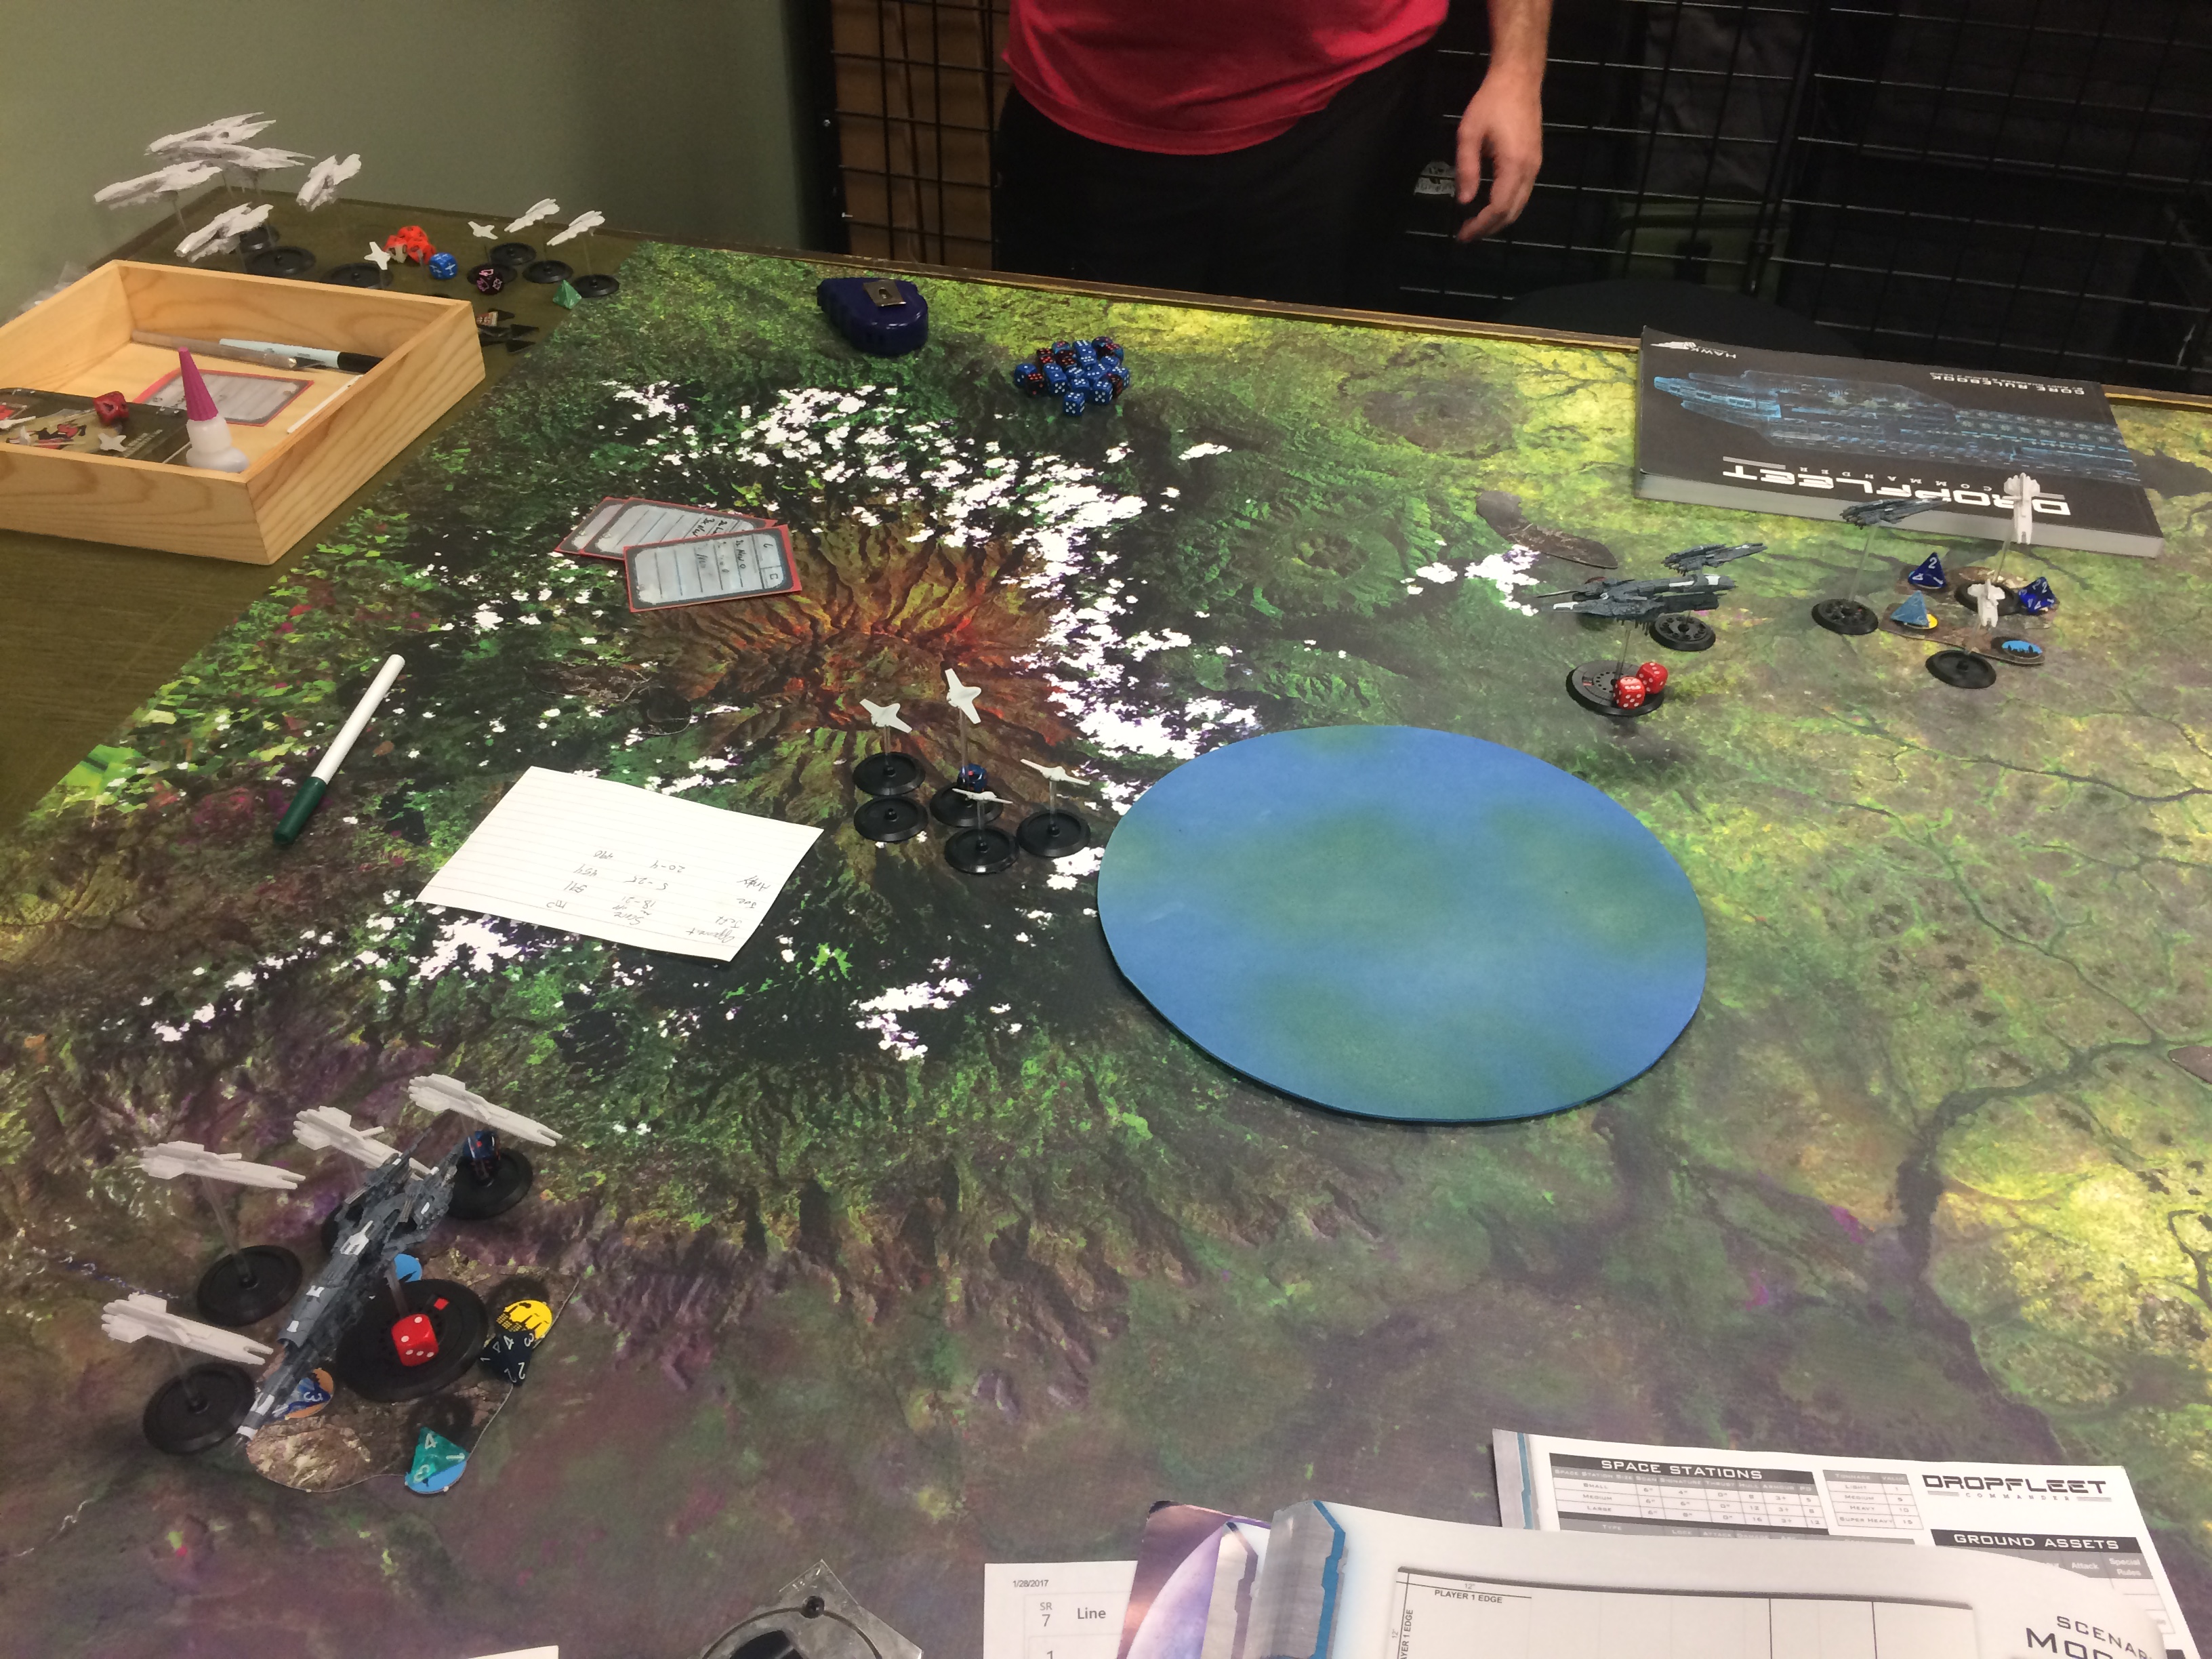
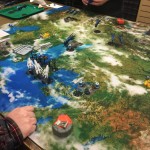
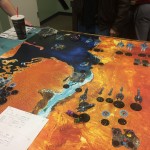
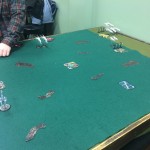
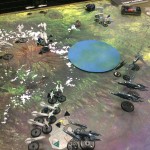
For the third and final round, I would be facing another UCM player, Scott M. He brought a very different list than mine, fielding 9 corvettes and three New Cairo light cruisers. We were playing Scenario 5 for this round, Moonshot. The center of the table was dominated by a Large Stationary Object (LSO), which made for some interesting tactical decisions about which battlegroups to deploy and where.
Turn 1, I sent most of my fleet towards the cluster on my left flank, with the exception of my Pathfinder group which headed towards the cluster on the right. Scott M matched my moves for the most part, and sent most of his dropships towards the cluster on my left.
Turn 2, I decided to abandon the cluster on my right and move my Pathfinder group clockwise around the LSO to support the rest of my fleet. Scott M used his Lima to light up my Avalon and put some damage into it with the New Cairos. Meanwhile, our dropships and Scott’s corvettes dropped to atmosphere over the left cluster, and I quickly lost two dropships to his corvettes.
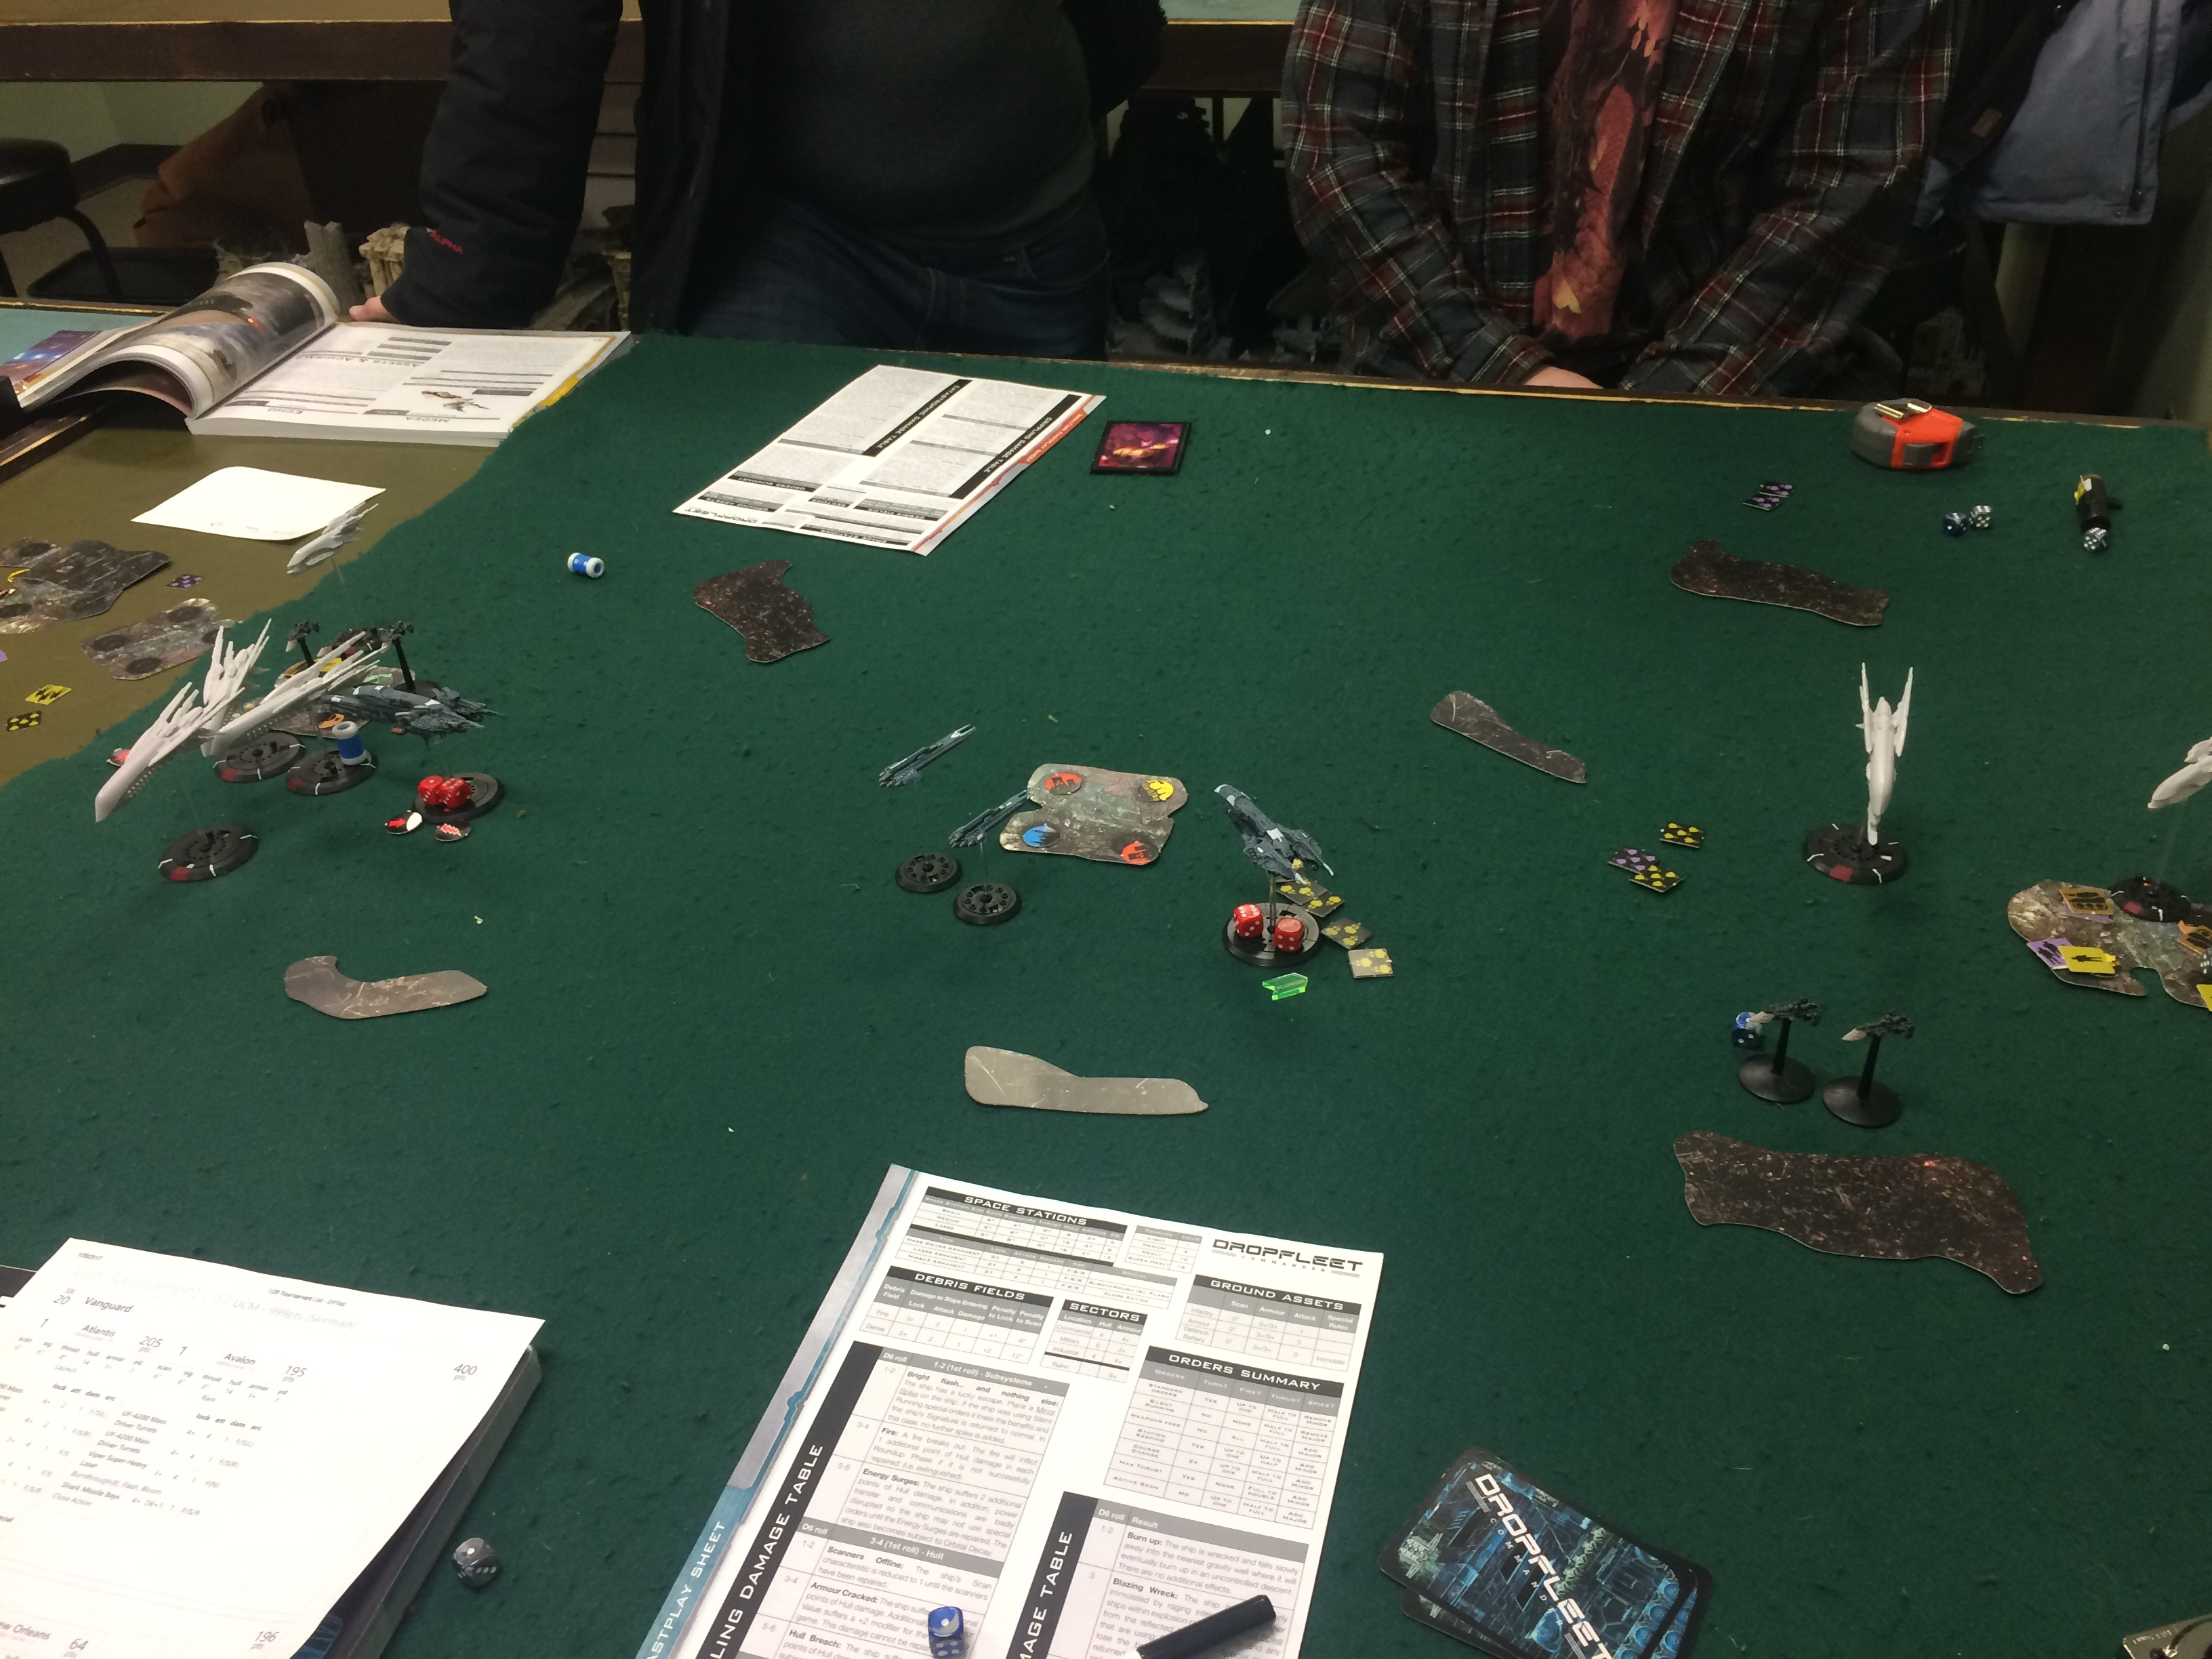
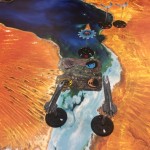
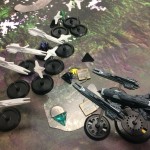
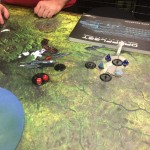
Turn three was a very bloody round. Scott M’s New Cairos continued to pound my Avalon, while my Pathfinder group and my Vanguard group responded and quickly eliminated two of the light cruisers and heavily damaged the third. Meanwhile, I lost another dropship to Scott M’s corvettes. He also started to bring the corvettes that had been over the right hand objective around the LSO so they could attack my force from behind.
Turn 4, I continued to reduce Scott’s remaining ships that he had in orbit. I manged to finish off his last light cruiser, destroy one of his carriers, and damage the other. However, he managed to finish off my Avalon, which promptly exploded caused a chain reaction with Scott M’s surviving Seattle, and caused all kinds of havoc! When the dust had settled, my Atlantis, Berlin and two Toulons were still in action, and Scott M’s Seattle and two Corvettes he had sent to shadow me were gone. However, his other corvettes came out of atmosphere and managed to destroy my Seattle. This changed my plans somewhat, as I was planning on keeping the Seattle over the right objective to contest the space above it. Scott M also finished off my last New Orleans, meaning I was effectively out of the ground fight. In Turn 5, I kept my Atlantis close to the left cluster, and sent the rest of my fleet toward the right hand cluster to try and get into position to contest it in turn 6.
In the last turn, I was able to kill another couple of corvettes and his two Limas. I was also able to contest the space above the two clusters, but Scott M had control of the ground itself. I lost this round with a score of 4 to 30.
Conclusion
This was a great event, and thanks a lot to Scott for running it for us! I learned a lot, and feel much more conversant about the game now. I still have a lot to learn to be sure, but I think I’ve got the basics down. Thanks to Jon, Scott, and Scott M for helping me along! As for the game itself, I will be putting together another post with some of my thoughts about it. For now, I’ll say that I thought the play experience was fun overall, and that I definitely know where I need to go when it comes to expanding my fleet. I was also able to pick up a few tactics that I’m eager to try in future games. I took quite a few pics during the event, not all of which I was able to fit into the post above. Check them out below if you are interested! Until next time…


Pingback: DFC: First Impressions | Man Battlestations Blog