
Introduction
Time for another DW Battle Report! This time around, it is a rematch of the game I had played a week before between myself and Last Rites. This time around, however, we were going to be playing within CDR-G’s Operation Galvanic campaign framework. This meant that we would have to modify our lists somewhat; no Dreadnoughts were allowed, and no Local Support SAS were available.
Story
The Indian Ocean is not especially large compared to the Atlantic or the vast Pacific. However, to Kapitan zur See Ruckdog, whose fleet was under constant threat of surprise attack from all directions, it seemed plenty large indeed. His Unabhängig Geschwader, or Independent Squadron, had been underway for weeks. Leaving ports in allied French territory, his force had made its way south along the Afrikan coast, rounded the Cape of Good Hope, and continued heading east towards its hoped-for rendezvous with Blazing Sun forces in the Far East. The journey had been long and perilous, transiting as it did through seas nominally controlled by hostile powers, not the least of which was the Covenant. However, “Geschwader Ruckdog,” as his fleet had been dubbed by the bureaucrats back it Imperial Prussian HQ, had managed to elude any forces sent to interdict it thus far. Which was for the best, since HQ had determined that his previous flagship, the dreadnought Mecklenburg, was needed closer to home waters. Instead, he had been forced to shift flag to the assault carrier Merkur. That was probably just as well, since his squadron had long since passed out of range of Prussian land-based air support. Now, however, Geschwader Ruckdog had to make it through one final barrier before it could join the fight in the Pacific; the Straights of Malacca. He was certain that the Britannians would attempt to contest his passage at this choke point, and so he had sent some of his lighter units, led by the battlecruiser Derfflinger, to scout ahead of his main body. His fears turned out to be well-founded when at 1100 frantic reports from the Derfflinger indicated Britannian cruisers, destroyers, and frigates were present. The battle for the straight was on!
Forces
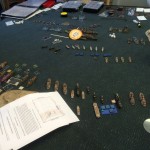
As mentioned previously, I had to modify my PE list somewhat:
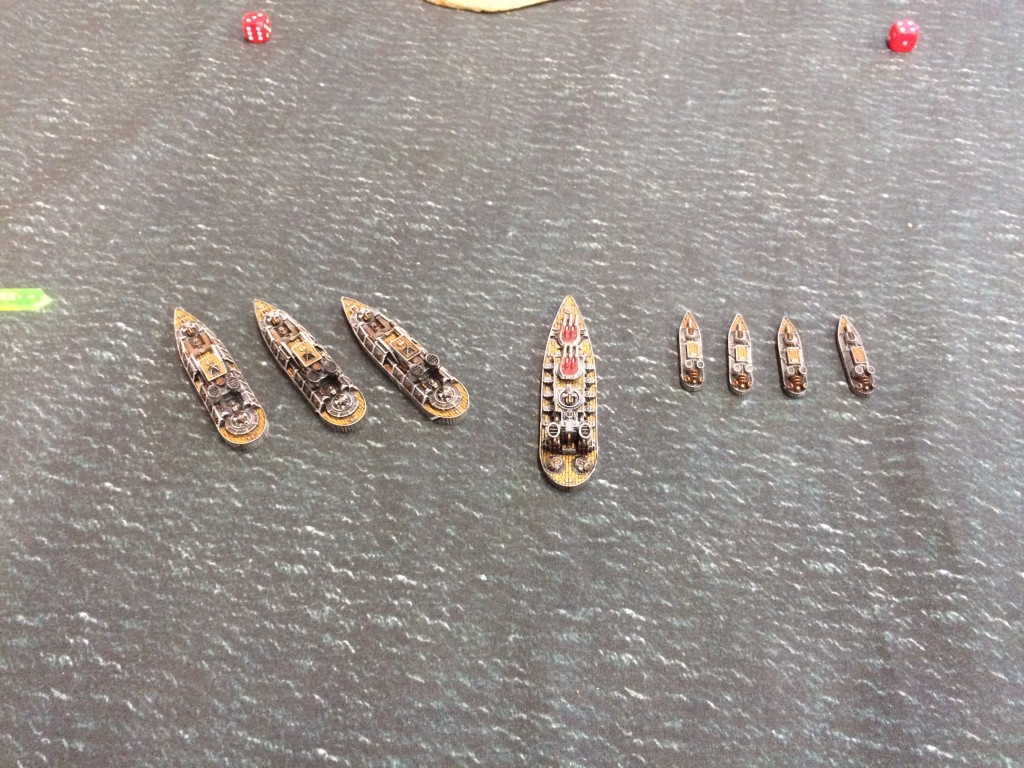
Geschwader Ruckdog
Assault Carrier Squadron (8#, 150 pts)
1 Rhine Class Assault Carrier, 130 pts
1 ATTACHMENT: Wächter Class Escort, 20 pts
Battleship Squadron (1#, 200 pts)
1 Imperator Class Battleship, 200 pts = (base cost 190) + Shield Generator 10
Fleet Submarine Squadron (2#, 165 pts)
1 Sturmbringer Class Submarine, 165 pts
Battlecruiser Squadron (1#, 110 pts)
1 Königsberg Class Battlecruiser, 110 pts
Support Cruiser Squadron (3#, 255 pts)
3 Donnerfaust Class Support Cruisers, 255 pts = 3 * 85
Frigate Squadron (4#, 120 pts)
4 Arminius Class Frigates, 120 pts = 4 * 30
Corvette Squadron (5#, 100 pts)
5 Saxony Class Corvettes, 100 pts = 5 * 20
Sky Fortress Squadron (7#, 150 pts)
1 Imperium Class Sky Fortress, 150 pts
Total: 1250 Points
Last Rite’s Britannian force was modified as well, with the main changes being adding in another submarine and removing the War Rotor:
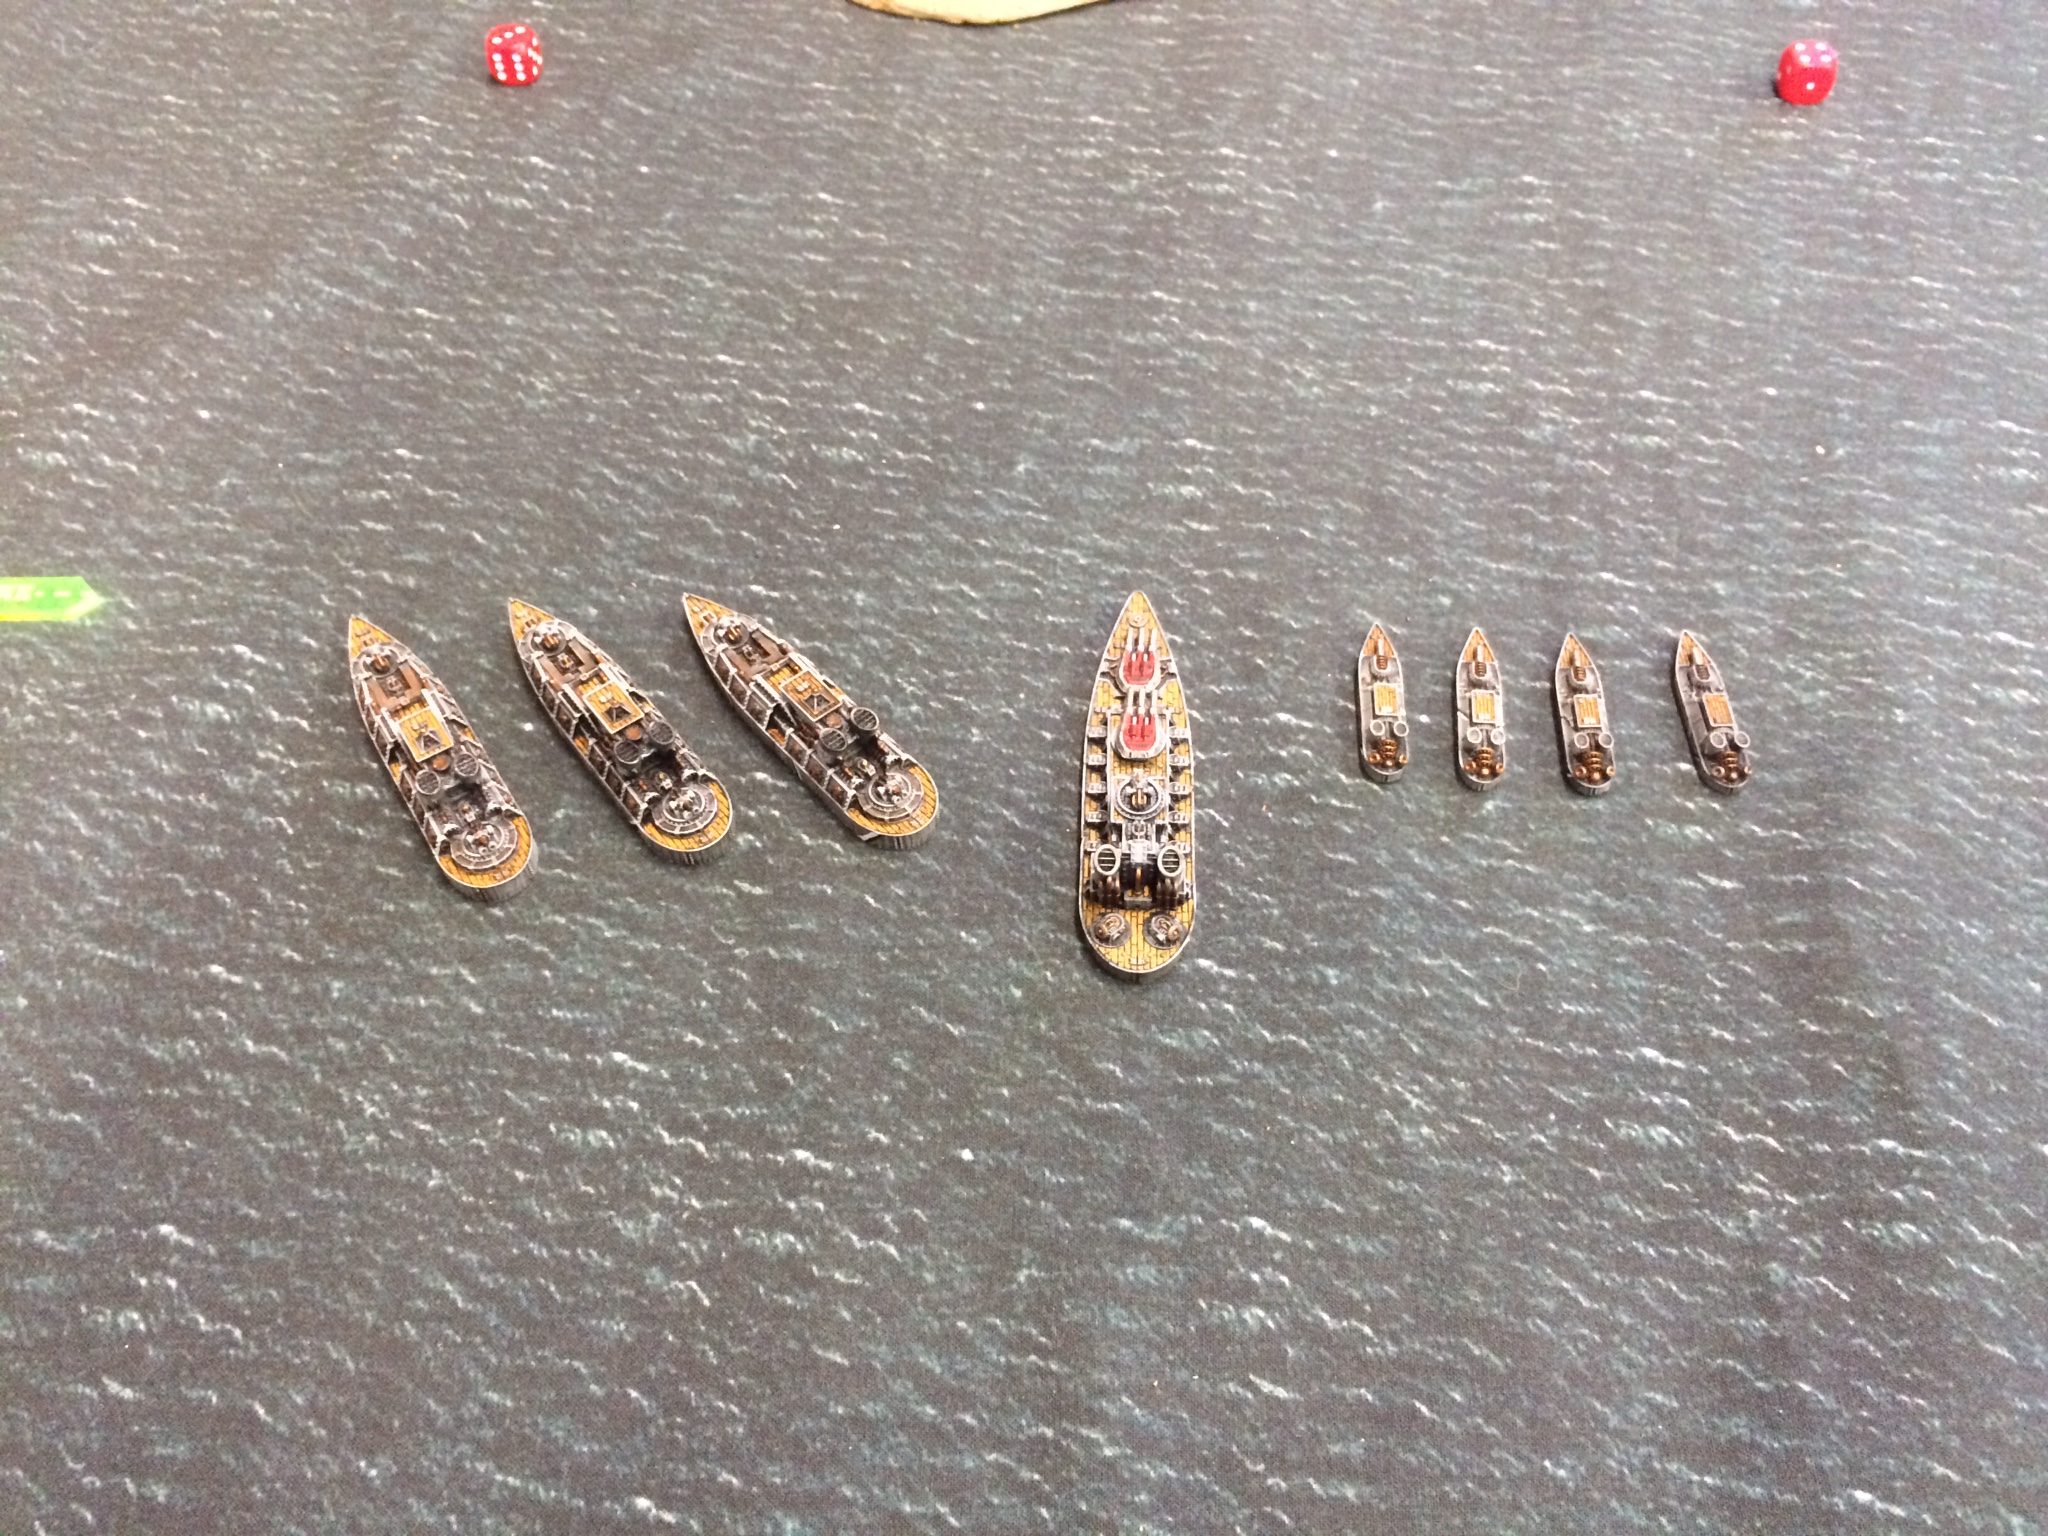
Kingdom of Britannia Force
Fleet Carrier Squadron (1#, 200 pts)
1 Avenger Class Fleet Carrier, 200 pts
Submarine Squadron (1#, 150 pts)
1 Vengeance Class Submarine, 150 pts
Battlecruiser Squadron (1#, 120 pts)
1 Lord Hood Class Battlecruiser, 120 pts = (base cost 115) + Stoic Crew 5
Cruiser Squadron (3#, 240 pts)
3 Tribal Class Cruisers, 240 pts = 3 * 80 (base cost 75 + Stoic Crew 5)
Submarine Squadron (3#, 165 pts)
3 Vanguard Class Submarines, 165 pts = 3 * 55
Heavy Destroyer Squadron (5#, 150 pts)
3 Stalwart Class Heavy Destroyers, 150 pts = 3 * 50
Corvette Squadron (5#, 100 pts)
5 Swift Class Corvettes, 100 pts = 5 * 20
Heavy Bomber Squadron (7#, 125 pts)
1 Halifax Heavy Bomber, 125 pts
Total: 1250 Points
Scenario
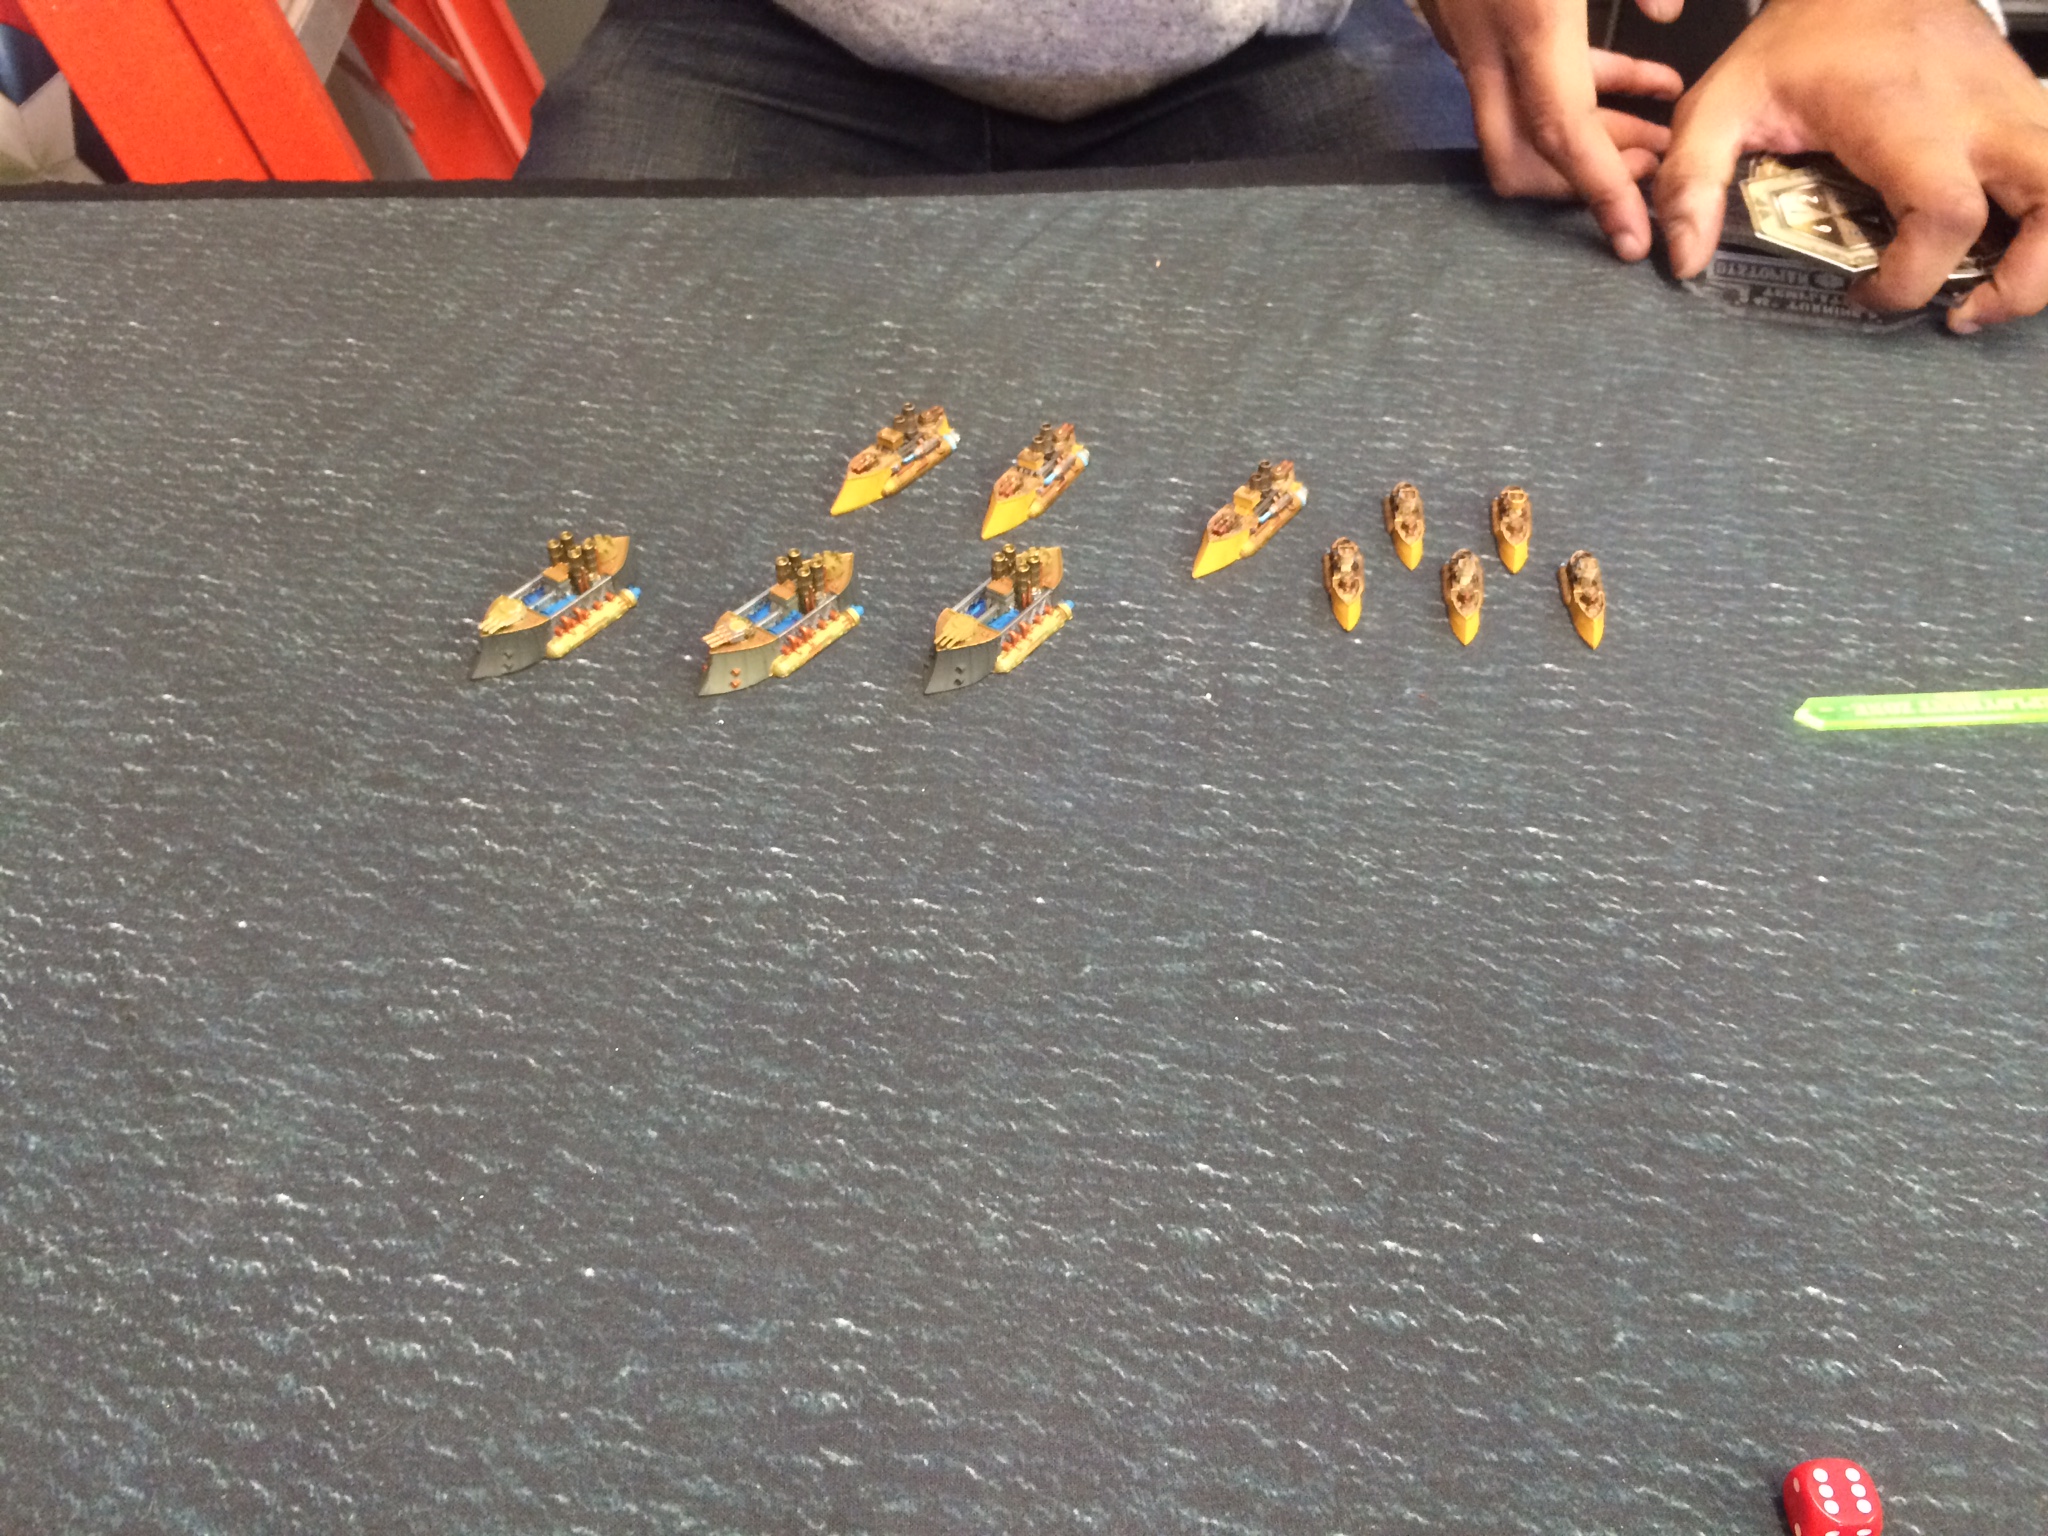
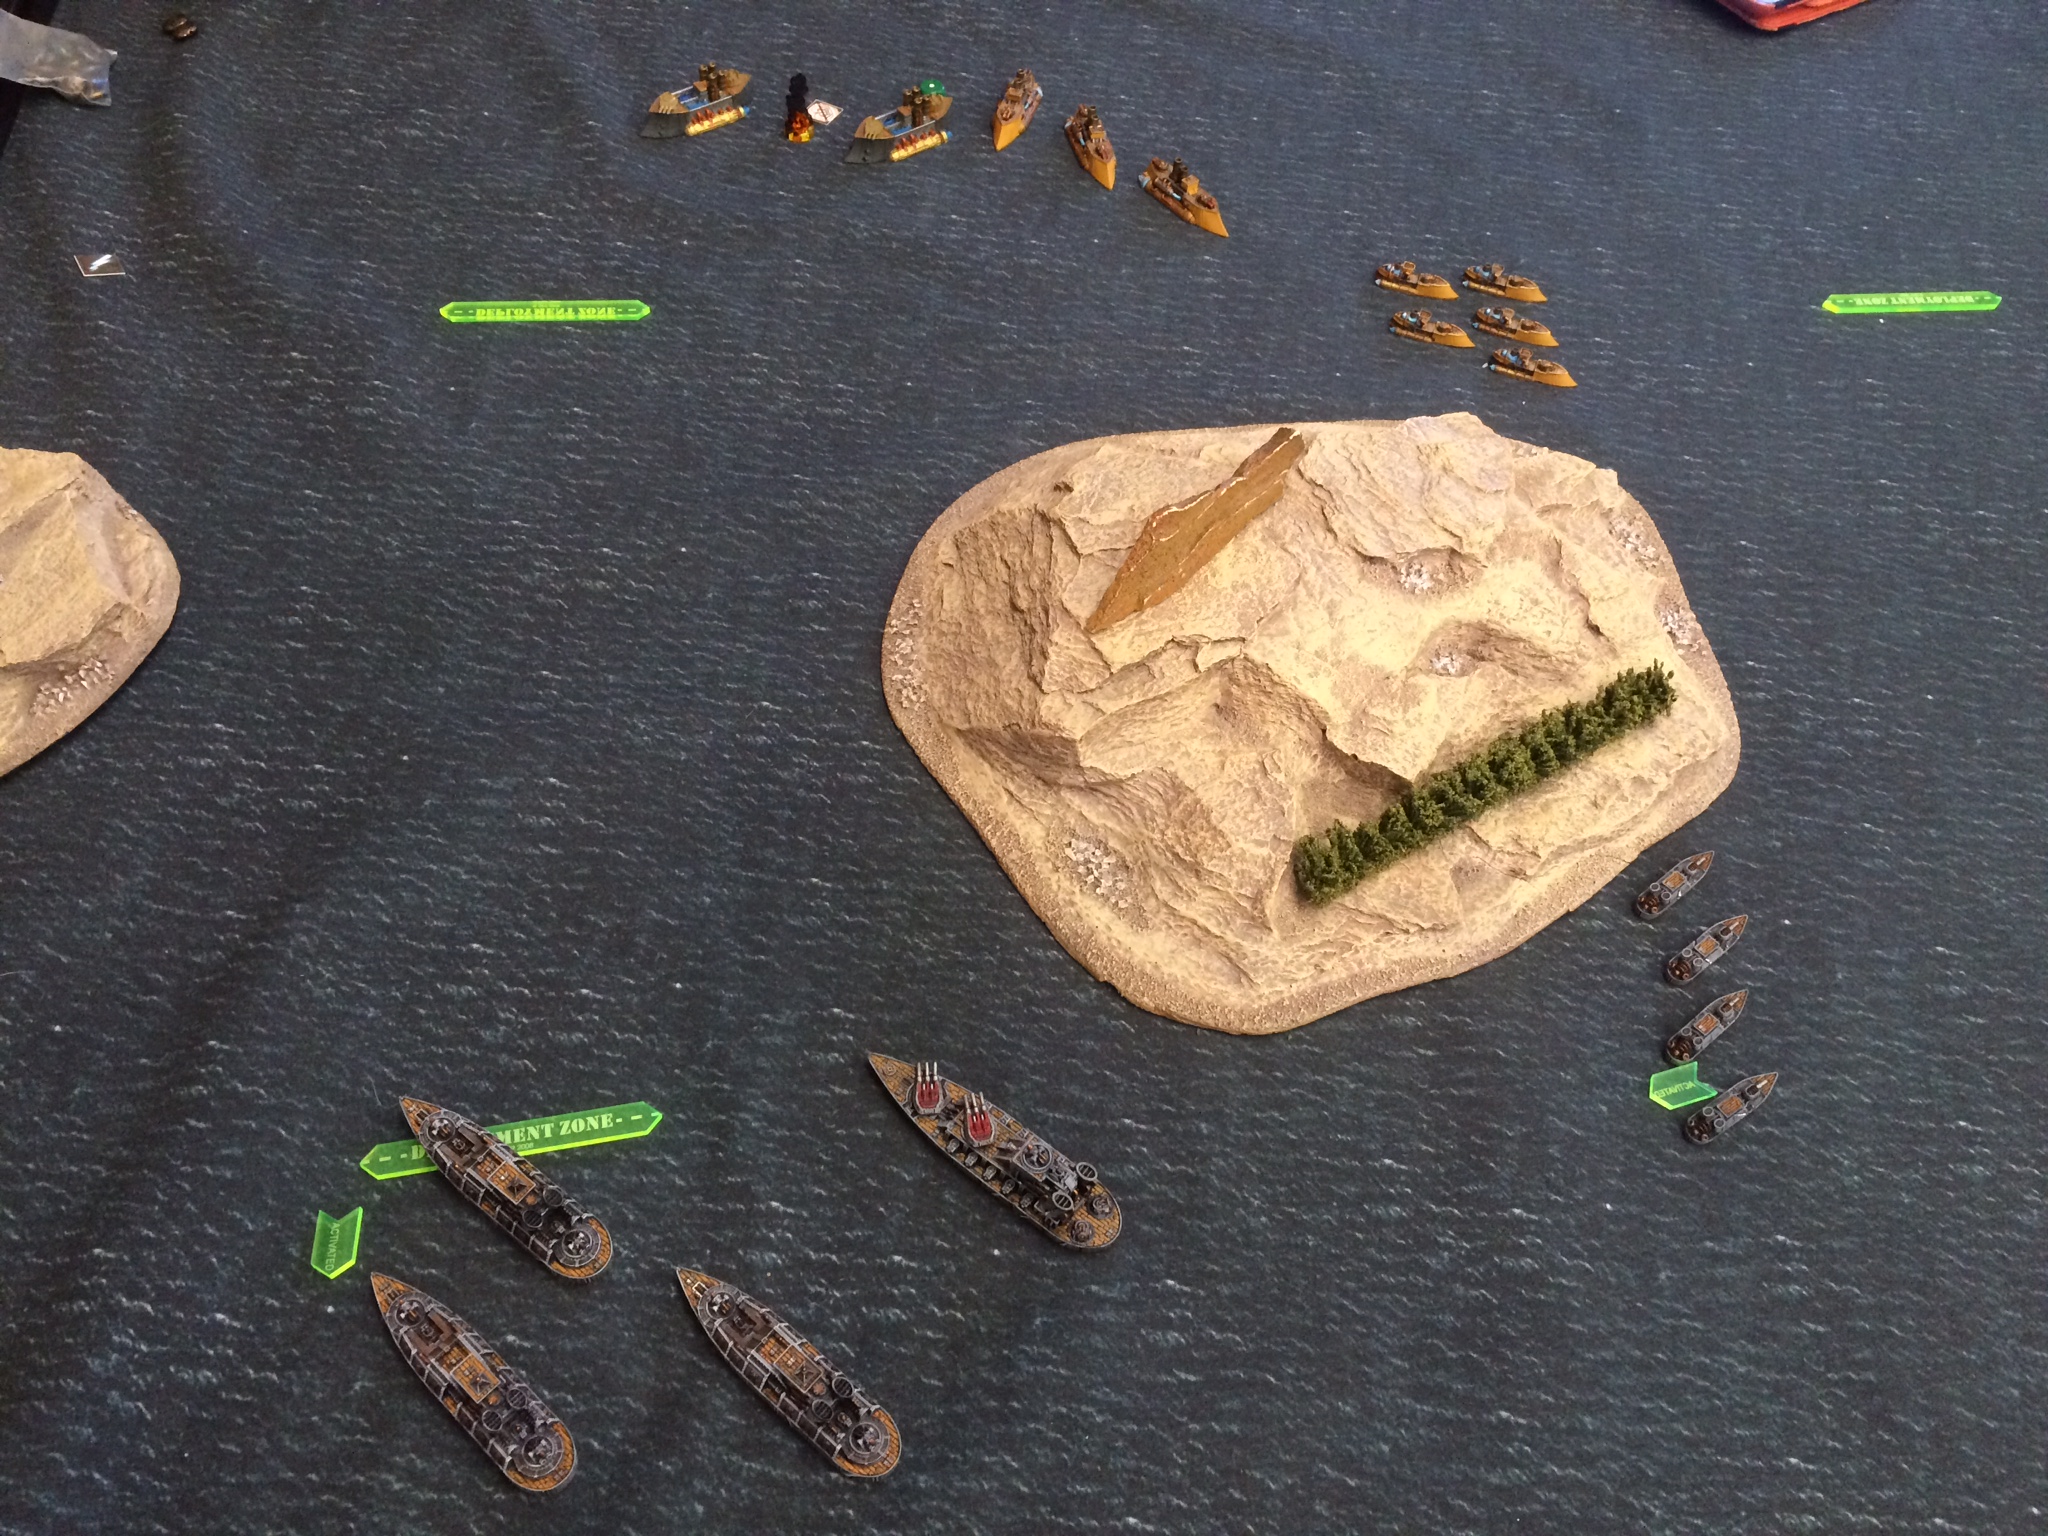
For this game, we were playing the Take The Straight scenario as part of the Operation Galvanic campaign. This scenario require both of us to seperate out up to 500 points of our fleet and deploy it as an Advance Force. This force would then fight for two turns before the rest of our fleets arrived.
Setup
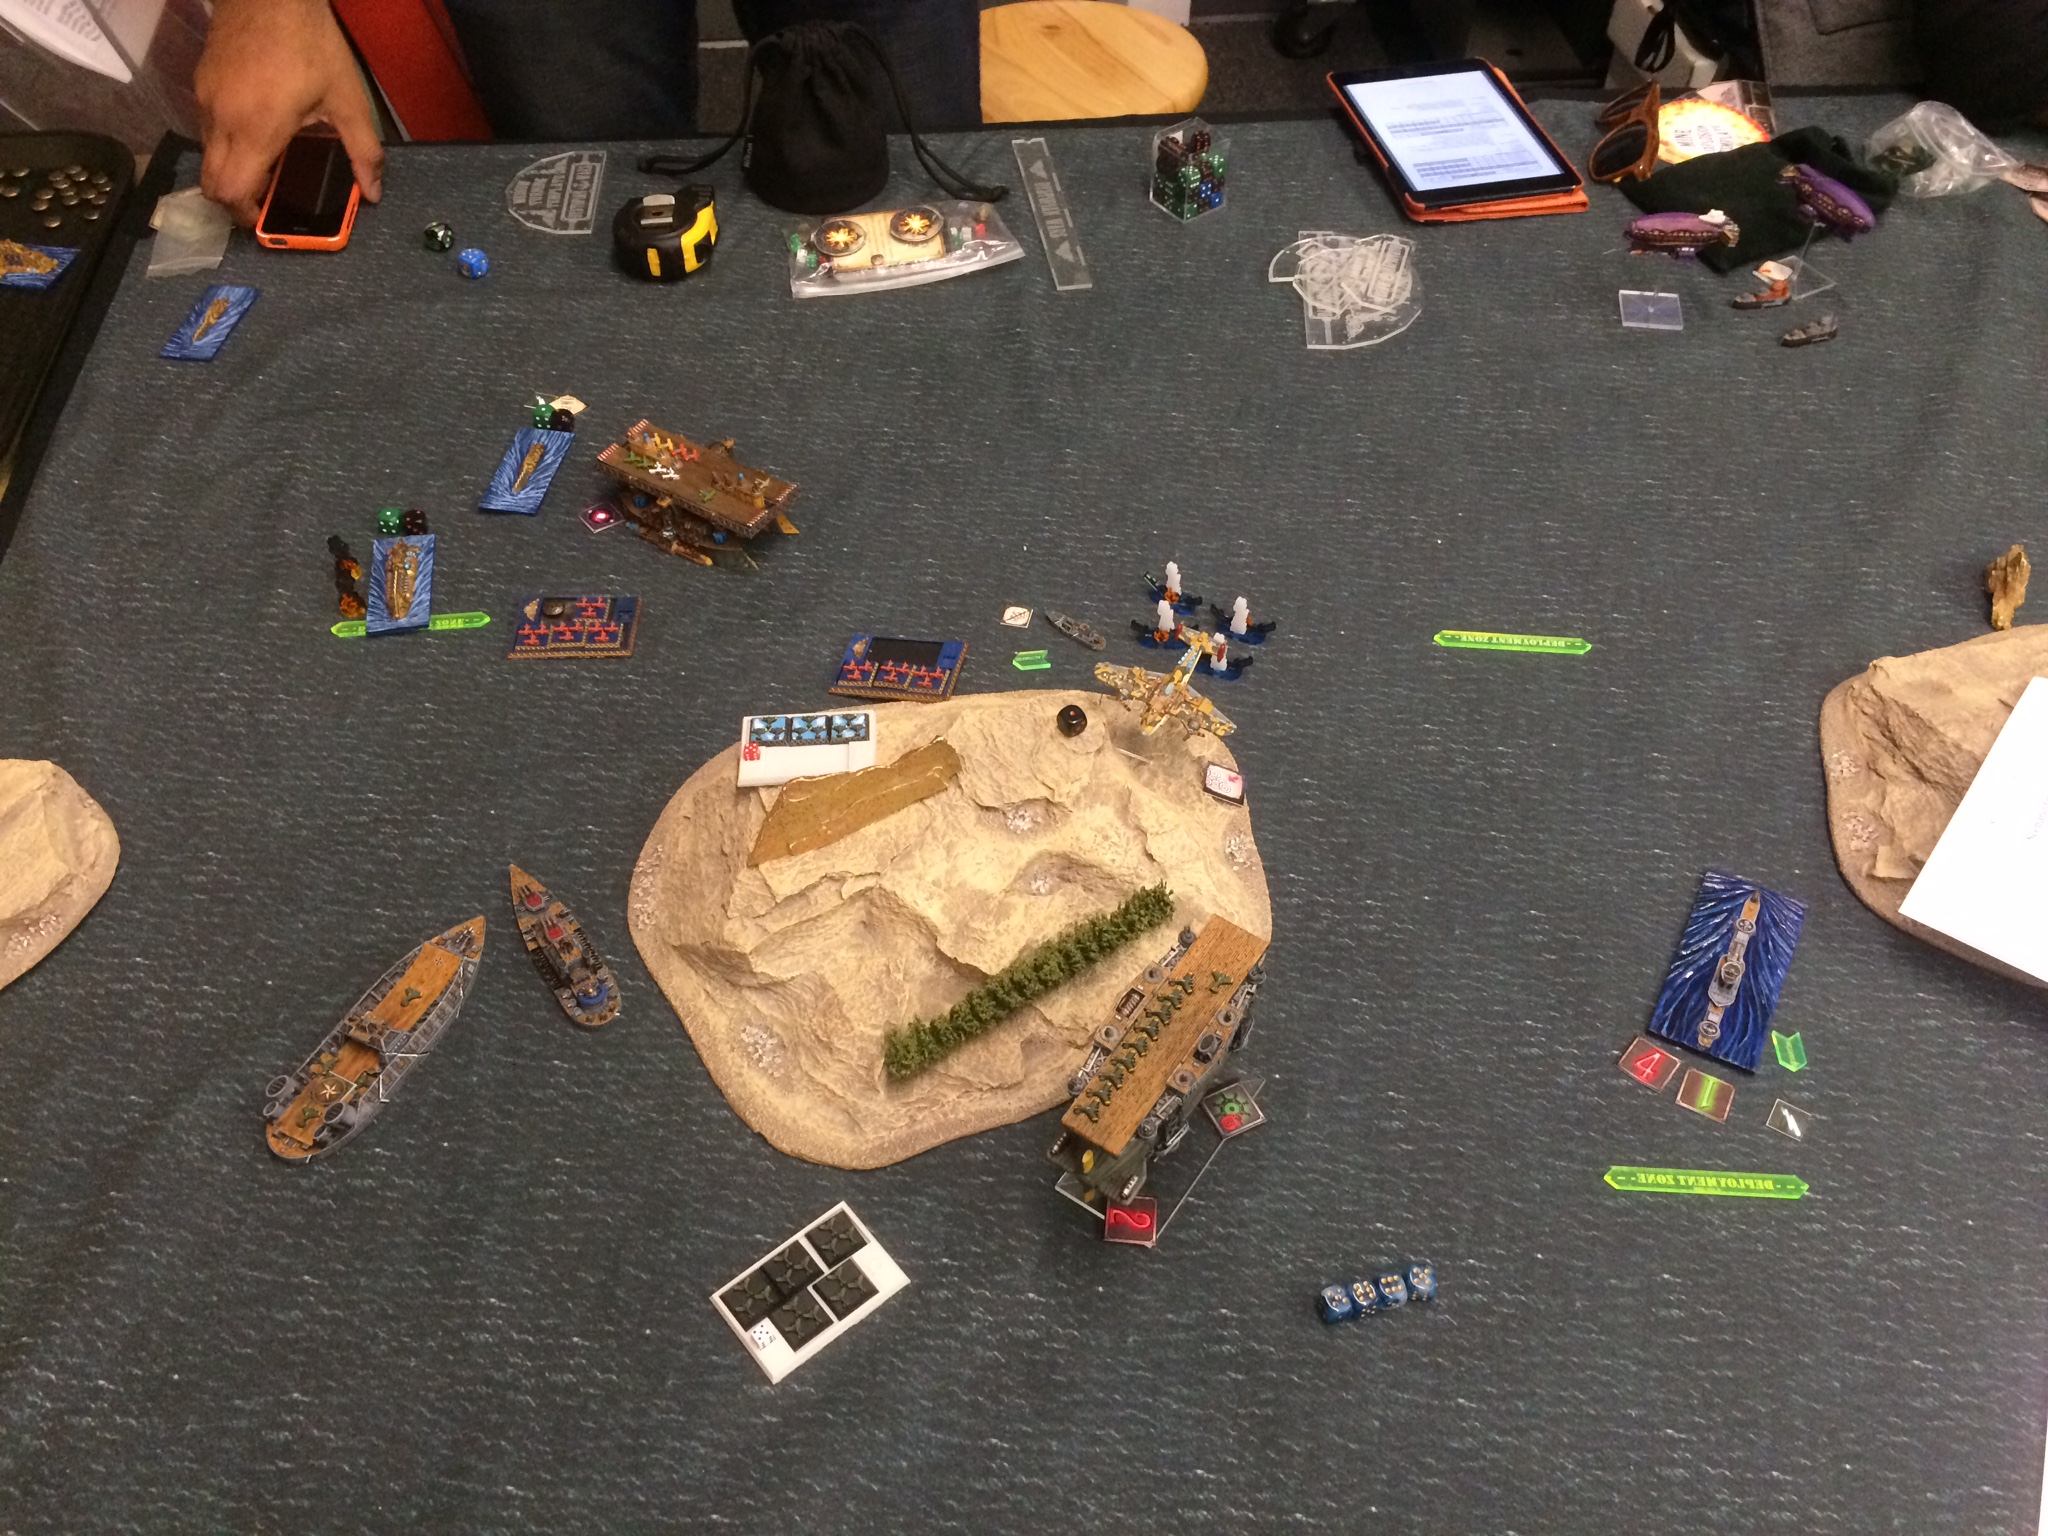
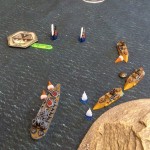
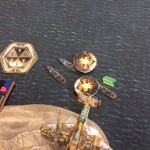
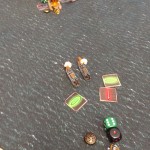
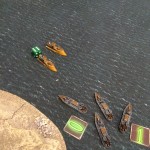
Here is both of our Advance Forces deployed:
 Turn 1
As our two forces closed, the left side of the straight became the main point of contact. My Support Cruiser squadron and Battlecruiser savaging the Britannian cruiser squadron, sinking one. The Britannians, unnerved by the loss of the cruiser and their Commodore not yet on the scene, lost their break check and became disordered!
 Turn 2
The Britannians won initiative this round, starting the turn off with t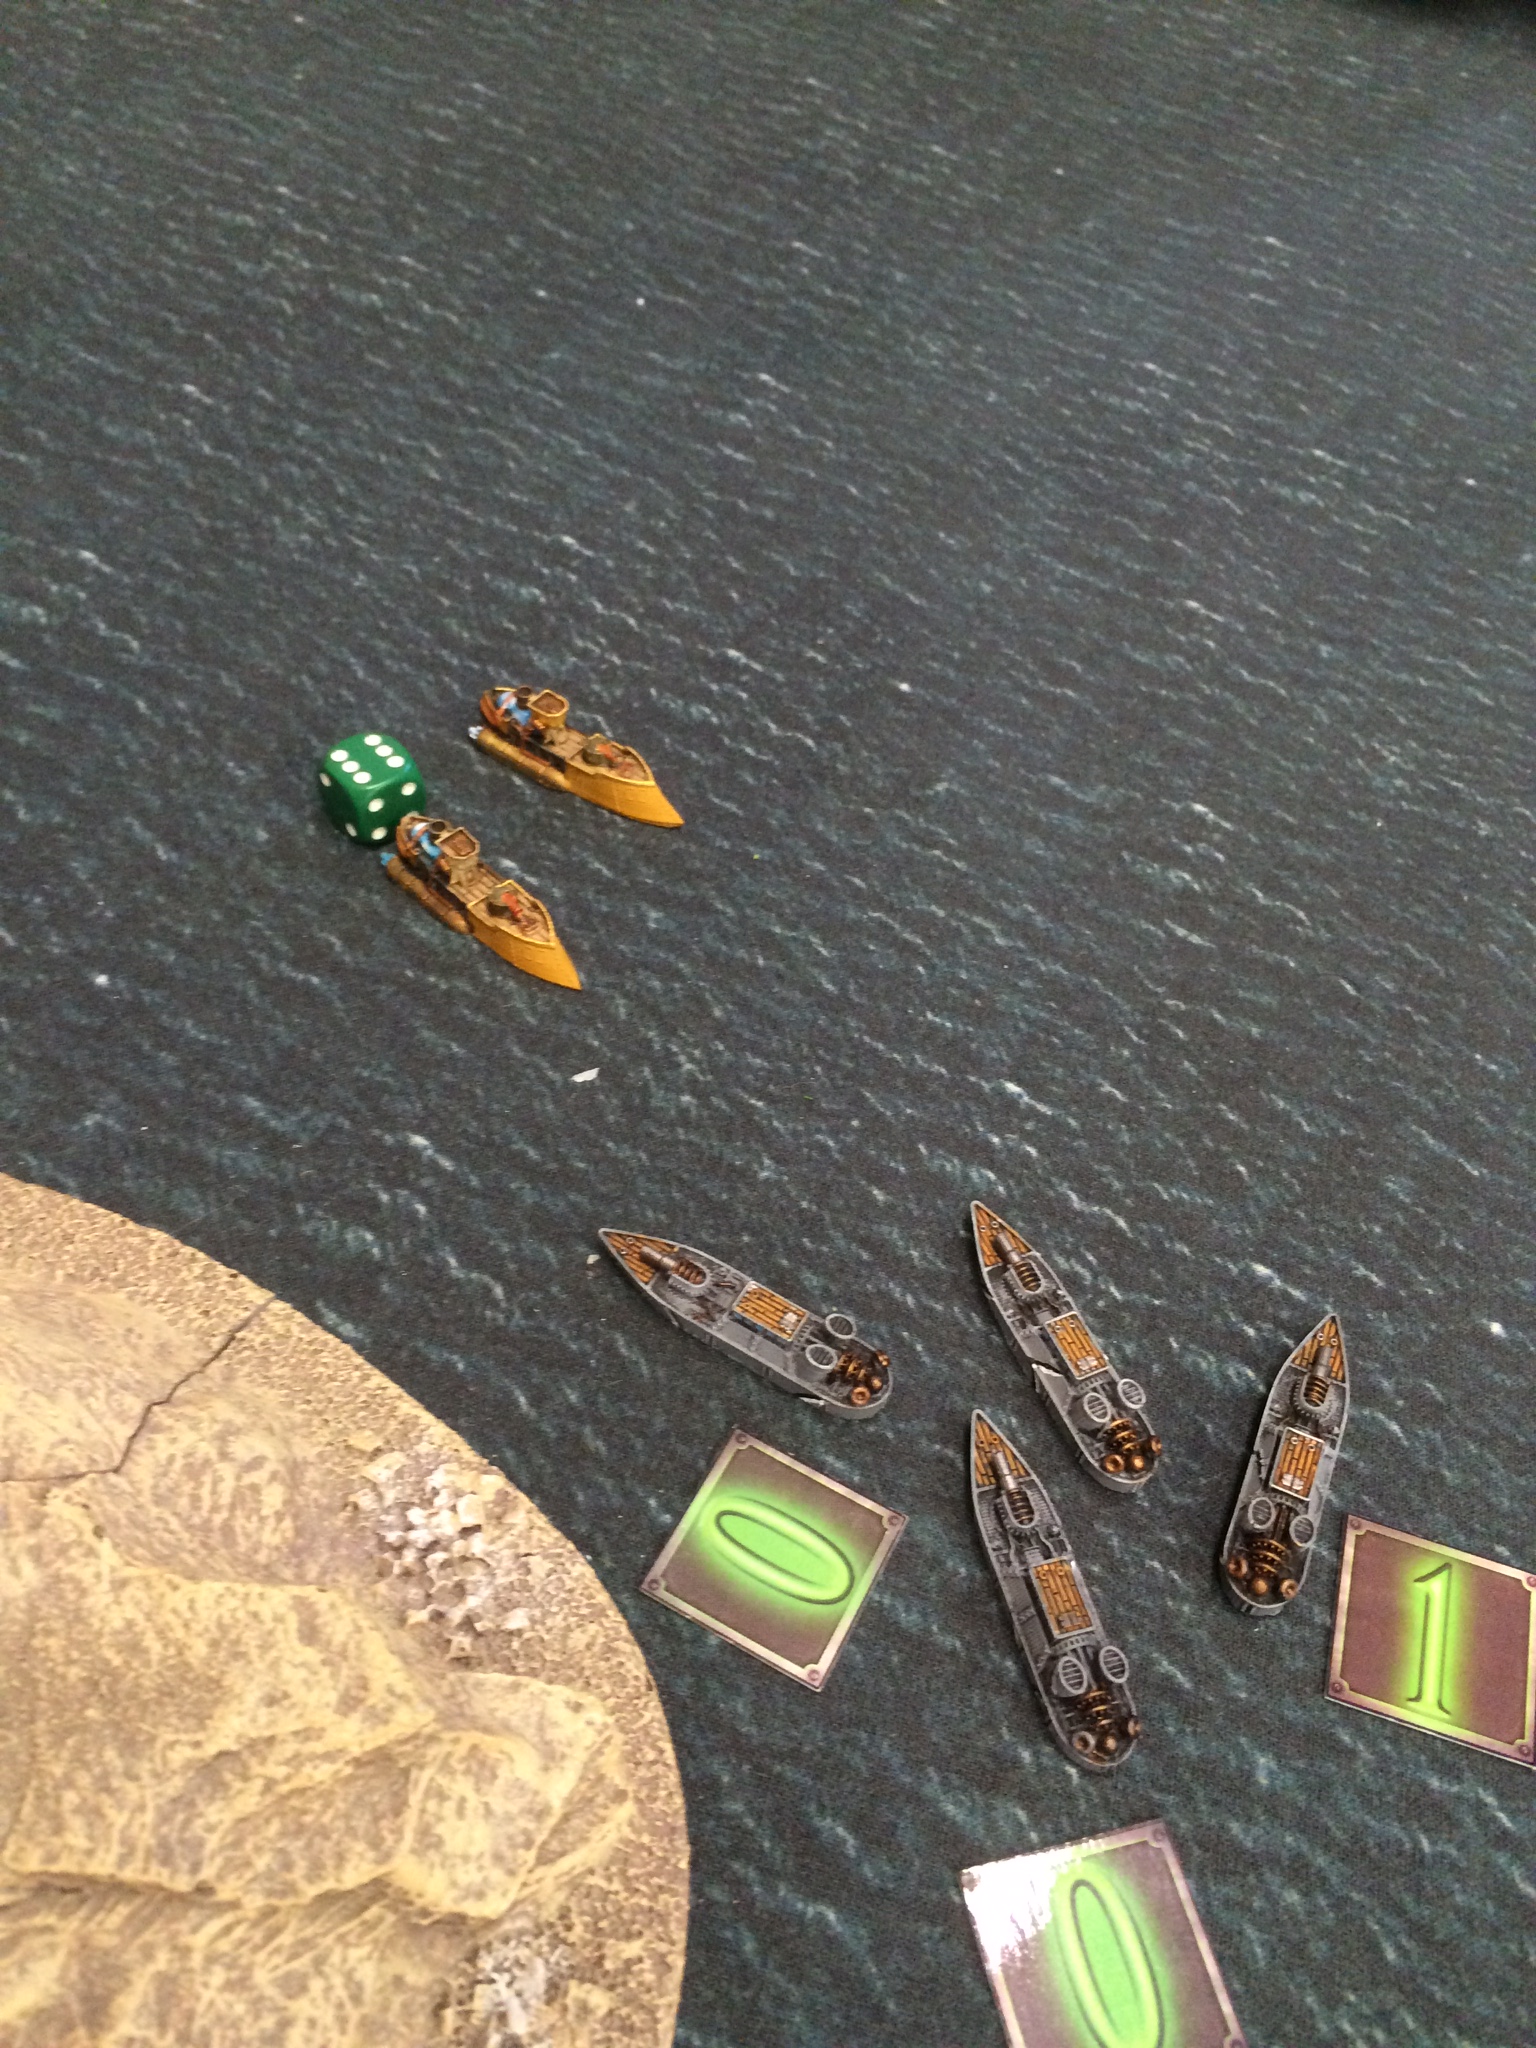 he Cruisers. However, the Tribals failed to score any damage. I responded with my Support Cruisers, which succeeded in putting two critical hits onto one of the remaining KoB cruisers, jamming its rudder and knocking out half of its weapons. The KoB destroyers ran for the shelter of the island, putting a critical hit on the lead support cruisers as they did so. Then, my frigates attacked the KoB corvettes, sinking two with shooting and boarding a third. The KoB corvettes responded in kind, sinking one of my frigates with their guns. Finally my battlecruiser managed to finish off the remaining two cruisers in an amazing display of shooting from the primary turrets!
At this point, the rest of our fleets started coming onto the board. As our forces had to enter from the board edge, ranges were long for any shots that these units did have. I managed to get a critical hit on one of the Britannian heavy destroyers, which was later finished off by my assault carrier. Last Rites managed to put a critical hit on my battlecruiser with his Lord Hood in response. Other than that, the second half of Turn 3 was all about maneuvering and setting up for the next turn. Now that all of our forces were on the table, the battle had been joined in earnest!
Turn 3
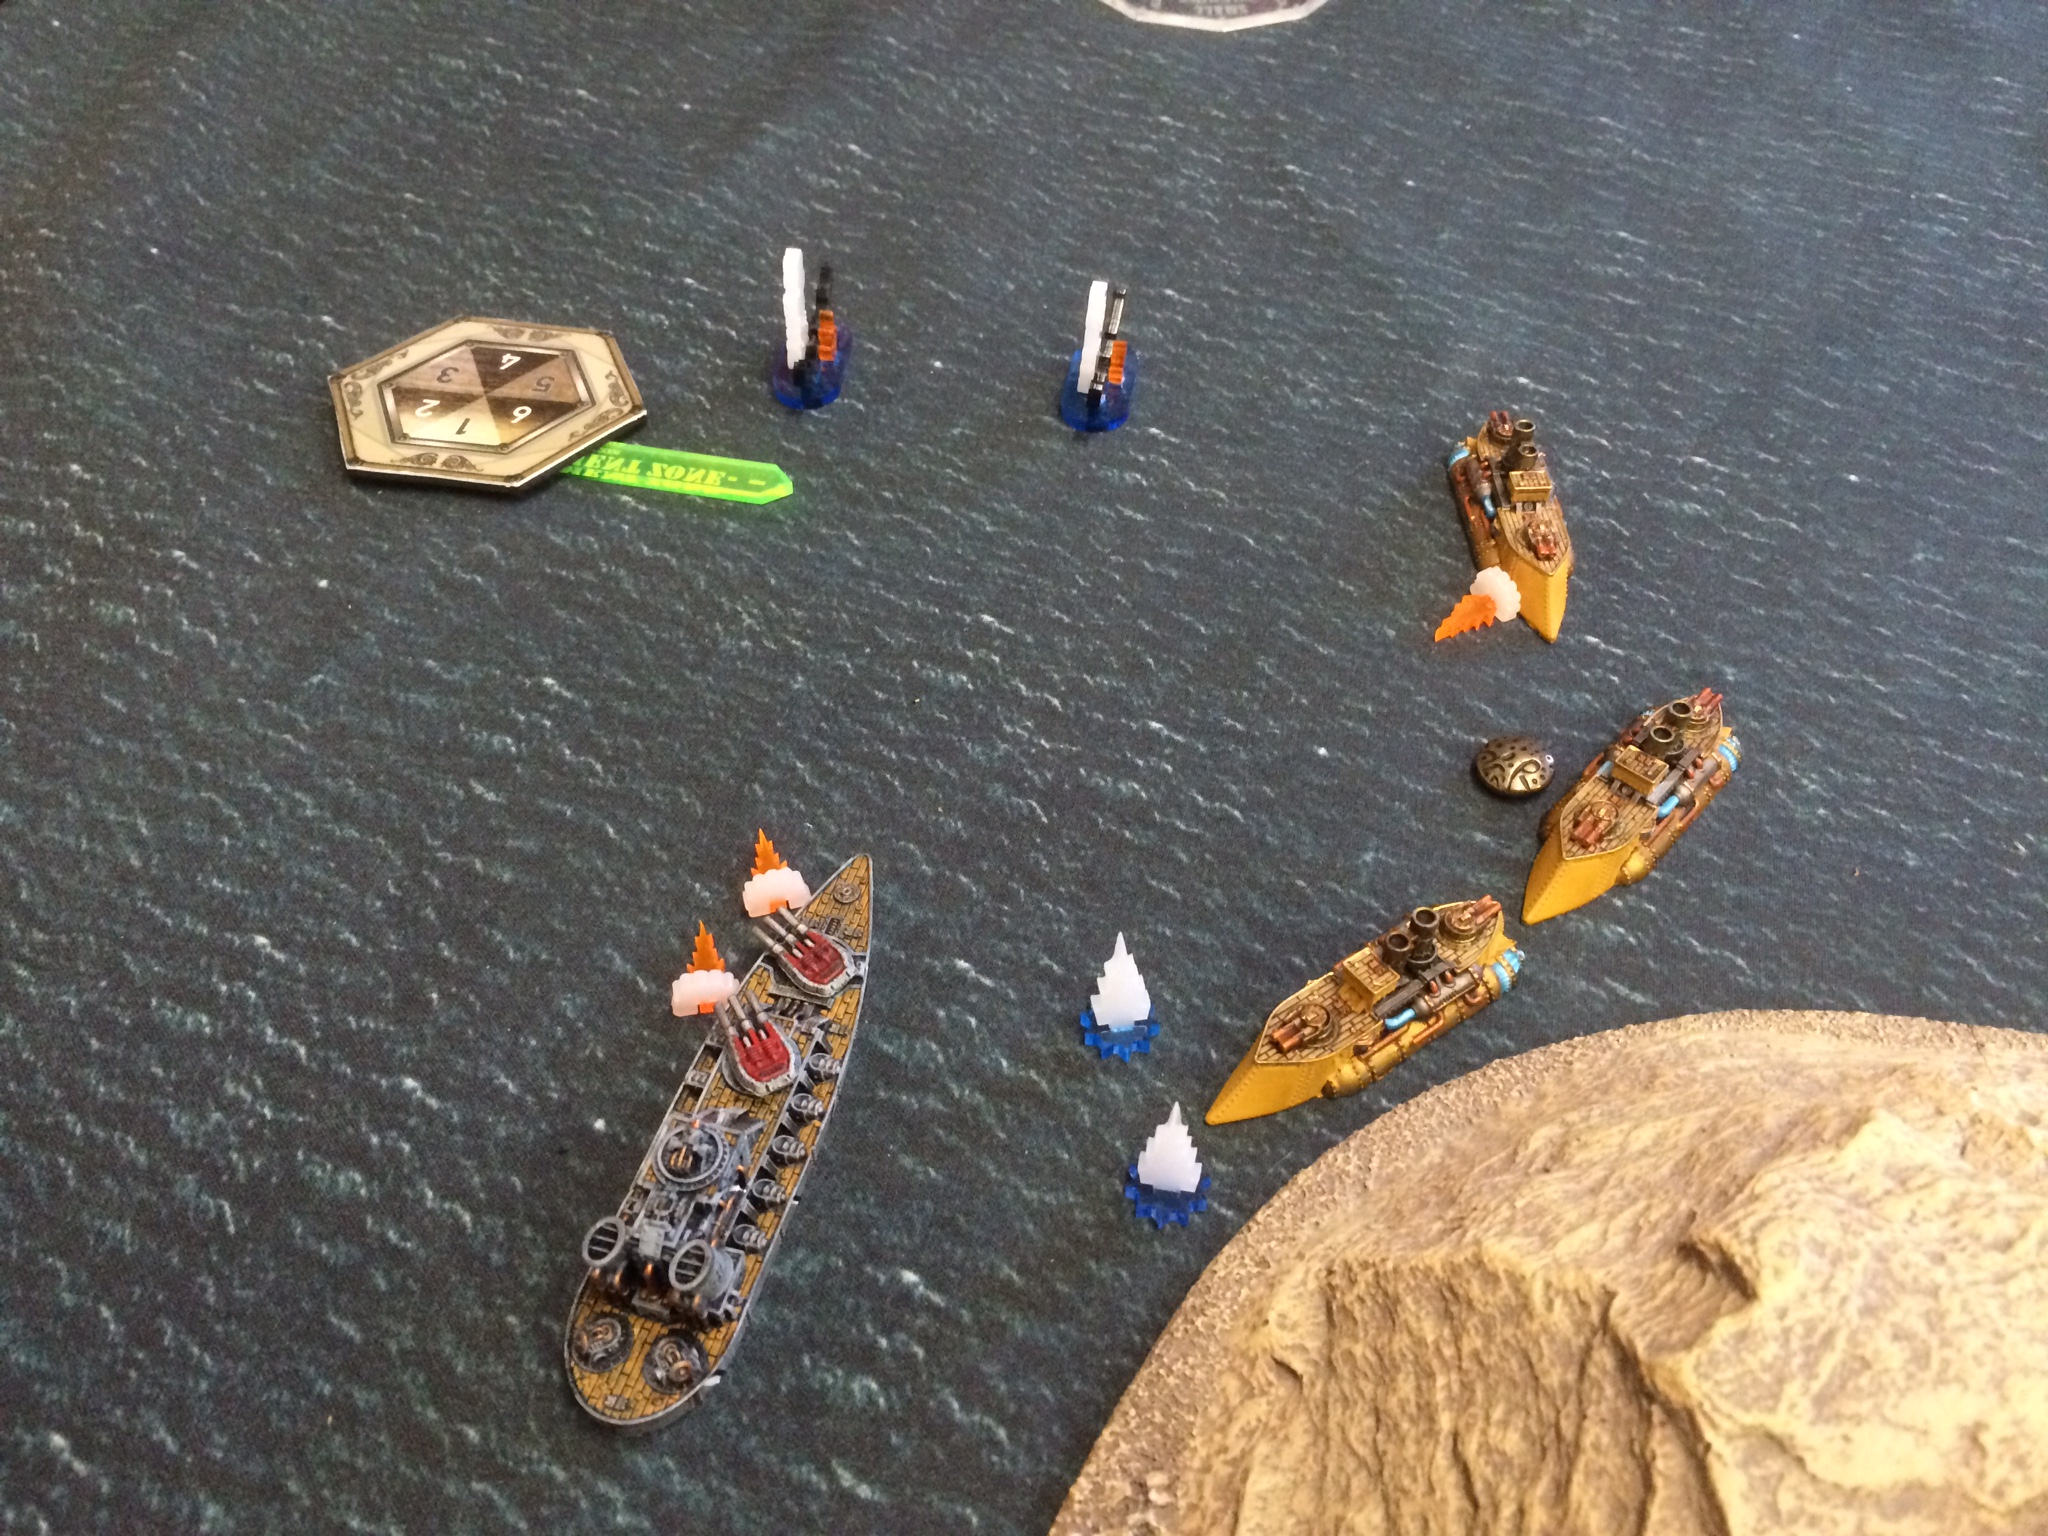
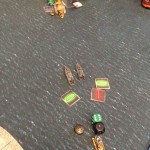
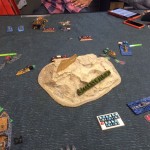
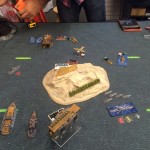
I won the initiative this time, and started the turn off with my support cruisers. They focused their deadly Speerschleuder attacks on the Vanguard submarines to their port side, sinking one. They also managed to destroy one of the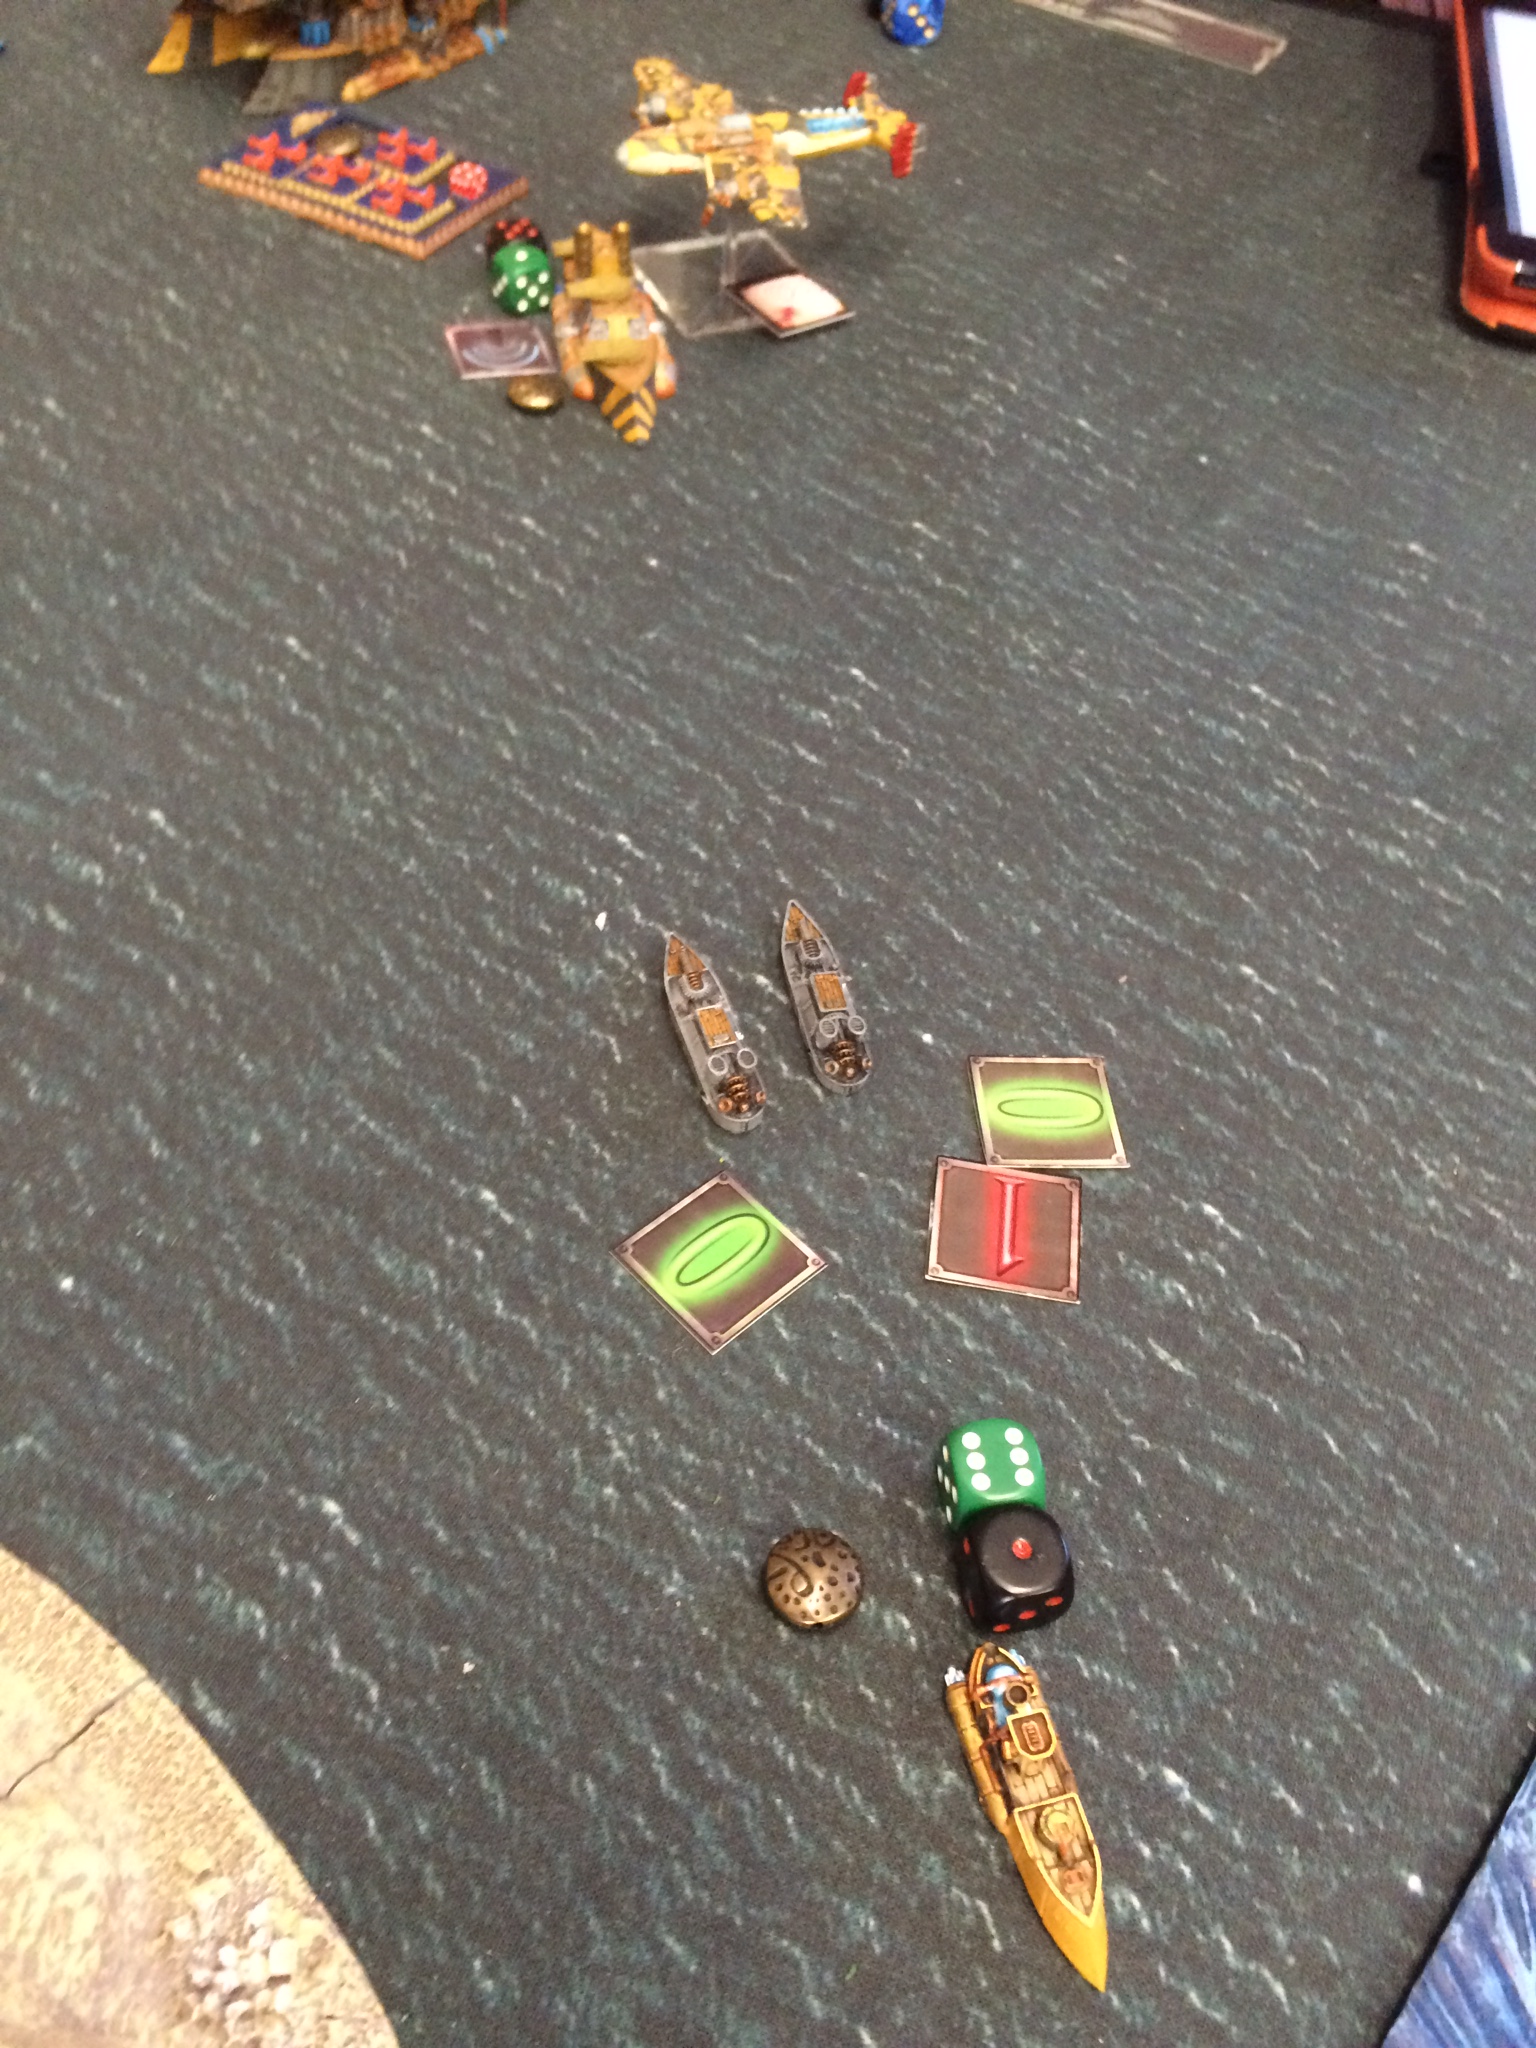 two remaining Britannian heavy destroyers. The remaining destroyer would later be finished off by my carrier and battleship as they advanced up the left straight. The Britannian Vengeance submarine lived up to its name, though, when it put a critical hit on my Sturmbringer submarine. To add insult to injury, the Britannian submarine achieved this result using captured Prussian Tesla technology! My corvettes attempted to target the submerged Vengeance, with no success. The two remaining frigates I had on the right side acquitted themselves well, though, when they linked their fire against the Lord Hood and achieved a critical hit to the Britanninan battlecruiser’s magazines. The resulting explosion did not quite destroy the stalwart ship, but left it with only a single hull point! My frigates’ victory was short-lived, however, as Last Rites moved up his heavy bomber and used its bombs to obliterate them. The finally, the Britannian carrier managed to detonate the magazines of one of my support cruisers, sending her straight to the bottom. Here is how the table looked at the end of Turn 3:

Turn 4
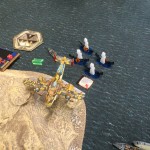
This would be the final turn. I won initiative again, promptly activating the Sturmbringer and using it to attack the Vengeance. My Speerschleuders aimed true, and managed to destabilize the Element 270 fuel of the enormous British sub that it vanished in a swirl of energy, only to reappear beached on land a moment later! 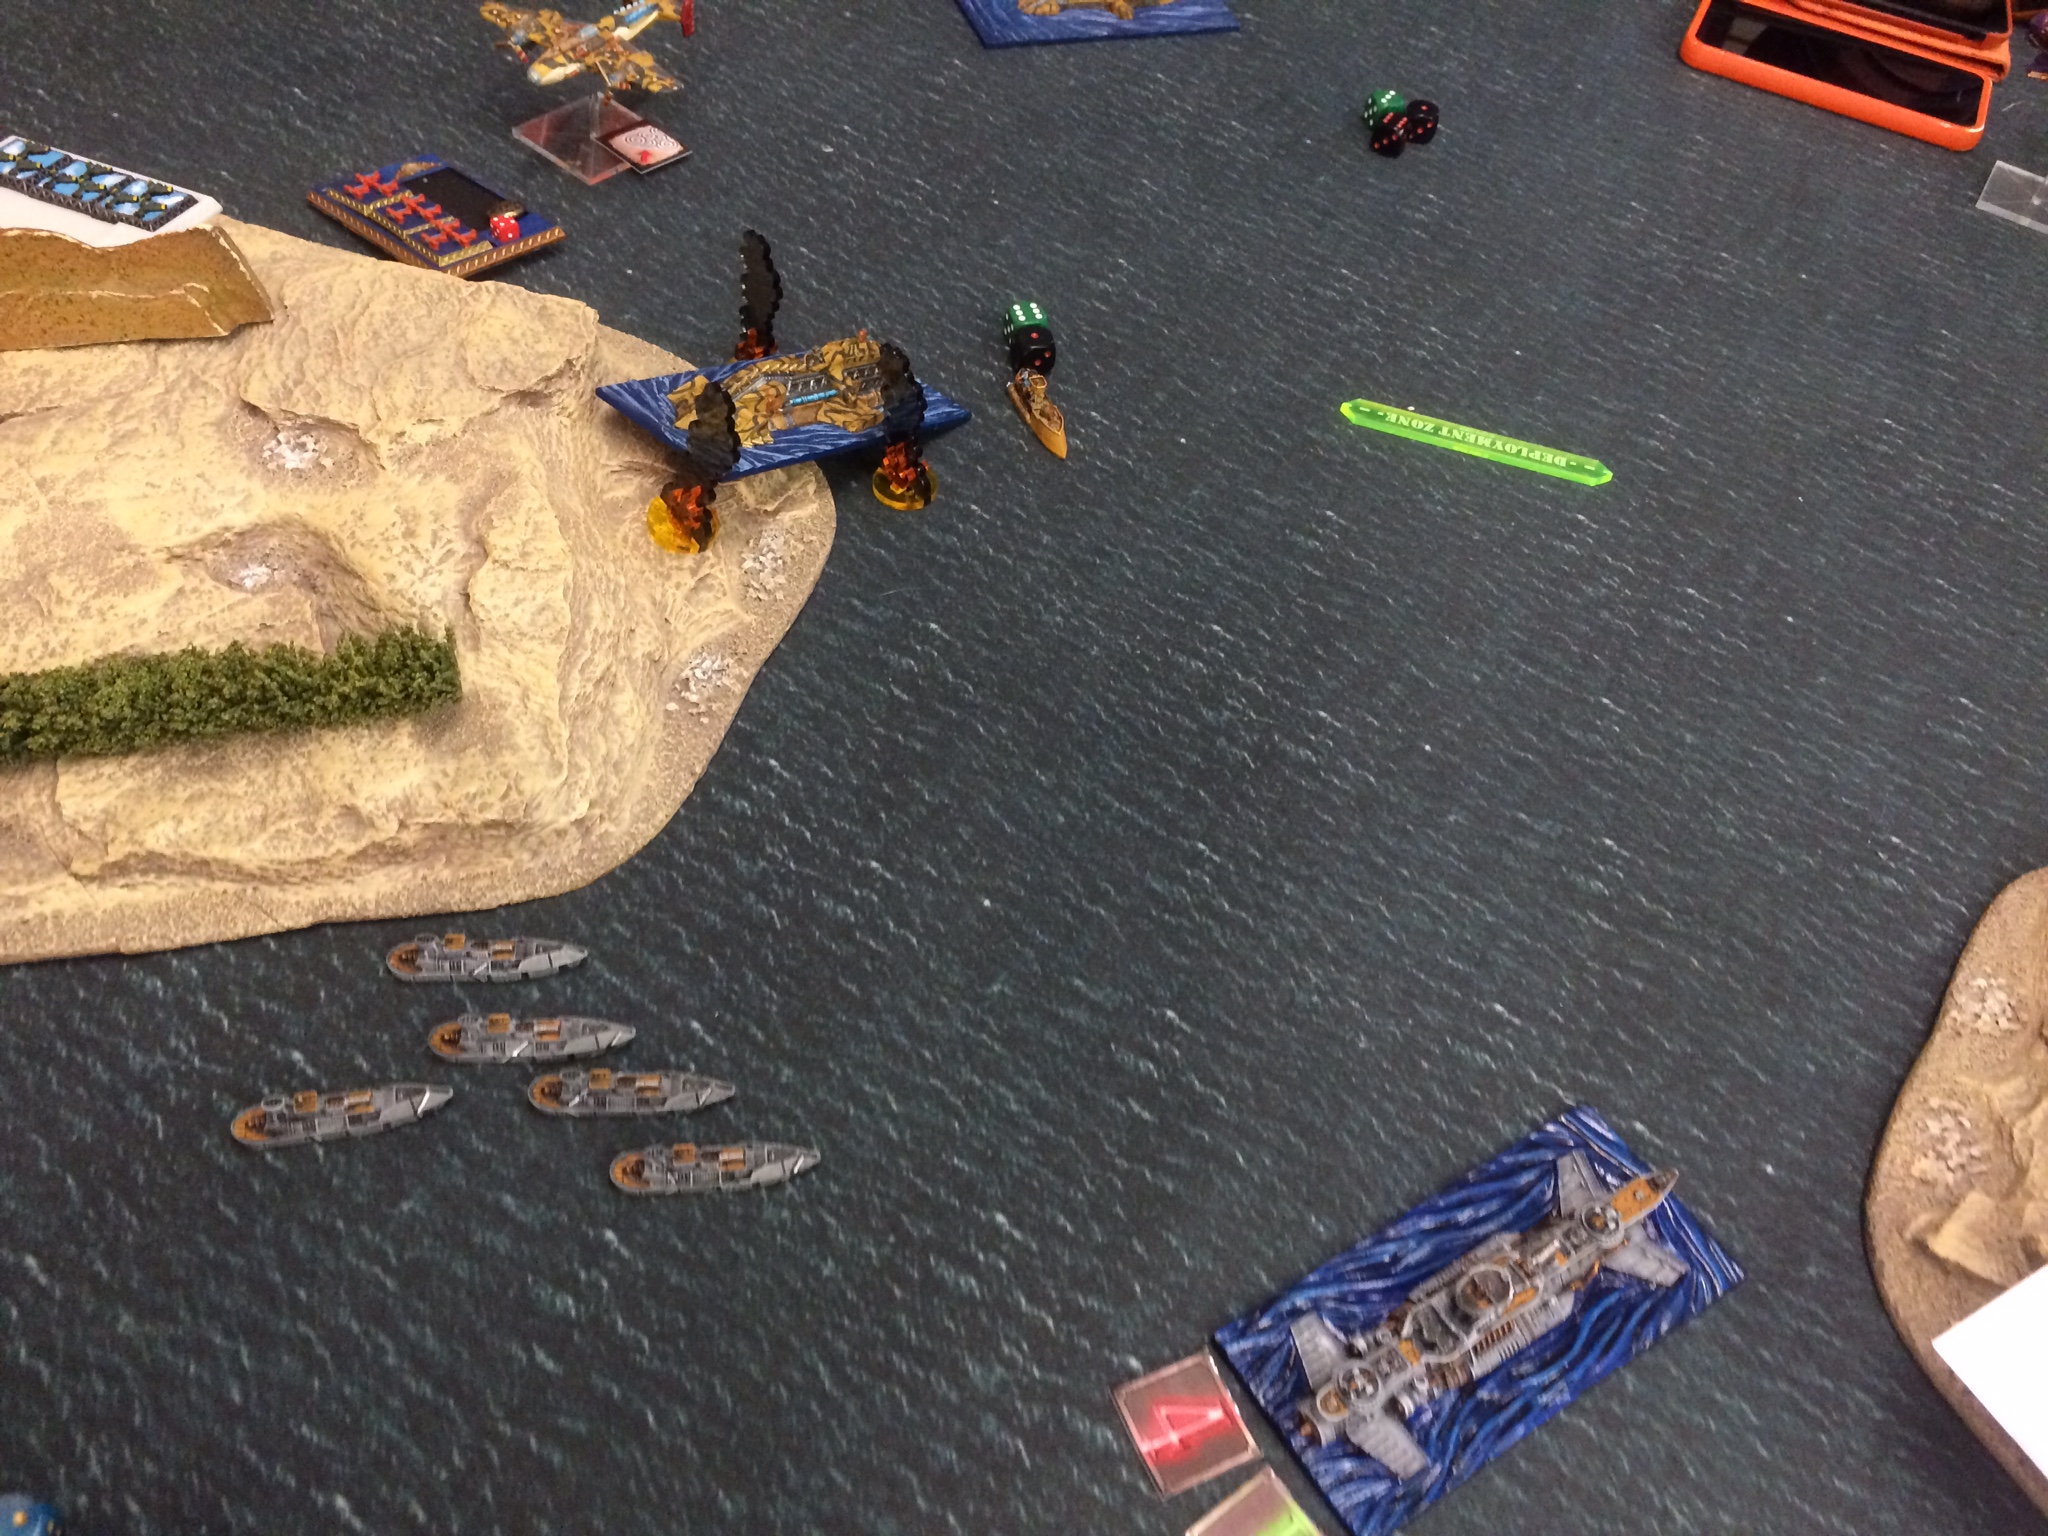 My corvettes then finished off
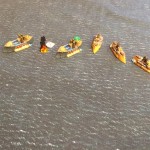
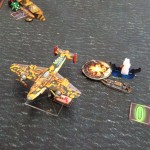
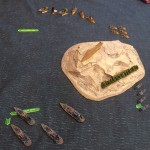
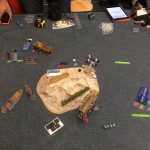
 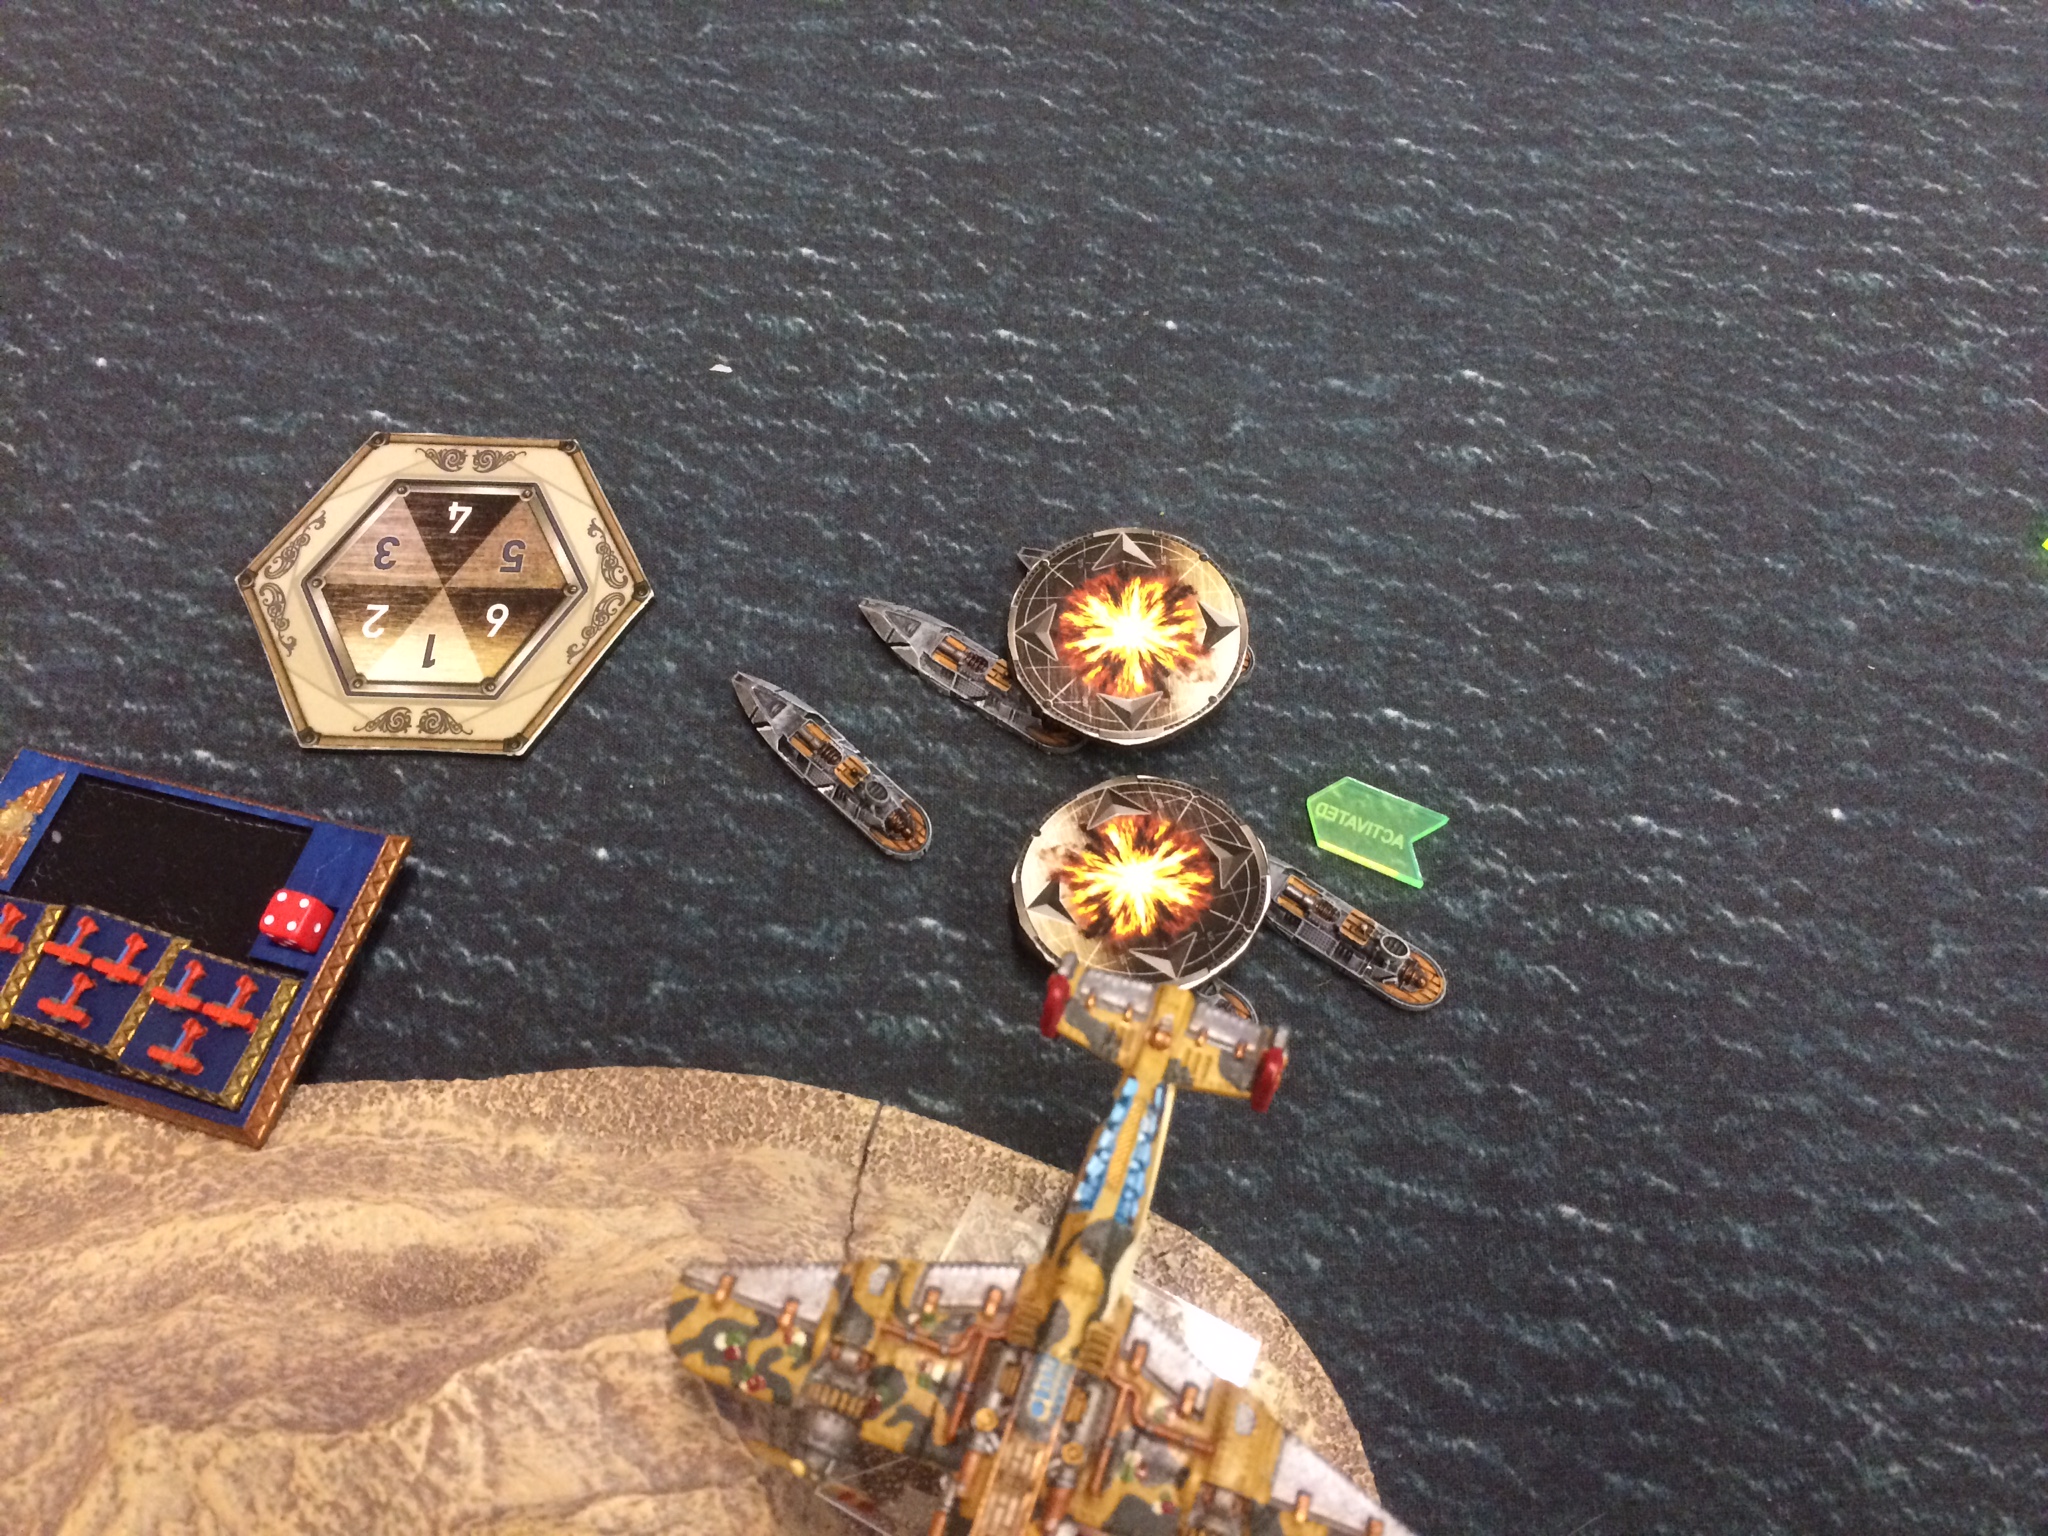 both the Lord Hood and the remaining Britannian corvette, only to be nearly wiped out by the Britannian heavy bomber! At this point, the writing was largely on the wall; the Britannians were able to use the threat of air attack from the Halifax to contest the right side of the straight, but I had more than enough force in place to ensure the rest of my forces could pass through the left side unimpeded. Victory to the Prussian Empire! This was the board at the end of the game:
Conclusion
This was a tough game for Last Rites…he was just having terrible luck with his dice! Still, he was great about it, which I appreciated. Lets face it, we’ve all been there! Even given that, the Britannians still had their moments; the Halifax was a monster, killing 3 frigates and 4 corvettes with its area bombardments. Plus, the Vengeance very nearly wiped out my Sturmbringer, a lucky critical making all the difference there.
As the rest of his fleet steamed down the straight, past the twisted remains of the Britannian force sent to oppose him, Kapitan zur See Ruckdog reflected on the losses this passage had cost him. The Prussians had lost many of their lighter units, and some of their heavier units would require extensive repairs. Still, he achieved his overall objective of transiting the straight and gaining access to the Pacific beyond. In the end, what mattered was that Geschwader Ruckdog had joined the fight in the east!
Until next time!


Pingback: Man Battlestations Monthly Newsletter 19 | Man Battlestations Blog