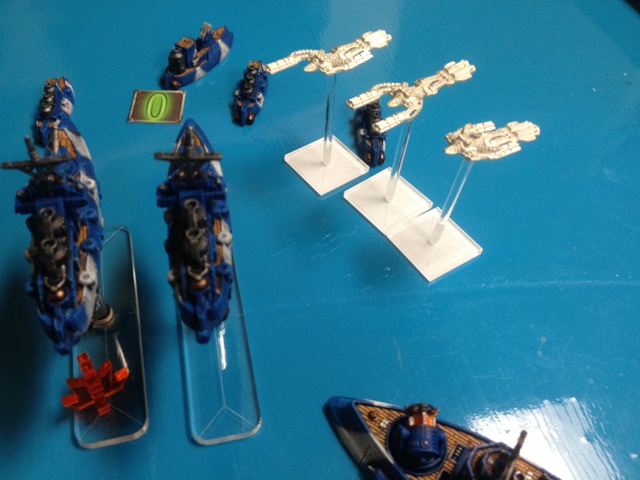
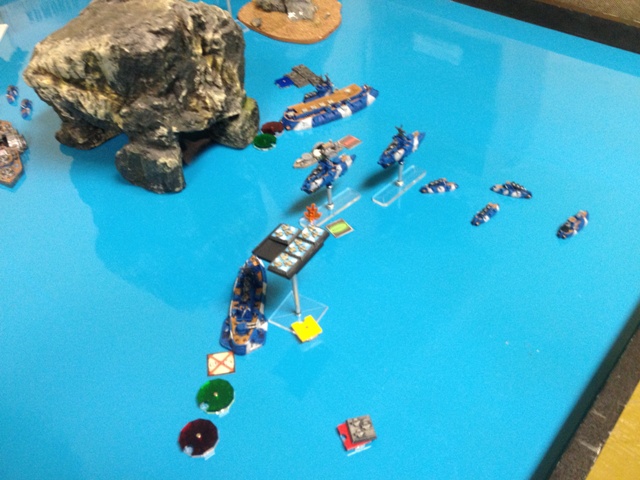
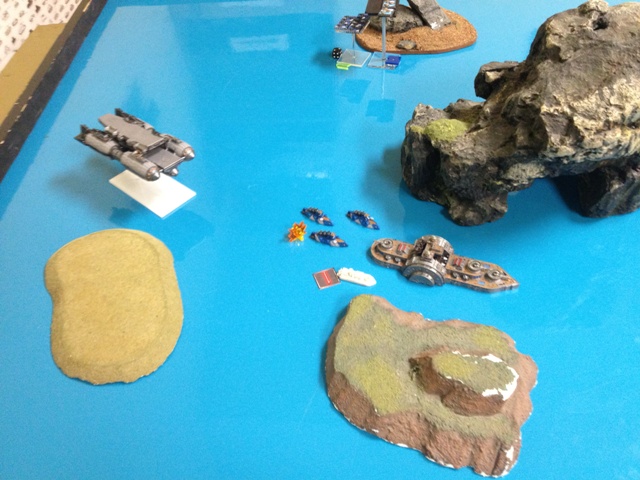
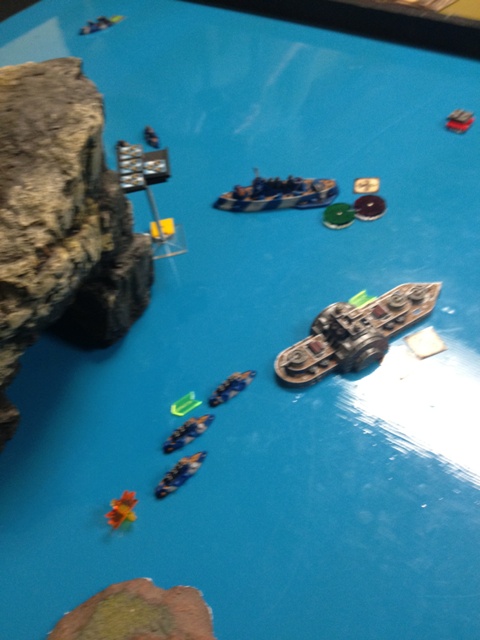
Landlubber (aka Greg) and I met up recently at the Game Vault in Fredricksburg, VA for a little Dystopian Wars action. This time we decided to play with 1,000 point naval core forces, with me running my French and Greg sticking to his Americans. We also incorporated a few of the rules from the Hurricane Season campaign book, such as the national commodores, deployment orders, and scoring through Campaign Points.
Read on to see how it turned out!
Forces
Greg (FSA)
- Dreadnought w/Shield & Kinetic Generator and 2 Escorts
- Cruiser squadron with two cruisers and one gunship
- Destroyer Squadron with 4 destroyers
- Frigate Squadron with 4 frigates
- Small Flyer Squadron with 3 robots
- Sky Fortress
Me (RoF)
- Carrier w/ Cloud Generator
- Battleship w/ Cloud Generator
- Cruiser squadron w/ Retardant Armor
- 2x Frigate Squadrons with 4 frigates
- 1x Destroyer Squadron with 3 destroyers
- Submarine Squadron with 3 subs
- Heavy Interceptor Squadron with 2 interceptors
Mission
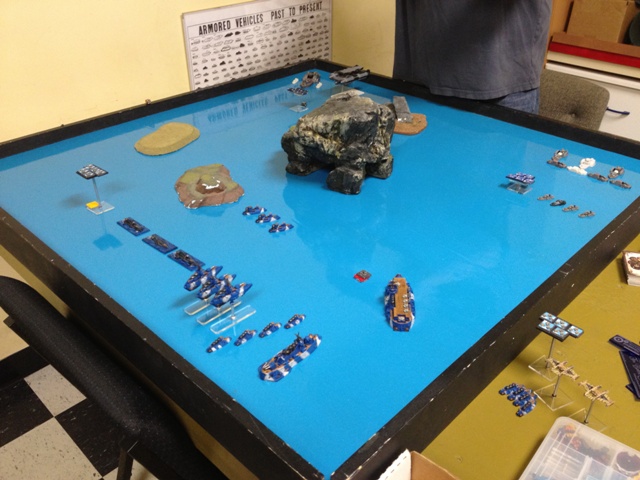
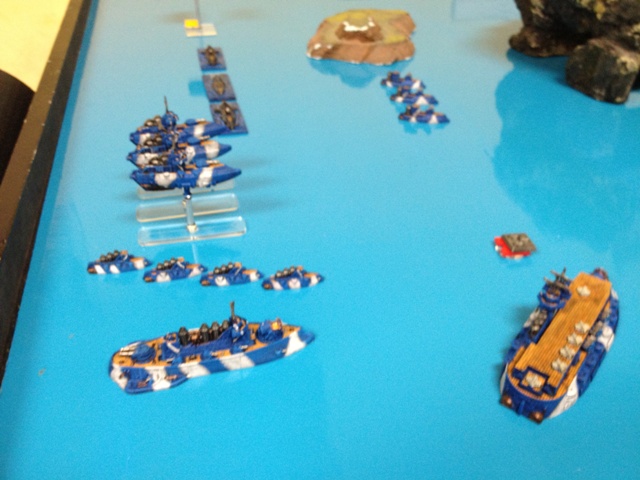
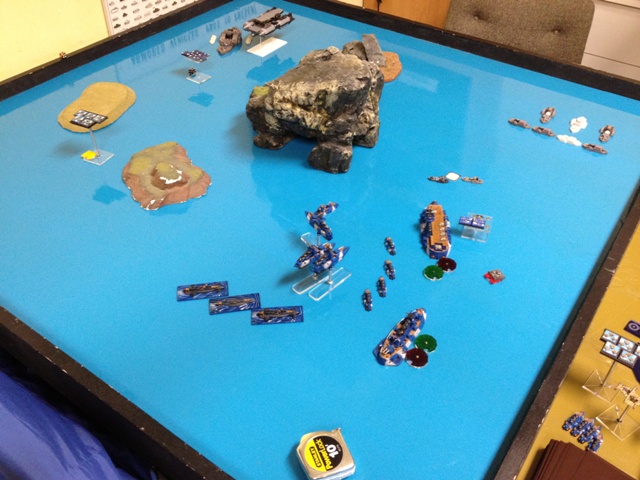
We decided to use the special deployment rules out of Hurricane Season. This required us to divide our forces into main, advance, and flanking units. I chose to put my heavy interceptors, a squadron of torpedo bombers, and a squadron of frigates as flankers, while Greg put his small flyers into his flanking force. My flankers would be coming in on Turn 2, while Greg’s would arrive on Turn 3. Here was how our initial deployment looked:
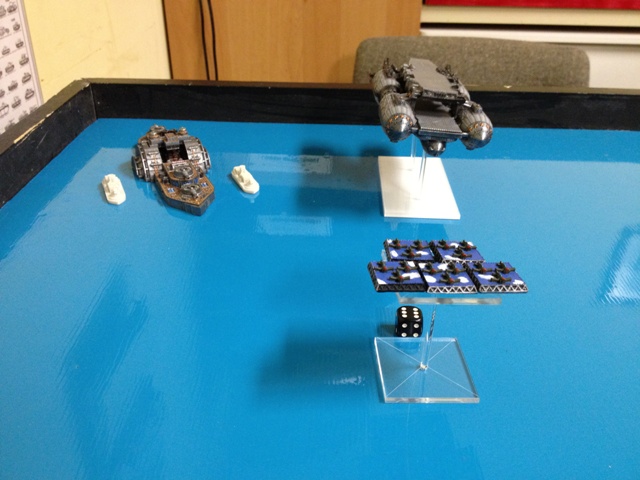
As you can see, my carrier and destroyers went into my advance force, while Greg put his destroyers and a squadron of torpedo bombers in his. Greg’s flanking units would be arriving from the right in this view, while mine would be arriving from the left.
Turn 1
This turn saw some ineffectual shooting from both sides. Much of Greg’s long-range firepower was in the far corner of the board, well out of position to hit my main force. In general, my main force closed with Greg’s cruisers, frigates, and destroyers while Greg’s sky fortress and Dreadnought began repositioning to target my main force. I did manage to sink two FSA frigates with my advanced force, though.
Turn 2
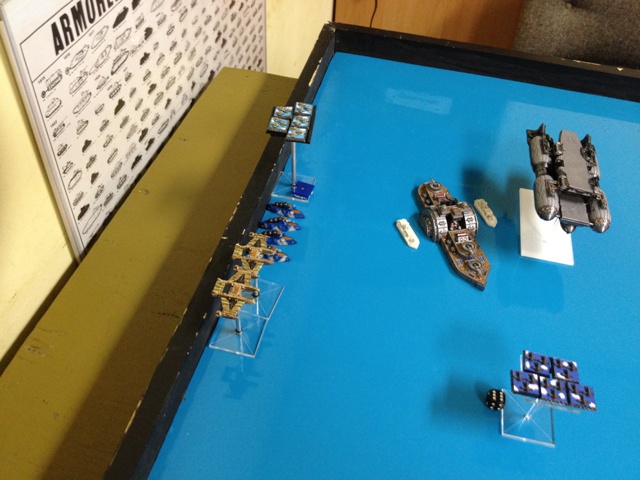
At the start of the turn, my flanking forces arrived! I placed them directly abeam of Greg’s dreadnought and sky fortress, to see what damage I could do.
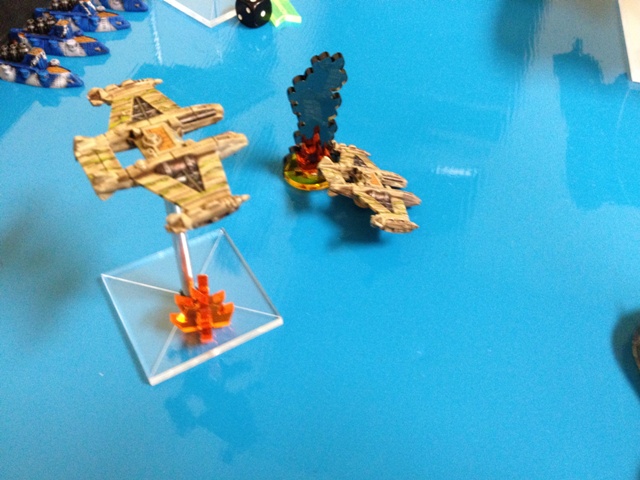
Unfortunately, due to a heavy amount of AA fire, I managed to lose one of my heavy interceptors as it attempted to attack the FSA sky fortress.
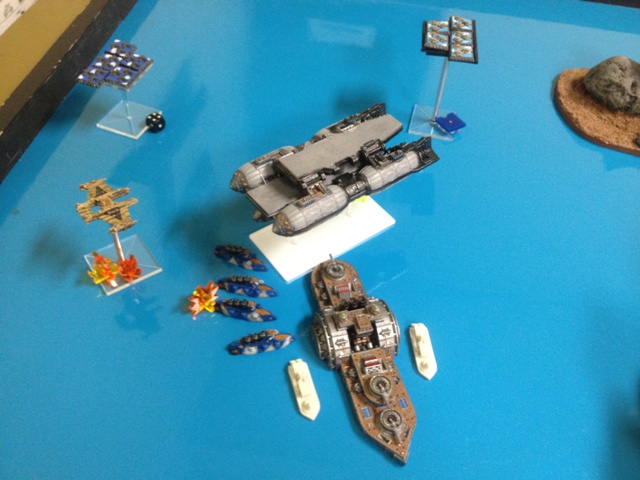
My frigates also didn’t have much luck; they missed both the dreadnought and one of its escorts, and took a point of damage in return!
Meanwhile, on the other side of the board my forces were heavily engaged with Greg’s light units. I managed to sink his remaining frigates and a destroyer, but my carrier (which was leading the attack) and my cruisers took some damage in return.
Turn 3
At the start of this turn, Greg’s flanking forces arrived, sowing chaos in the middle of my main force.
Fortunately, their shooting attacks were largely ineffective, and thanks to a combination of Ack Ack from my ships and my fighters, I was able to see them off with out much trouble. Also during this turn, my frigates managed to finish off Greg’s destroyers, while my cruisers and the carrier (returned to full health by the timely use of a Pass the Tools! STAR card) savaged Greg’s cruiser squadron, putting a double critical on his gunship and hitting one of the standard cruisers. Greg’s dread was beginning to make its presence felt, though, as she managed to get far enough around the central island to get a clear line of sight on my battleship, causing a critical hit that jammed her rudder!
Turn 4
Greg’s forces were now badly outnumbered on my right side, and I pushed my advantage for all it was worth to eliminate everything but one cruiser.
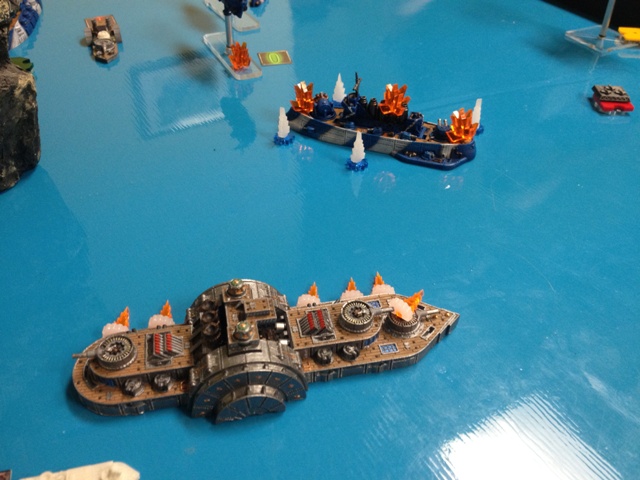
Greg’s heavy units were still working their way around the central island, with his dreadnought managing to put another critical on my battleship. The Magenta got a return shot with her Heat Lance, though. Unfortunately, the American Steel in the hull of Greg’s dreadnought turned away the attack. My flanking frigates continued their dogged pursuit of the FSA flagship, slowly striping away her escorts.
Turn 5
I finally managed to get through Greg’s defenses and land a hit on his Dreadnought with my battleship’s Heat Lance, despite having 6 hull points of damage.
However, much of the rest of my forces were now out of position to hit Greg’s heavy units as they came around the side of the central island, so I didn’t have much else to hit him with. So, they spent this turn coming about to engage the threat approaching them from behind.
At this point, given that he was now heavily outnumbered, Greg decided that discression was the better part of valor and disengaged from the battle. After toatilng the CP, the final tally was FSA: 13, RoF: 19. French victory!
After-Action
This was another great game! I’m really happy that we tried out some of the rules from the Hurricane Season book, as they gave the game some nice flavor. A couple of observations, though:
- Flanking forces are hard to use properly and take some getting used to. Looking back on it, they almost demand that they be incorporated into list construction from the get-go, in order that the arriving forces have enough punch to do some damage. Placement along the flanking edge also has something to do with that; if I had put some of my flanking forces further away from Greg’s units, they would have had a better chance to line up effective attacks.
- The fleet commodores are a lot of fun! They did not seem to be over-powered at all. However, it is easy to forget to use their abilities in the heat of battle.
- The Heat Lance continues to impress me as an offensive weapon. A nearly-dead battleship managed to get through and hit a health dreadnought with one, demonstrating how the weapon will remain a threat until the ship carrying it had been sunk.
Overall, I was a bit worried about how this battle would go, since I was facing a dreadnought without one of my own. However, Greg deployed that dreadnought somewhat out of position, which allowed me to deal with his lighter forces first before turning and focusing on his flagship. That being said, the fact that Greg ran a kinetic generator on his dreadnought helped mitigate his faulty deployment immensely; getting to move those extra inches each turn really added up by the end of the game!

