Welcome back! If you remember from Part 1, Seth and I played a 100 point game that was limited to 1942 with no subs or aircraft. Additionaly, night rules were in effect, limiting long range shooting. During the first game, Seth’s USN fleet easily handled my IJN list, thanks in part to my horrible luck with torpedo dice. For game two, we swapped sides; I would be leading the USN against Seth’s IJN. The result was another exciting battle!
Fleets
Me (USN)
- West Virginia
- San Francisco
- Cleveland
- 2x Taylor
Seth (IJN)
- Kirishima
- Atago
- Agano
- Oi
- Isokaze
Deployment
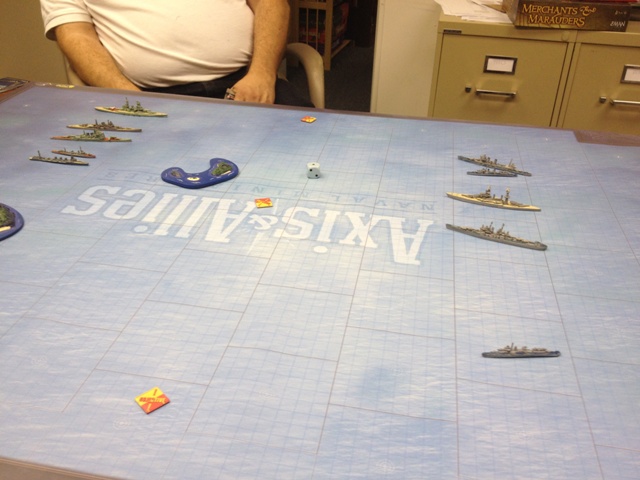
This time, we rolled Map 5, which has two islands on one half of the map. I won the roll to deploy first, and wanting to keep my firing lanes open, I selected the empty side of the map. Seth concentrated his forces to my right.
Turn 1
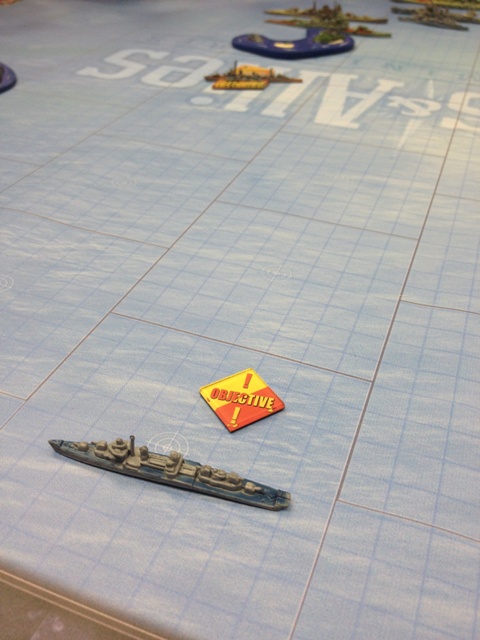
With a hefty +4 bonus to my roll, I easily won initiative. Seth advanced all of his ships forward two sectors. For my part, I advanced forward as well, peeling of one of my DDs and sending it towards the left side objective. If there were any aircraft about, this would be a very risky move, as a lone destroyer is easy pickings for fighters and dive bombers. However, with no planes to worry about due to the scenario restrictions, this seemed like a good way to force Seth to either cede the objective or divert some of his forces from his strong flank.
Turn 2
Despite my bonuses, I actually lost initiative this turn thanks to a very poor roll. Not being sure exactly what Seth would do, I advanced all of my ships forward two sectors again. Anticipating that Seth would focus on the left flank, I put the Cleveland adjacent to the middle objective, one of the Taylors next to the left objective, and concentrated the rest of my forces around the right objective. This turned out to be a bad decision, as Seth split off his cruisers and the Isokaze to deal with the Cleveland on the middle objective! To make matters worse, Seth used the Oi’s Torpedo Run ability to put both the Oi and the Isokaze on the center objective.
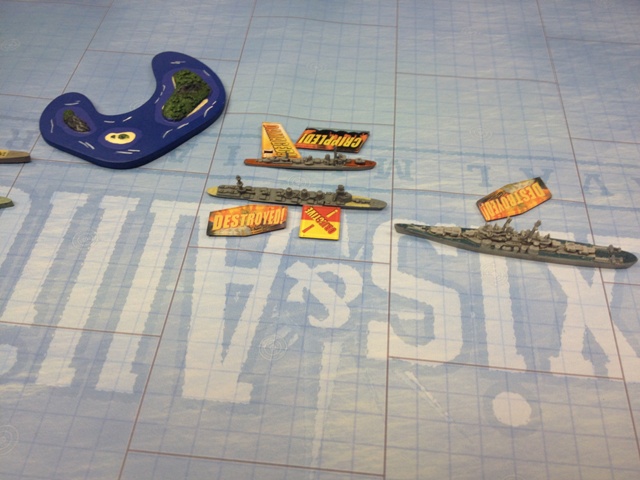
The shooting phase was eventful. The WeeVee used her Radar Fire control ability to sink the Oi at Range 3. However, the Cleveland failed to score a hit on the Atago with her main guns, thought she did manage to cripple the Isokaze. Likewise, the Kirishima missed her shots at the San Fran but crippled the Taylor on the right with her secondaries. Seth’s biggest hitter this turn was undoubtedly the Oi, which managed to put two Long Lances into the Cleveland. Talk about overkill! With the Cleveland gone, Seth managed to take the center objective.
Turn 3
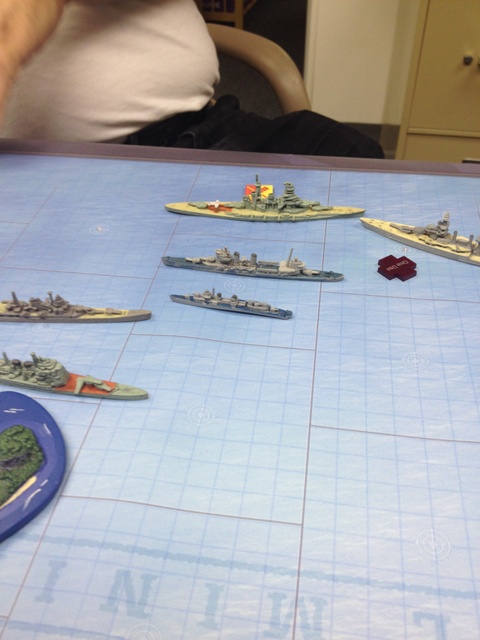
Things were not looking great for the Americans at the start of this turn; the loss of the Cleveland took a big chunk out of my fleet. Even more worrisome is that Seth now had one of the objectives, putting him firmly in the lead. I managed to win the initiative this turn, but it was pretty clear where I would be heading. The lone Taylor moved on to the left objective, while the WeeVee, San Fran, and the other Taylor moved to the right. Seth moved his two remaining cruisers over to assist the Kirishima, while the crippled Isokaze ducked behind the island for protection.
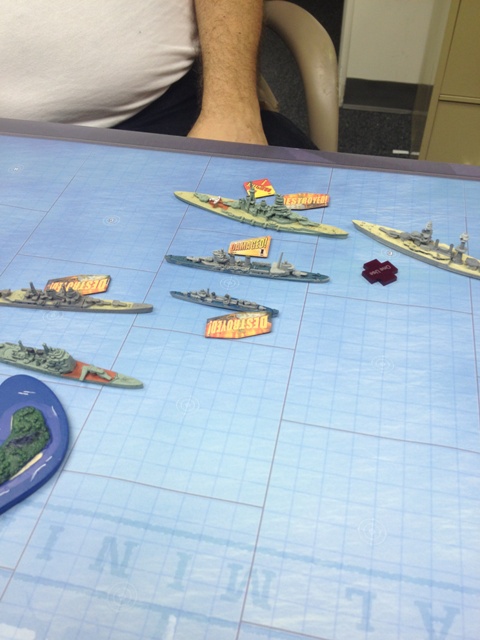
Seth opened the shooting phase with the Kirishima, attempting to hit the WeeVee. However, the Japanese gunners failed to find their target in the murky night, and the battleship’s shots went wide of the mark. The Japanese cruisers quickly sighted the burning Taylor, finishing her off. The Atago also managed to hit the San Fran with her main guns. Fortunately for the Americans, though, the cruiser’s Long Lances failed to hit home. On the American side, the WeeVee’s radar enabled her to obtain a deadly accurate firing solution on the Kirishima; her main guns scored more than enough hits to exceed the vital armor of the Japanese battleship, sending her to the bottom! Also, between the WeeVee’s secondaries and the San Fran, I was able to do enough damage to the Agano to sink her as well.
Turn 4
Thanks to some excellent gunnery, I was now in a much better position than I was at the start of the last turn. On the left, my gamble with the lone Taylor paid off as I managed to score that objective. On the right, the Atago was now facing the San Fran and WeeVee in a battle for the last objective, with her only support being the crippled Isokaze! I won the initiative again (I was now enjoying a +3 bonus to Seth’s +2), forcing Seth to move first. The Atago moved on to the right objective, while the Isokaze moved back on to the objective row to offer what support she could. I followed the Atago into the objective sector with the WeeVee and San Fran, and also brought the remaining Taylor over to hunt down Seth’s crippled DD.
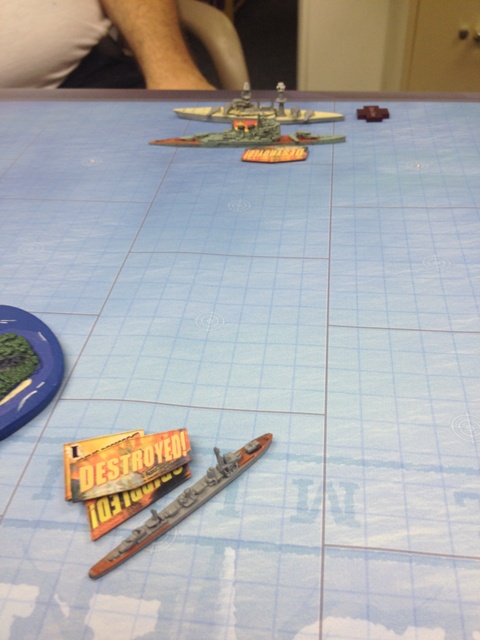
The shooting phase went about as expected, with the WeeVee easily vitaling the Atago and the San Fran sinking the Isokaze. However, the Atago and Isokaze managed to sink the San Fran in return. Despite that success, I claimed the left objective and with it, victory!
After Action
What a game! This time, I had a bit better luck. That being said, I think the game really turned on the same factor as the first one; the Long Lances. Granted, Seth had a bit better luck with them than I did, but he still only got 2 hits. To make matters worse, these hits came against the same target, which meant that one of them was effectively wasted. This, in turn, set up a big Turn 3 for me, where I was able to sink not only the Kirishima but the Agano as well with my shooting. My good fortune here easily offset the loss of the Cleveland, which I freely admit was due in no small part to a maneuvering blunder on my part.
So, there you have it; two 1942 night battles, and the US won both! Looks like US radar proved to be better than Japanese torpedoes, at least this time around. Just goes to show how finicky Long Lances can be!

Another great report!
I debated sending the Atago to try to stop the north flank Taylor from seizing the objective, but decided against it because I would have needed to vital it or toroedo it to succeed and I decided the Atago’s support was needed with the Kirishima. I suspect that was the wrong call. The Atago proved insufficient once the battleship was lost, but if I had used it to kill the DD then I could also have claimed a second objective which might have kept me in contention.
Thank you for these AARs. They are very interesting and fun to read.