As you may remember from my last War at Sea battle report, the last game Seth and I played we did a 300 pt US-Japan match with a 1942 year limit and the OOB rules. We decided to swap sides for our re-match, so I would be running the USN this time around! All of the previous restrictions would be in place, and Team Poseidon units were allowed.
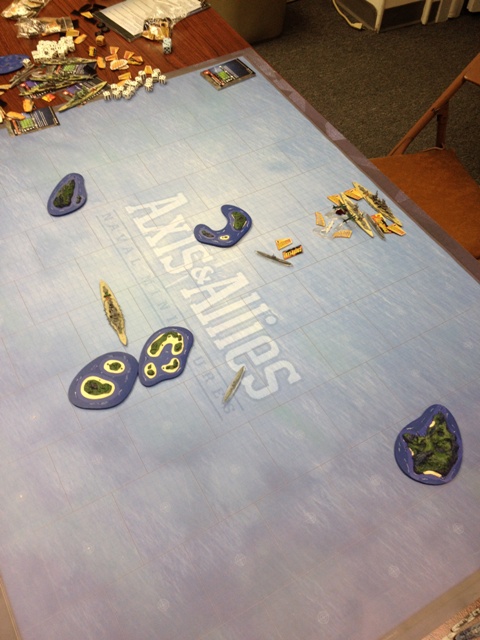 USN (Me)
- California
- Mississippi
- Texas
- Ranger
- 3x Cleveland
- Atlanta
- 3x Bagely
- 5x Edsall
- 2x Wildcat
- Dauntless
- 4x P-40
- Catalina
IJN (Seth)
- Kongo
- Kirishima
- Haruna
- Chikuma
- Haguro
- Nachi
- 2x Akitsuki
- 4x Type 13
- 3x I-19
- A6M2-N Rufe
- 3x Elite Zero
- 2x G4M Betty
- 4x G4M1 Betty
I think both our lists were interesting takes on the “quantity over quality” idea, as we both took less expensive and nominally less capable units in order to maximize the number of hulls on the board. Thanks to the 30 point USS Texas and the 16 point Ranger, I was able to bring 3 battleships plus a carrier. However, to accomplish this feat I brought no submarines, and minimal offensive air power. For his part, Seth stuck with the inexpensive Kongo class and was able to bring 3 of them, backed up with strong air support. To free up points, though, he needed to take no less than 4 Type 13 subchasers to fill out his destroyer ranks. While they are half the cost of a full DD, they are arguably much less than half as useful! Or so one would think….
Setup
We played on Rulebook Map 1 this time, which meant that there were a number of islands scattered all around the map.
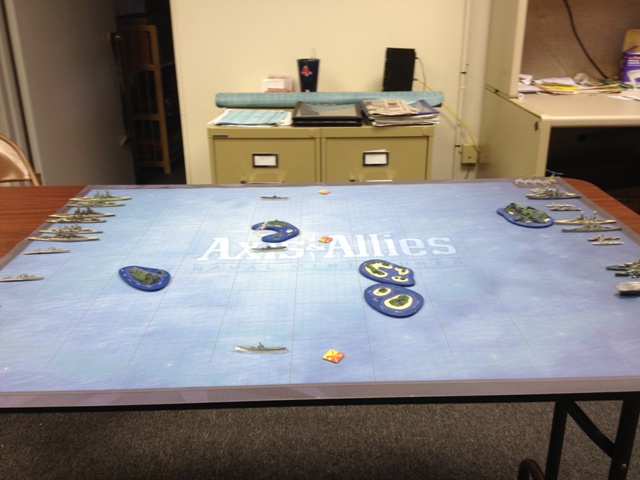 I deployed first, putting my fleet along the right edge of the board. I paired each of my battleships with a Cleveland, leaving my destroyers in pairs. The Atlanta was paired with the Ranger, to try and keep the Bettys off the soft-skinned carrier’s back. I had so many DDs, I ran out of room and had to double-stack a sector!
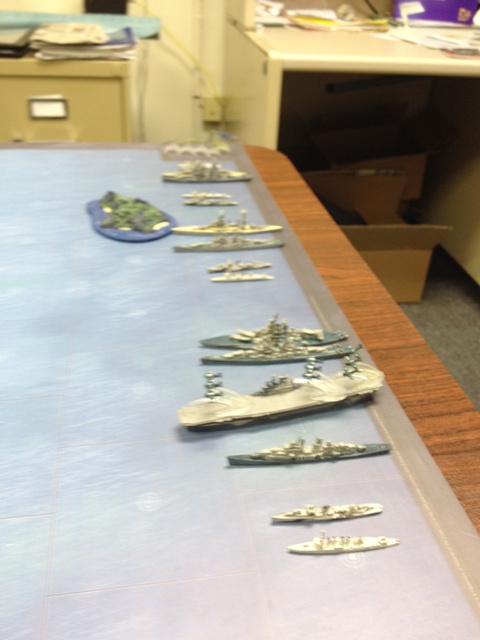 Seth took the left side, concentrating his heavy surface units to one flank where they would be in a position to advance on two objectives. Note the heavy land-based air force and the 4 fishing trawlers masquerading as destroyers!
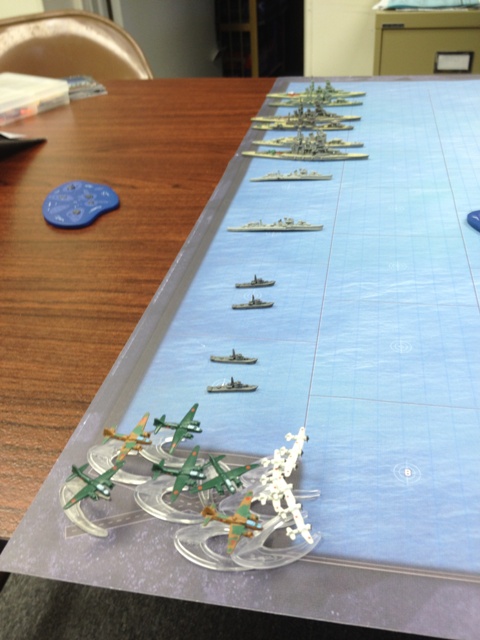 Turn 1
I won initiative, which meant that Seth had to move first. He simply charged directly forward with his fleet:
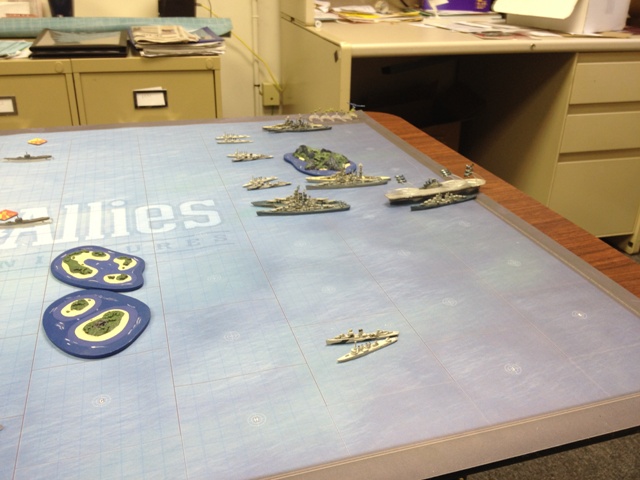
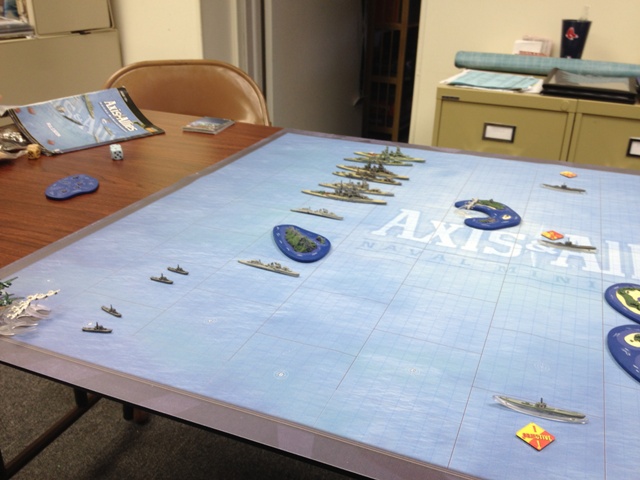 For my part, I managed to fail my Slow-2 checks on the Mississippi and Texas, so they wound up advancing at a slower pace than the rest of the fleet:
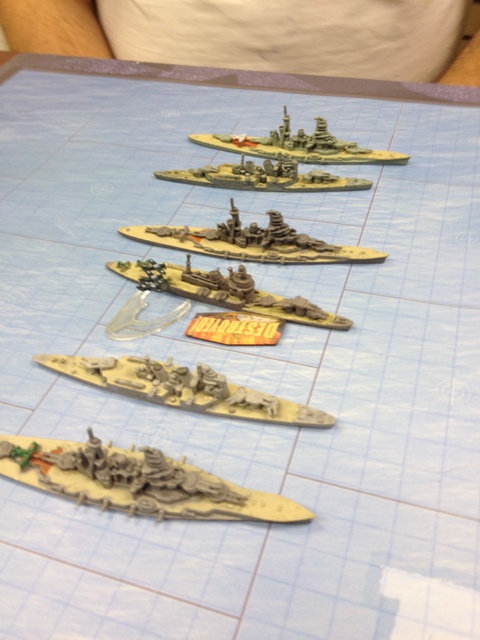
 The air phase went off with quite a bang; I had some great success when my lone Dauntless managed to get through and vital the Chikuma!
 Seth would get me back, though. First, his Rufe managed to get through the Catalina’s escort and splash it:
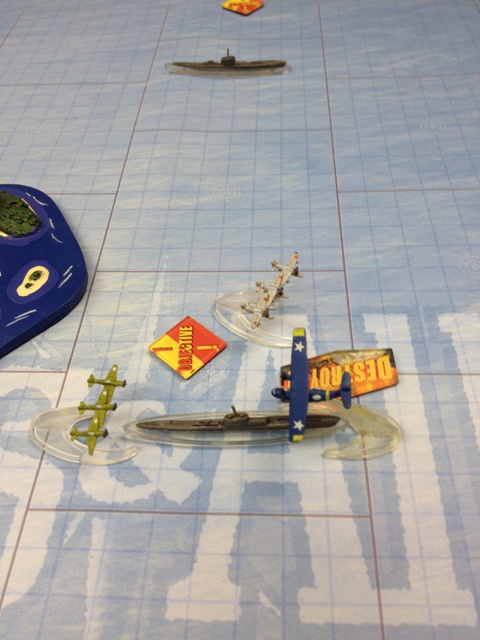 Next, two of his Bettys sank a destroyer each with torpedo hits on my right flank:
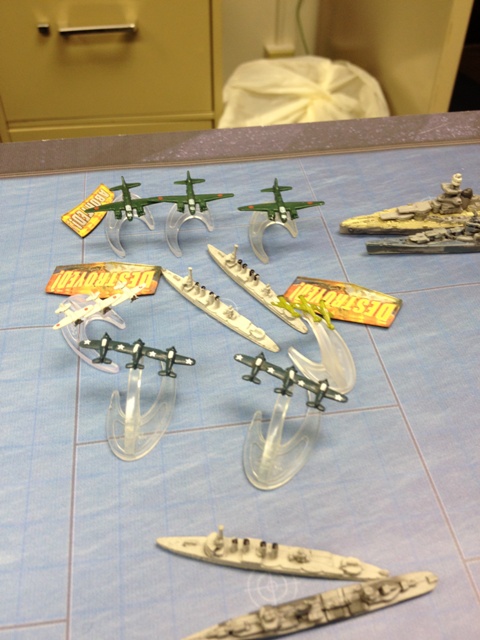 On the opposite flank, the remaining Bettys were also going after destroyers and missed. However, the lurking submarine on the objective row did manage to sink a Bagley from Range 3!
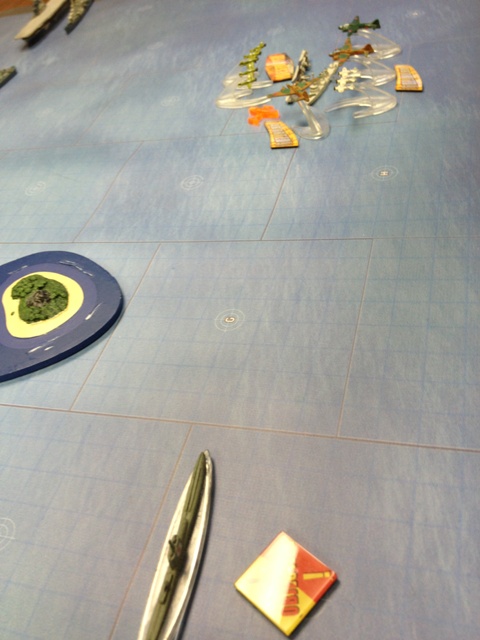 Turn 2
I won initiative again this turn, which meant that Seth had to move first. He once again ordered a general advanced, getting his heavy surface units within one sector of the objectives. I, having failed yet another Slow-2 roll and being wary of Seth’s Long Lances (with good reason as it turns out), decided to hang back and trade Range-4 fire with Seth’s battle line. In the mean time, I advanced my remaining destroyers to try and do some ASW on Seth’s submarines.
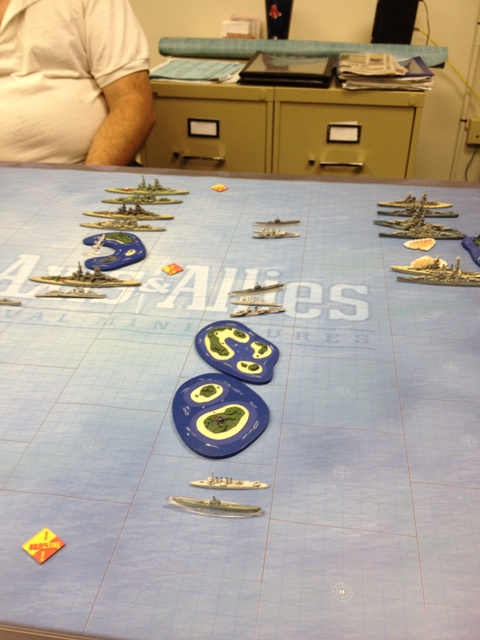 Seth decided to exercise the Excellent Endurance option on his G4M1 Bettys and the Elite Zeros to fly them again, while I just had Ranger’s air wing available. Seth went after the lone Edsall on my left flank, dispatching it with a torpedo from the Betty. However, his other Betty was aborted over the destroyers in the middle of the map, while my Dauntless was turned away over the Haguro and failed its Press the Attack! roll.
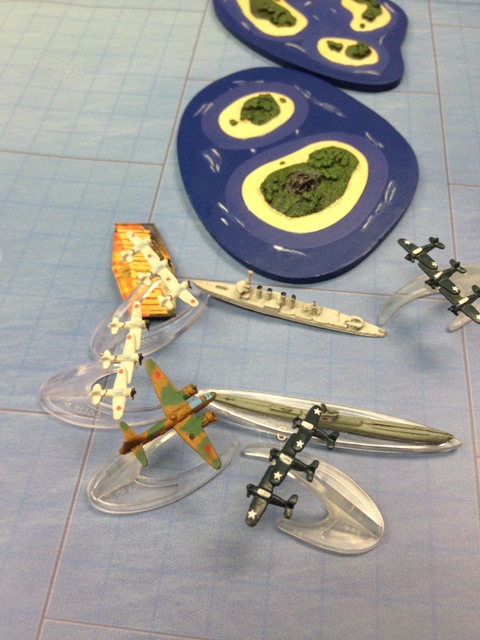 The surface phase was fairly bloody. We both targeted the other side’s cruisers, with the Kongo wrecking one of the Cleveleands with a salvo of 14″ shells. Another Cleveland narrowly escaped damage by ducking into the smoke screen laid by an Edsall the turn before! For my part, I managed to cripple the Haguro and the Nachi, failing to vital either of them. My destroyers were predictably chewed to bits by the IJN cruisers and battleship secondaries, but they did manage to cripple both of Seth’s subs in the middle of the map.
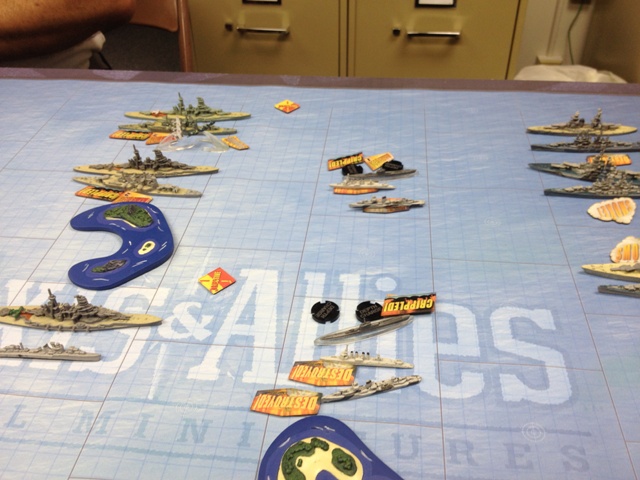 Turn 3
I lost initiative this time, but I did manage to pass all of my slow rolls for a chance. I made sure to have my battleships in contesting position for the two objectives in the middle of the board, as it seemed pretty likely that Seth was going to make a push for them this turn. Seth didn’t disappoint; he put two of his battleships on the far objective, and the third on the middle objective. This turn was going to be a slugging match, no doubt about it!
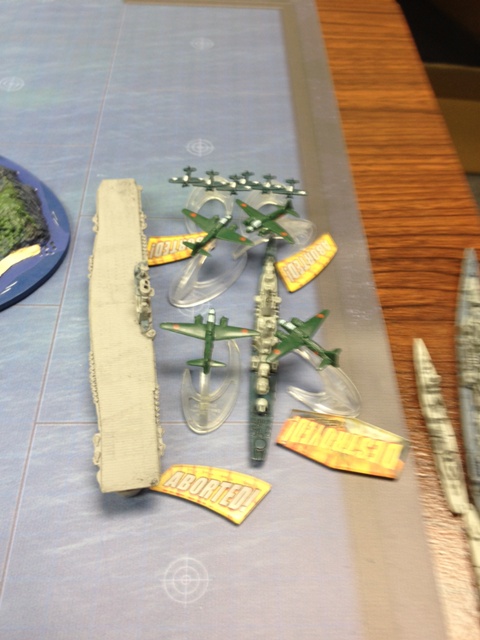
The air phase was much more eventful, since we both had a lot more planes to fly. Seth took this opportunity to try and take out the Ranger, sending all 4 Bettys there to attack my carrier. Between the Atlanta and the Wildcats, though, I manged to shoot down one Betty and abort the rest:
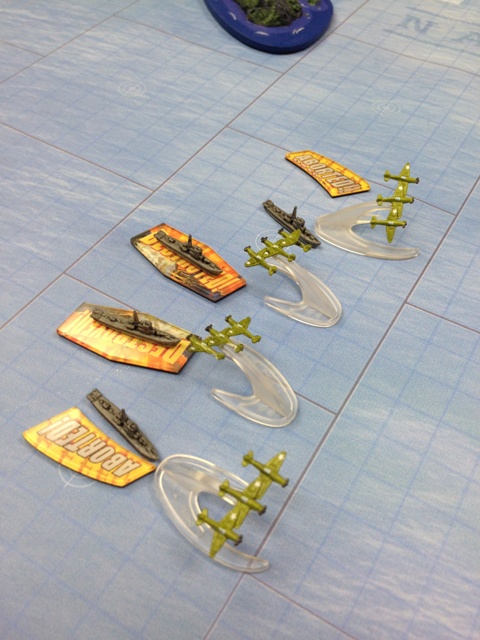
 For my part, I was feeling pretty confident that between the Atlanta and the two Wildcats I would be able to fend off the Bettys, so I sent all 4 of my P-40s to strafe the Type-13s that had been slowly but steadily advancing on the left-hand objective. I managed to destroy two of them, but the other two actually manged to abort my fighters!
 As for my Dauntless, it went after one of Seth’s crippled cruisers. Seth’s Zeros managed to drive off the dive bombers before they could release their bombs, though.
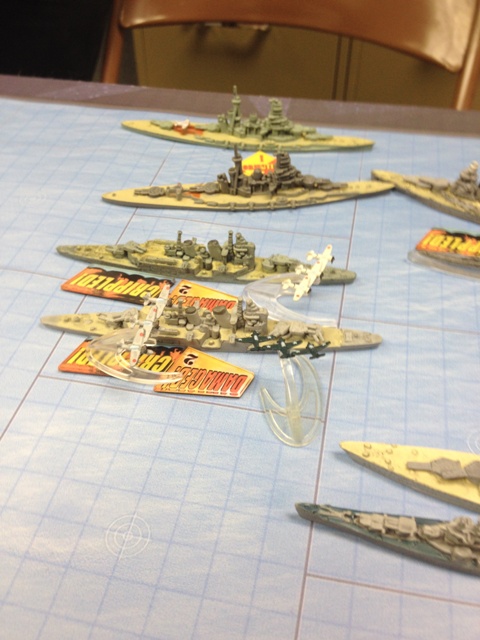 Once again, the surface phase was a slugging match. The Texas and Mississippi managed to damage the Haruna and Kongo, which were sitting on the right objective. The California wiffed big time, managing to completely miss the Kirishima with her mains and a destroyer with her secondaries. My cruisers managed to finish off Haguro and Nachi, as well as sink one Akitsuki and cripple the other. Seth managed to damage the Texas, but the armor of the California and Mississippi proved to be too tough. Seth did manage to sink another Cleveland and cripple the remaining one, however. It was Seth’s destroyers that really pulled their weight, though. They managed to put two long lances into the California, crippling my flagship!
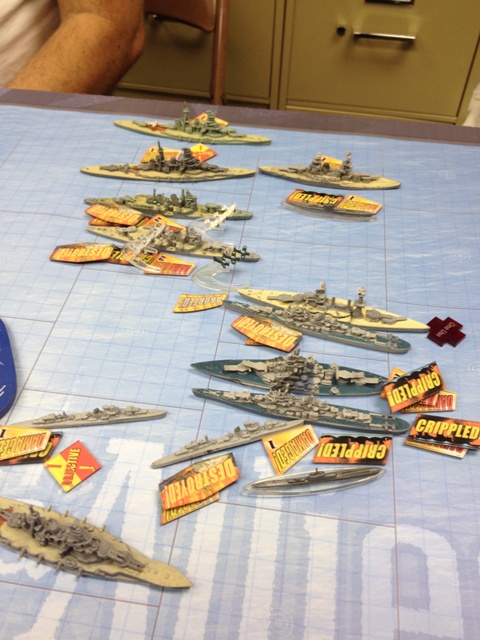 Turn 4
It was clear that I was in a bit of trouble, but a few good salvos from my battleships could still easily turn the game around for the Americans! I lost initiative again this turn, but my movement was never really in doubt; I simply moved in on the objectives. Seth, for his part, didn’t see the need to move, so we wound up with the Texas and Mississippi facing down the Kongo, Haruna, and a crippled I-19 on the right-hand objective while the crippled California and Cleveland faced off against the Kirishima, a crippled Akitsuki, and a crippled I-19 on the middle objective. Meanwhile, the 3rd I-19 tried to work its way into a shooting position, while the two remaining Type 13s continued to work their way to the 3rd objective.
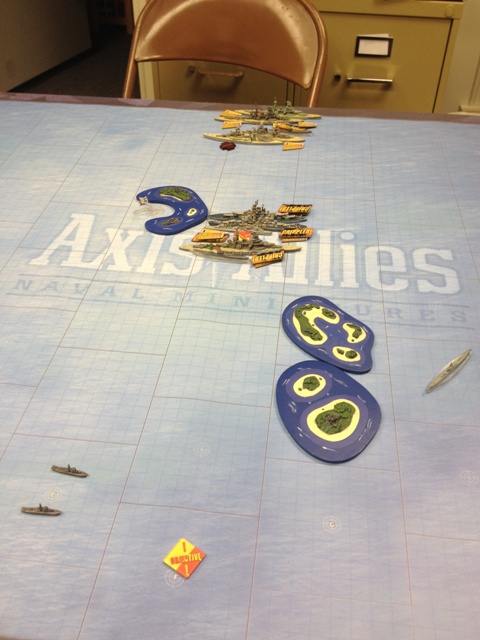 During the air phase, Seth attempted to use his G4M1s to knock my two cripples in the middle out of the fight before the shooting phase. However, my Wildcats managed to drive them off and keep both the California and the Cleveland alive for one more round of shooting. My Dauntless tried to put a hit on the Kirishima, but was shot down in the process!
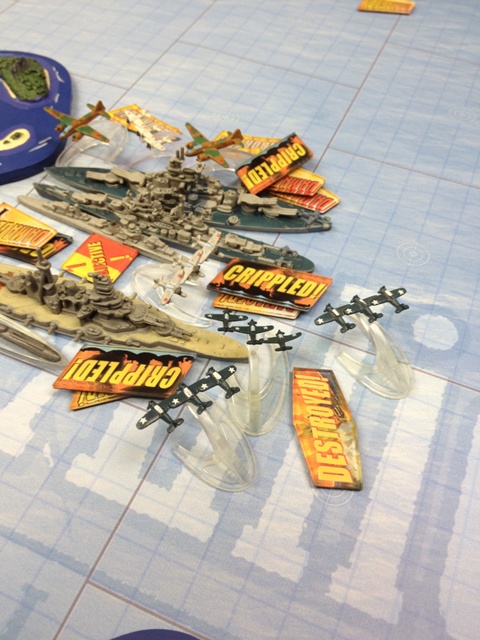 The shooting phase was pretty decisive; on the left side, the Texas was vitaled by the Haruna, but not before she put another point of damage on the Haruna in return. Mississippi managed to vital the Kongo, taking no damage during the shooting. In the middle of the map, the California finally succeeded in damaging the Kirishima, while the Cleveland finished off the crippled Akitsuki. Unfortunately, both American ships were finished off, ensuring that the central objective went to the Japanese. Seth’s subs finally had some success, as the crippled I-19 on the left put a torp into the Mississippi.
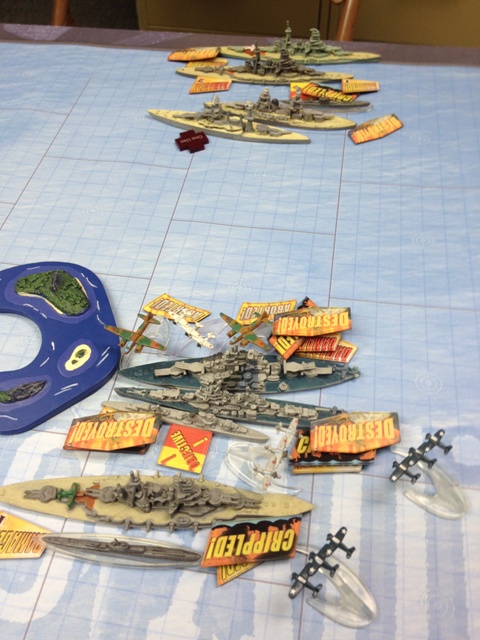 Turn 5
The Americans were quite a bit behind at this point, but Seth was still short of the 450 points he needed to seal the deal, so there was still some hope. I failed my initiative roll for the 3rd time in a row, but again it wasn’t a huge problem as my course of action was pretty clear; I continued to camp the right objective. Seth, in the mean time, moved the two Type 13s onto the left objective, and started shifting the Kirishima towards them as insurance.
In the air phase, Seth sent all three of his surviving G4Ms to attack the Mississippi, while I defended with two of my Wildcats and one of my P-40s (I could have sent that P-40 with its brothers to strafe the Type 13s, but hey, 3 strafing fighters is surely enough to take care of two subchasers, right?). My fighters managed to shoot another G4M out of the sky, but I lost the P-40 to a marauding Zero.
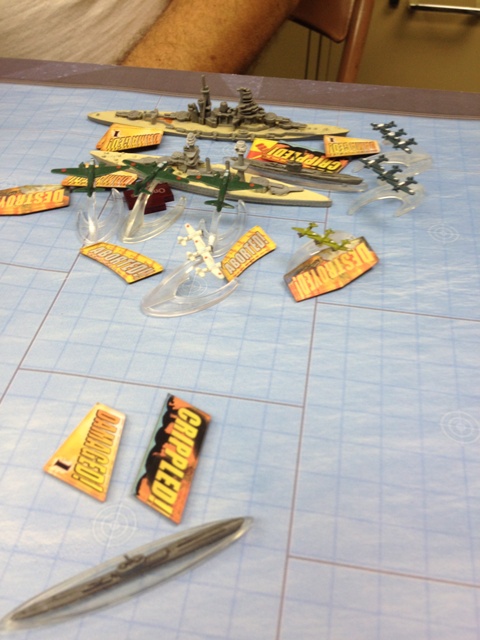 In the mean time, my remaining 3 P-40s attempted to strafe the two Type 13s on the left objective. Despite the Rufe’s attempted interference, all 3 got through to shoot up the hapless little subchasers. However, I only destroyed one of them! That was going to be a problem.
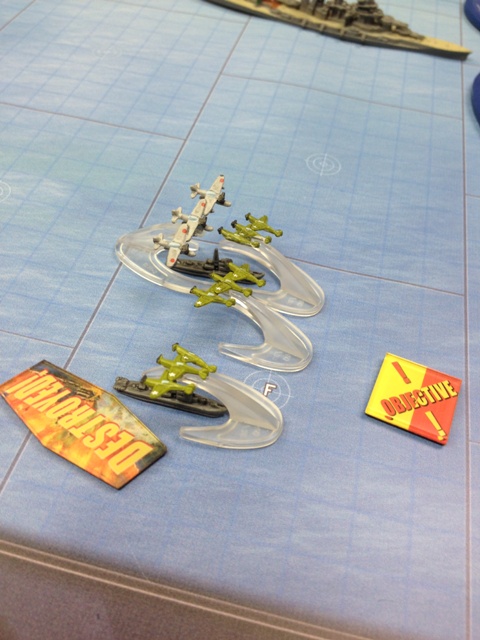 The shooting phase was fairly non-eventful. The Haruna and Mississippi traded points of damage, but everything else was out of range. When the dust settled, the lone surviving Type 13 claimed the left objective and won the game for Seth, 498 points to 153! This picture says it all:
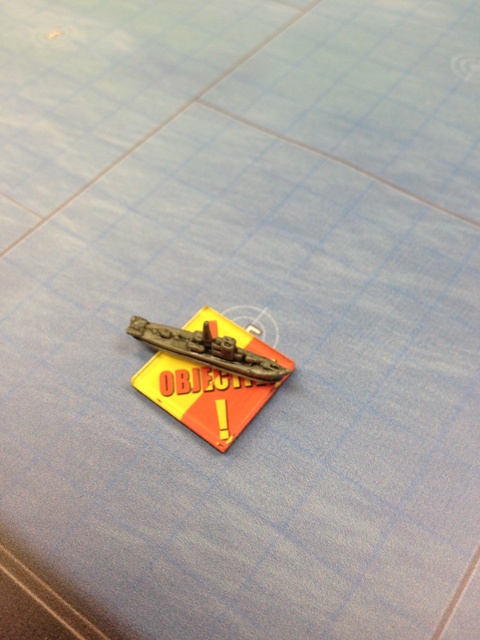 After Action
Well, this was obviously a tough game for me. The dice certainly played a role; I was having a hard time shooting down Seth’s Bettys, I had some painful misses in the surface phase (the California being the shining example), and my strafing against the Type 13s was pitiful. At the same time, Seth was having great luck with his torpedo and AA dice all game, including the two hits on two dice from an Akitsuki to cripple the California.
All of that aside though, I think this game is interesting because of the ways our lists paralleled each other. As I said at the beginning, we both hit upon the same idea of “quantity over quality,” and it showed in our selection of battleships and their supporting cast. I think that, within the limits of the OOB concept, anyway, this list paradigm makes some sense, as it spreads a fleets offensive firepower over more hulls and provides some redundancy. In retrospect, though, my list had a major hole in that it lacked any resilient ASW capability. Even though I had 8 destroyers, a majority of them were paper-thin Edsalls, and they were all dead on Turn 2. As I found out, one Catalina and no subs of my own was not enough to back these destroyers up.
So, in the end it was another fun game! Seth and I are probably going to get away from both the OOB and the Pacific Theater for our next game, though, so stay tuned. Until next time, Good Luck and Good Hunting!

I have little to add from my perspective to Andy’s superb account.
Overall I was pleased with the performance of the various Japanese units. Nothing proved to be a dud and a couple of units proved to be pleasant surprises, notably the survivable Bettys and, of course, the Type 13s!
There’s no denying that the dice were kind, however. While I doubt the average rolls were all that different, not all die rolls are created equal and the Japanese pretty much live and die based on how their torpedo rolls go. The double Long Lance hit on the California was probably the turning point in the game. While the Type 13’s capture of the objective for the win provided a dramatic flourish, there was also a battleship just one turn away from grabbing that objective with no US unit in position capable to stop it so the end result would have been the same.